
Yes, you can install a kitchen faucet yourself! With a few basic tools and this step-by-step guide, you can successfully replace your old kitchen faucet with a shiny new one. This guide covers everything from gathering your supplies to connecting the plumbing.
Replacing a kitchen sink faucet might seem like a daunting task, but it’s a very achievable DIY project for most homeowners. A new faucet can completely transform the look and functionality of your kitchen. Whether your old one is leaking, outdated, or you simply want an upgrade, learning how to install a new faucet is a valuable skill. This in-depth guide will walk you through each stage of the kitchen sink faucet installation process, ensuring you can connect faucet to water and seal faucet base like a pro. We’ll cover all the necessary kitchen faucet parts and what you need to know about under sink plumbing.
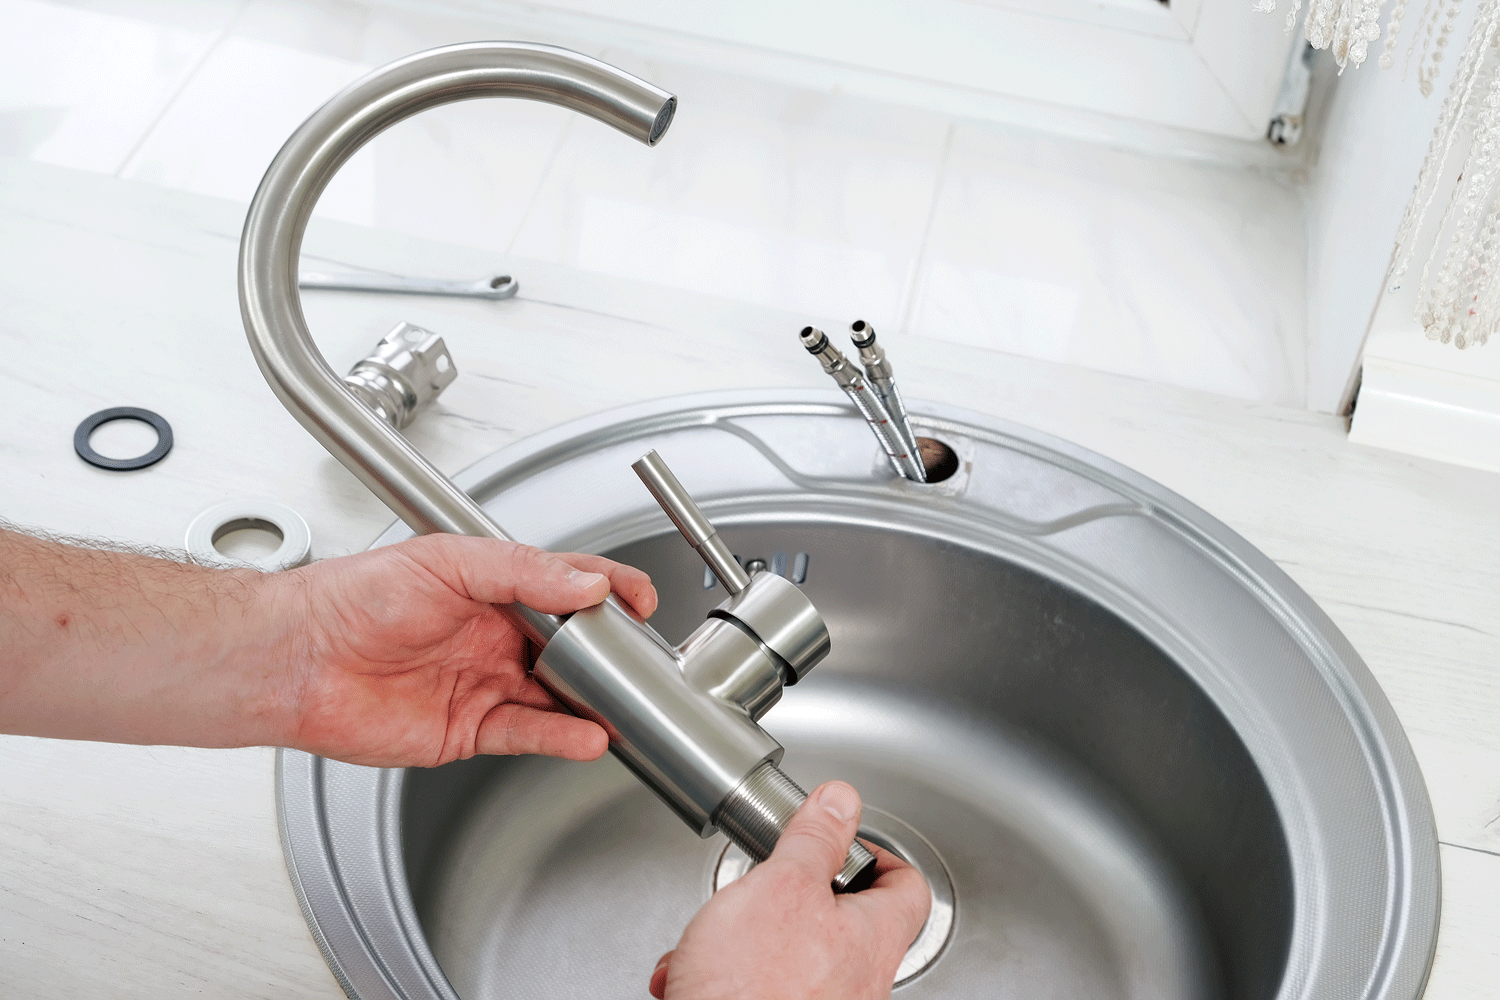
Image Source: en.lesso.com
Preparing for Your Kitchen Faucet Installation
Before you dive in, a little preparation goes a long way. This ensures a smooth and efficient process, minimizing frustration and potential problems.
Gathering Your Tools and Supplies
Having everything you need readily available is key. Here’s a list of common tools and supplies you’ll likely need for your DIY kitchen faucet project:
- Adjustable Wrenches: You’ll need at least two for tightening and loosening fittings.
- Basin Wrench: This specialized tool is crucial for reaching nuts in tight spaces behind the sink.
- Plumber’s Tape (PTFE Tape): Essential for creating watertight seals on threaded connections.
- Plumber’s Putty or Silicone Caulk: Used to create a watertight seal between the faucet base and the sink.
- Bucket or Towels: To catch any residual water when disconnecting supply lines.
- Safety Glasses: Protect your eyes from debris and dripping water.
- Flashlight or Headlamp: To see clearly in the often-dim space under the sink.
- Old Rags or Sponges: For cleaning up any spills.
- Penetrating Oil (Optional): If old connections are stuck, this can help loosen them.
- New Faucet: Make sure it’s compatible with your sink’s hole configuration.
- New Faucet Supply Lines: It’s highly recommended to replace old supply lines when installing a new faucet.
Selecting Your New Faucet
Choosing the right faucet is the first exciting step. Consider these factors:
- Number of Holes: Most sinks have one, two, three, or four holes. Your new faucet must match this configuration. If you have fewer holes than your new faucet requires, you might need a sink cover plate. If you have more, you might need to plug unused holes.
- Style and Finish: Match your faucet to your kitchen’s aesthetic. Popular finishes include chrome, brushed nickel, stainless steel, and matte black.
- Features: Think about spout height and reach, sprayers (pull-down, pull-out, or side spray), and single-handle vs. double-handle designs.
- Brand and Quality: Opt for reputable brands known for durability and good customer support.
Step-by-Step Guide to Installing Your Kitchen Faucet
Now, let’s get to the actual installation. This process involves removing the old faucet and installing the new one, connecting all the plumbing correctly.
Step 1: Turn Off the Water Supply
This is the most critical first step to prevent flooding.
- Locate the hot and cold water shut-off valves. These are usually found directly under the sink, attached to the pipes coming from the wall.
- Turn both valves clockwise until they are fully closed.
- Turn on your old faucet to drain any remaining water in the lines and to confirm the water is indeed off. Let the water run until it stops completely.
Step 2: Disconnect the Old Faucet
With the water off, you can now disconnect the old faucet from the water supply.
- Place a bucket or towels under the water supply connections to catch any drips.
- Disconnect the faucet supply lines from the shut-off valves. Use an adjustable wrench to loosen the nuts connecting the supply lines to the valves. There will be one for hot water and one for cold.
- Disconnect the supply lines from the old faucet. This connection is usually located on the underside of the faucet body, where the flexible hoses attach to the faucet’s tailpieces. You might need your basin wrench for this if the space is tight.
Step 3: Remove the Old Faucet
Now it’s time to detach the old faucet from the sink itself.
- Locate the mounting nuts securing the faucet to the sink or countertop. These are typically large nuts that screw onto the faucet’s threaded shanks from underneath the sink.
- Use your basin wrench to loosen and remove these mounting nuts. This can be the trickiest part due to limited space and awkward angles.
- Once the nuts are removed, the old faucet should lift out from the top of the sink. If it’s stuck, gently rock it back and forth. You might need to break a seal of old plumber’s putty or caulk.
Step 4: Clean the Sink Surface
A clean surface ensures a good seal for your new faucet.
- Use a putty knife or scraper to remove any old plumber’s putty, caulk, or mineral deposits from the sink surface where the old faucet was mounted.
- Clean the area thoroughly with a damp cloth and mild cleaner. Ensure the surface is dry before proceeding.
Step 5: Prepare and Install the New Faucet
This is where you start bringing your new faucet to life. Every faucet comes with specific installation instructions, so always refer to those. However, the general process is as follows:
- Assemble Faucet Parts: If your faucet comes in multiple pieces, assemble them according to the manufacturer’s instructions. This might involve attaching the spout, handles, or spray hose.
- Apply Sealant: Place the rubber gasket or apply a bead of plumber’s putty or silicone caulk around the base of the new faucet or escutcheon plate (if included). This creates a watertight seal between the faucet and the sink. Seal faucet base is crucial to prevent leaks.
- Position the Faucet: Carefully insert the faucet’s tailpieces and mounting studs through the appropriate holes in the sink or countertop. Ensure the faucet is oriented correctly.
Step 6: Secure the New Faucet
From underneath the sink, you’ll secure the faucet in place.
- Install Mounting Hardware: Slide any provided washers and then thread the mounting nuts onto the faucet’s tailpieces or mounting studs.
- Tighten the Nuts: Hand-tighten the nuts first. Then, use your adjustable wrench or basin wrench to snug them up. Be careful not to overtighten, as this can damage the sink or faucet. Ensure the faucet is straight and centered before fully tightening.
Step 7: Connect Faucet Supply Lines
This is where you connect faucet to water via the supply lines.
- Attach New Supply Lines: If your new faucet didn’t come with integrated supply lines, attach the new ones to the faucet’s tailpieces. Hand-tighten, then use an adjustable wrench for a final snug turn.
- Connect to Shut-Off Valves: Connect the other end of the hot and cold faucet supply lines to the corresponding shut-off valves. Again, hand-tighten first, then use an adjustable wrench for a firm, but not overtightened, connection. Faucet supply lines are flexible hoses that carry water from the valves to the faucet.
Step 8: Connect the Sprayer Hose (If Applicable)
If your faucet has a side sprayer or a pull-down/pull-out sprayer, you’ll need to connect its hose.
- For Side Sprayers: Connect the sprayer hose to the designated outlet port on the faucet body.
- For Pull-Down/Pull-Out Sprayers: Connect the hose to the quick-connect fitting or threaded connection on the faucet’s underside. Make sure the weight for the pull-down hose is attached correctly if your model includes one.
Step 9: Turn On the Water and Check for Leaks
This is the moment of truth!
- Slowly turn on the cold water shut-off valve by turning it counter-clockwise.
- Check all connections under the sink for any signs of leaks.
- Slowly turn on the hot water shut-off valve.
- Check all connections again for leaks.
- Turn on the new faucet to test both hot and cold water flow. Let the water run for a minute or two to flush out any debris that might have entered the lines during installation.
- Inspect all connections once more with your flashlight. Pay close attention to where the supply lines connect to the valves and the faucet, as well as any sprayer hose connections.
Step 10: Final Seal and Cleanup
The final touches ensure a professional finish.
- Check the faucet base seal: After running water, double-check around the faucet base on the sink. If you see any water seeping out, you may need to tighten the mounting nuts slightly or remove the faucet and reapply plumber’s putty or caulk.
- Clean up your workspace: Wipe down any excess sealant, put away your tools, and dispose of the old faucet and packaging.
Troubleshooting Common Issues
Even with careful installation, you might encounter minor hiccups. Here are some common problems and solutions:
Leaking Supply Lines
- Problem: Drips from the connection nuts at the shut-off valves or faucet tailpieces.
- Solution: Ensure the nuts are tightened correctly. If the leak persists, you might need to disconnect the line, reapply plumber’s tape to the threads, and reconnect. Ensure the rubber washer inside the supply line fitting is present and properly seated.
Leaking from Faucet Base
- Problem: Water seeps from under the faucet when the water is on.
- Solution: This usually means the seal around the faucet base isn’t watertight. You may need to slightly tighten the mounting nuts. If that doesn’t work, you’ll likely need to remove the faucet, clean off the old sealant, and reapply fresh plumber’s putty or silicone caulk to the faucet base or escutcheon plate before reinstalling.
Low Water Pressure
- Problem: Water flow is weaker than before.
- Solution: Check that the shut-off valves are fully open. Also, remove the aerator (the tip of the spout where water comes out) and clean out any debris that might be blocking it. Some new faucets have flow restrictors that can be removed for higher flow, but check your faucet’s manual and local regulations regarding water conservation.
Sprayer Hose Leaks
- Problem: Water leaks from the sprayer hose connection.
- Solution: Ensure the connection is tight. For quick-connect fittings, make sure it’s fully seated. If it’s a threaded connection, check the washer and tighten the nut.
Maintaining Your New Kitchen Faucet
Once installed, proper care will extend the life of your new faucet.
- Regular Cleaning: Wipe down your faucet regularly with a soft, damp cloth to prevent water spots and mineral buildup. Use mild soap if necessary. Avoid abrasive cleaners that can scratch the finish.
- Check for Loose Parts: Periodically check that mounting nuts and handles are secure.
- Protect the Finish: Be mindful of harsh chemicals or abrasive pads that can damage the faucet’s finish.
Faucet Parts Explained
To make the kitchen sink faucet installation process clearer, let’s briefly touch upon the key kitchen faucet parts involved:
- Spout: The part where water flows out.
- Handles: Control the flow and temperature of water (can be one or two).
- Cartridge/Valve Stem: The internal mechanism that regulates water flow and temperature.
- Tailpieces/Shanks: Threaded pipes that extend from the faucet body through the sink, to which supply lines are attached.
- Mounting Nuts: Secure the faucet to the sink from underneath.
- Escutcheon Plate (Optional): A decorative plate that covers unused sink holes, often integrated with the faucet.
- Supply Lines: Flexible hoses connecting shut-off valves to the faucet tailpieces.
- Aerator: A screen at the end of the spout that mixes air with water for a smoother flow and can help conserve water.
- Sprayer Hose and Head: For faucets with integrated sprayers.
- Weight: Attached to pull-down sprayer hoses to help retract them.
Frequently Asked Questions (FAQ)
Here are some common questions people have when undertaking this project:
How long does it take to replace a kitchen faucet?
For most DIYers, replacing a kitchen faucet takes about 1 to 2 hours. This can vary depending on your experience, the complexity of your old faucet’s removal, and how easily you can access the under sink plumbing.
Do I need to replace my old faucet supply lines?
It is highly recommended to replace your old faucet supply lines when installing a new faucet. Older lines can become brittle or corroded, increasing the risk of leaks. New supply lines are inexpensive and ensure a reliable connection.
What is plumber’s putty and when do I use it?
Plumber’s putty is a soft, pliable sealing compound used to create a watertight seal between plumbing fixtures (like faucets) and non-porous surfaces (like sinks or countertops). You typically use it to seal faucet base where it meets the sink to prevent water from leaking underneath. Check your faucet’s instructions; some may recommend silicone caulk instead, especially for granite or porous materials.
Can I install a faucet on a granite countertop?
Yes, you can install a faucet on a granite countertop. You’ll need to ensure the holes in the granite are the correct size and spacing for your chosen faucet. For sealing, it’s often best to use a high-quality silicone caulk specifically designed for kitchen use and granite, rather than plumber’s putty, which can sometimes stain porous stones.
What if my new faucet has more holes than my sink?
If your new faucet requires more holes than your sink provides, you might need to purchase a sink cover plate (also called a deck plate). This plate covers the unused holes and provides a surface to mount the faucet. Conversely, if your sink has more holes than your faucet needs, you can use hole covers or a larger deck plate to seal off the extra openings.
Conclusion
Successfully completing a DIY kitchen faucet installation is a rewarding experience. By following these detailed steps, gathering the right tools, and paying attention to each connection, you can confidently replace your kitchen faucet and enjoy your updated kitchen. Remember to always prioritize safety by turning off the water supply and to refer to your specific faucet’s installation manual for any unique requirements. With a little patience and effort, you’ll have a beautifully functioning new faucet in no time.