
Can you paint kitchen cabinets? Yes, you absolutely can! Painting your kitchen cabinets is a fantastic way to update your kitchen’s look without a complete renovation. This guide will walk you through everything you need to know for successful DIY cabinet painting, ensuring a beautiful, lasting finish.
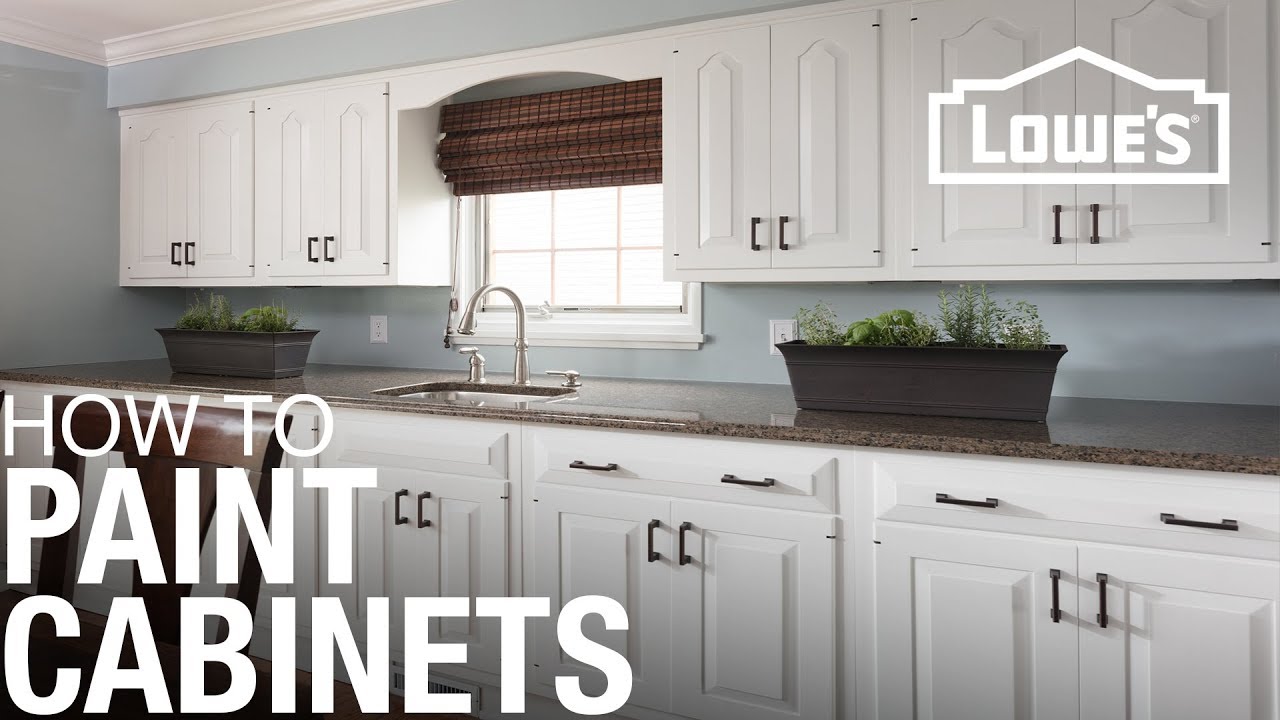
Image Source: i.ytimg.com
Deciphering Cabinet Paint Types
Choosing the right cabinet paint types is crucial for a durable and attractive finish. Not all paints are created equal, especially when it comes to the high-traffic, grease-prone environment of a kitchen.
Oil-Based vs. Water-Based (Latex) Paints
- Oil-Based Paints: Historically, oil-based paints were the go-to for cabinets due to their hardness and durability. They create a very smooth, tough finish that resists chipping and wear. However, they have a strong odor, require mineral spirits for cleanup, and can yellow over time, especially in lighter colors. Their drying time is also much longer.
- Water-Based (Latex) Paints: Modern water-based paints, particularly acrylic latex blends and alkyd-modified acrylics, have significantly closed the gap in durability. They are easier to clean up with soap and water, have low VOCs (volatile organic compounds), and dry faster. Many are formulated specifically for cabinets, offering excellent adhesion and a hard, scrubbable finish. These are generally the best paint for kitchen cabinets for most DIYers today.
Sheen Levels
The sheen of your paint affects both appearance and durability:
- Flat/Matte: Offers a sophisticated, velvety look but is the least durable and hardest to clean. Not recommended for kitchen cabinets.
- Eggshell/Satin: These are popular choices for cabinets. They offer a subtle sheen, are more durable and easier to clean than flat paint, and hide imperfections well. Satin has a bit more sheen than eggshell.
- Semi-Gloss: This is a very common and excellent choice for kitchen cabinets. It’s highly durable, moisture-resistant, and easy to wipe clean. The higher sheen can highlight imperfections, so thorough prep is key.
- High-Gloss: Provides a mirror-like finish and is extremely durable and easy to clean. However, it shows every brush stroke and imperfection, making it challenging to achieve a flawless finish without professional spraying.
Specialty Cabinet Paints
Some brands offer paints specifically formulated for cabinets. These often have superior adhesion, leveling properties, and durability built-in. They might be a higher price point but can simplify the process and improve results.
Fathoming the Preparation Process: How to Prep Kitchen Cabinets for Paint
Proper preparation is the single most important step in kitchen cabinet refinishing and painting. Skipping or rushing this phase will lead to a finish that chips, peels, or looks unprofessional.
Step 1: Remove Cabinet Doors and Hardware
- Carefully detach all cabinet doors from their hinges.
- If your cabinets have drawer fronts, remove those as well.
- Label each door and its corresponding cabinet frame with masking tape and a pen. This ensures you put everything back in the right place. For example, “Upper Left Door,” “Lower Right Drawer.”
- Remove all hardware, including hinges, knobs, and pulls. Store them in a safe place, perhaps in labeled bags.
Step 2: Clean Thoroughly
Grease, grime, and food splatters are the enemies of good paint adhesion.
- Use a good degreaser. A solution of TSP (trisodium phosphate) is highly effective, but be sure to wear gloves and eye protection. If TSP isn’t available or you prefer a milder option, a strong mixture of dish soap (like Dawn) and hot water can also work.
- Wipe down every surface of the doors, drawer fronts, and cabinet frames. Pay close attention to areas around the stove and sink.
- Rinse thoroughly with clean water to remove any residue from the cleaner. Allow surfaces to dry completely.
Step 3: Sanding for Adhesion
Sanding creates a “tooth” for the primer and paint to adhere to. You don’t need to strip the old finish unless it’s peeling or damaged.
- For most finishes: Use medium-grit sandpaper (around 120-150 grit) or a sanding sponge. The goal is to dull the existing finish, not remove it entirely.
- For laminate or very slick surfaces: You might need to use a coarser grit (e.g., 100 grit) initially, then follow with a finer grit (150-180 grit).
- Smooth surfaces: Gently sand all surfaces to be painted.
- Corners and edges: Be careful not to over-sand, especially on edges, as you can sand through the finish.
- After sanding: Wipe down all surfaces with a tack cloth or a slightly damp microfiber cloth to remove all dust. Vacuuming up dust first is also helpful.
Step 4: Repair Imperfections
- Fill any holes (from old hardware, for example) or dents with wood filler.
- Allow the filler to dry completely according to the product instructions.
- Sand the filled areas smooth with fine-grit sandpaper (180-220 grit).
- Wipe down again to remove dust.
Step 5: Masking and Protecting
Protect areas you don’t want to paint.
- Use painter’s tape to mask off any areas of your walls, countertops, or appliances that are adjacent to the cabinets.
- If you’re painting the cabinets in place, protect your floors and countertops with drop cloths or plastic sheeting.
Selecting the Right Cabinet Painting Supplies
Having the proper cabinet painting supplies makes the job much easier and leads to a more professional result.
- Paint: High-quality acrylic latex enamel or a specialized cabinet paint.
- Primer: A good quality cabinet painting primer is essential for adhesion and blocking stains.
- Sanding Supplies: Sandpaper (various grits: 120-150, 180-220) or sanding sponges.
- Cleaning Supplies: Degreaser (TSP, dish soap), buckets, clean rags or sponges.
- Tack Cloths: For removing dust after sanding.
- Painter’s Tape: For masking.
- Drop Cloths/Plastic Sheeting: To protect surfaces.
- Applicators:
- High-quality synthetic bristle brushes: For cutting in edges and details. Look for brushes specifically designed for enamel paints.
- Foam rollers or fine-nap rollers: For smooth surfaces like cabinet doors and drawer fronts. ¾-inch nap rollers are often recommended for a smooth finish.
- Paint sprayer (optional but recommended for best results): Airless or HVLP sprayers can provide the smoothest, most factory-like finish.
- Paint Tray and Liners: For rollers.
- Gloves and Eye Protection: For safety, especially when using degreasers or sanding.
- Screwdriver: For removing hardware.
- Drill with screwdriver bits (optional): Can speed up hardware removal/reinstallation.
Applying Cabinet Painting Primer
Primer is your foundation. A good cabinet painting primer seals the wood, blocks stains from bleeding through the paint, and provides a uniform surface for your topcoat.
- Type of Primer: Choose a high-quality bonding primer. For wood cabinets, especially if they are stained or have potential for tannins to bleed (like oak or cherry), an oil-based primer or a shellac-based primer is often recommended for superior stain blocking. However, many modern water-based acrylic primers are also excellent and easier to work with and clean up. Read the primer’s label to ensure it’s suitable for wood and cabinets.
- Application:
- Apply a thin, even coat of primer using a brush for edges and details, and a roller for flat surfaces.
- Avoid applying too much primer, as it can drip and create an uneven surface.
- Allow the primer to dry completely according to the manufacturer’s instructions.
- Sanding Between Coats: Once the primer is dry, lightly sand it with fine-grit sandpaper (220 grit) to smooth out any imperfections and ensure good adhesion for the next coat. Wipe away dust with a tack cloth.
- Multiple Coats: Depending on the original finish and the color you’re painting, you might need two coats of primer for optimal coverage and stain blocking.
Painting Cabinet Doors and Drawer Fronts
Painting cabinet doors is often done separately for the best results, typically laying them flat for a smooth, drip-free finish.
Technique for Doors
- Setup: Lay your cabinet doors and drawer fronts on a clean, level surface. Use painter’s pyramids or blocks of wood to elevate them so you can paint the edges and corners without them sticking to your work surface. You can also prop them up against a wall if needed, but flat is ideal.
- Apply Paint:
- Brushing: For a brushed finish, use a high-quality synthetic brush. Apply paint in smooth, even strokes, working in one direction. Overlap your strokes slightly. Avoid overworking the paint, which can lead to brush marks.
- Rolling: For a smoother finish, use a foam roller or a fine-nap roller. Load the roller evenly with paint, and apply in a consistent pattern.
- Spraying: If using a paint sprayer, follow the manufacturer’s instructions for thinning the paint and setting the spray pattern. Work in thin, even passes, holding the sprayer at a consistent distance from the surface. Overlap each pass by about 50% to avoid lines. This is one of the most effective cabinet painting techniques for a professional look.
- Edges and Sides: Paint the edges and sides of the doors and drawer fronts. Ensure you get paint into the recessed areas if applicable.
- Drying: Allow each coat to dry completely according to the paint manufacturer’s recommendations. This is crucial for durability.
- Sanding Between Coats: After the first coat of paint is dry, lightly sand any drips or rough spots with very fine-grit sandpaper (220-320 grit). Wipe with a tack cloth.
- Multiple Coats: Apply 2-3 thin coats of paint for best coverage and durability.
Painting the Cabinet Frames (Boxes)
The cabinet frames are painted in place.
Technique for Frames
- Brush Work: Use a high-quality angled brush to cut in around the edges, corners, and any details of the cabinet frames. Work methodically, applying smooth, even strokes.
- Roller Work: For the larger, flat surfaces of the cabinet frames, use a small foam roller. Load it with paint and apply in a consistent pattern, avoiding drips.
- Getting into Corners: Use your brush to ensure paint reaches all corners and crevices.
- Drying and Sanding: Allow each coat to dry fully and lightly sand with fine-grit sandpaper if needed, then wipe with a tack cloth before applying the next coat.
- Multiple Coats: Apply 2-3 thin coats for a durable finish.
Mastering Cabinet Painting Techniques
Whether you’re brushing, rolling, or spray painting kitchen cabinets, certain techniques will elevate your results.
- Thin Coats are Key: Multiple thin coats of paint are always better than one or two thick coats. Thin coats dry faster, adhere better, and result in a smoother finish with fewer drips and brush marks.
- Work in Sections: For cabinet frames, paint one cabinet box at a time, or one section of a larger cabinet. This allows you to maintain a wet edge and avoid visible seams.
- Brush Strokes: When brushing, use long, smooth strokes in the direction of the wood grain if possible. Avoid going back and forth repeatedly, as this can create streaks.
- Roller Application: Load your roller evenly. Start with a “W” or “M” pattern, then fill it in with smooth, overlapping strokes. Avoid pressing too hard.
- Sprayer Control: If spray painting, practice on scrap material first. Maintain a consistent distance and speed. Overlap each pass by 50% to ensure even coverage and avoid lines.
Curing and Reassembly
The paint will be dry to the touch after a few hours, but it takes time to fully cure and reach its maximum hardness.
- Curing Time: Most cabinet paints take 7-30 days to fully cure. During this time, be gentle with your cabinets. Avoid abrasive cleaners or harsh scrubbing.
- Reassembly: Once the paint is fully cured, you can reattach the hardware and rehang the cabinet doors and drawer fronts. It’s often easiest to reinstall hinges on the doors first, then attach the doors to the cabinet frames.
Kitchen Cabinet Refinishing: When to Consider Professional Help
While DIY cabinet painting is achievable for many, there are times when professional kitchen cabinet refinishing is the better choice.
- Complex Designs: Intricate cabinet door designs with many moldings or panels can be challenging to paint smoothly by hand.
- High-Gloss Finishes: Achieving a truly flawless high-gloss finish typically requires professional spraying equipment and expertise.
- Time Constraints: If you have limited time or are not comfortable with the extensive prep work involved, hiring a professional can save you significant effort.
- Desired Professional Look: If you want a factory-perfect finish that mimics new cabinets, a professional painter with experience in cabinet spraying is your best bet.
Frequently Asked Questions (FAQ)
Q1: How long does it take to paint kitchen cabinets?
A1: The actual painting process might take a few days, but including drying and curing time, it can easily span 1-2 weeks. Thorough prep is time-consuming but essential.
Q2: What’s the best paint sheen for kitchen cabinets?
A2: Satin or semi-gloss are the most recommended sheens for kitchen cabinets due to their durability and ease of cleaning.
Q3: Do I need a special primer for kitchen cabinets?
A3: Yes, a high-quality bonding primer is essential. For stained wood, consider an oil-based or shellac-based primer for stain blocking. Modern water-based acrylic primers are also very effective.
Q4: Can I paint over laminate cabinets?
A4: Yes, but proper preparation is key. Clean thoroughly, sand aggressively to scuff the surface, and use a good bonding primer specifically designed for laminate or slick surfaces.
Q5: How many coats of paint do I need?
A5: Generally, two to three thin coats of paint are recommended for cabinets, after one or two coats of primer.
Q6: How do I avoid brush marks?
A6: Use high-quality synthetic brushes, apply thin coats, use a consistent painting direction, and avoid overworking the paint. A foam roller can also help minimize brush marks.
Q7: Can I paint my cabinets without removing the doors?
A7: While technically possible, it’s highly discouraged. Removing the doors allows for a much smoother, more even finish on all sides and edges, preventing drips and missed spots on the frames.
Painting kitchen cabinets is a rewarding project that can dramatically transform your kitchen’s aesthetic. By following these detailed steps, choosing the right cabinet paint types, and investing time in thorough preparation, you can achieve professional-looking results. Remember, patience and attention to detail are your greatest cabinet painting supplies.