
You can absolutely build your own kitchen island! This DIY guide will walk you through the process step-by-step, focusing on budget-friendly approaches.
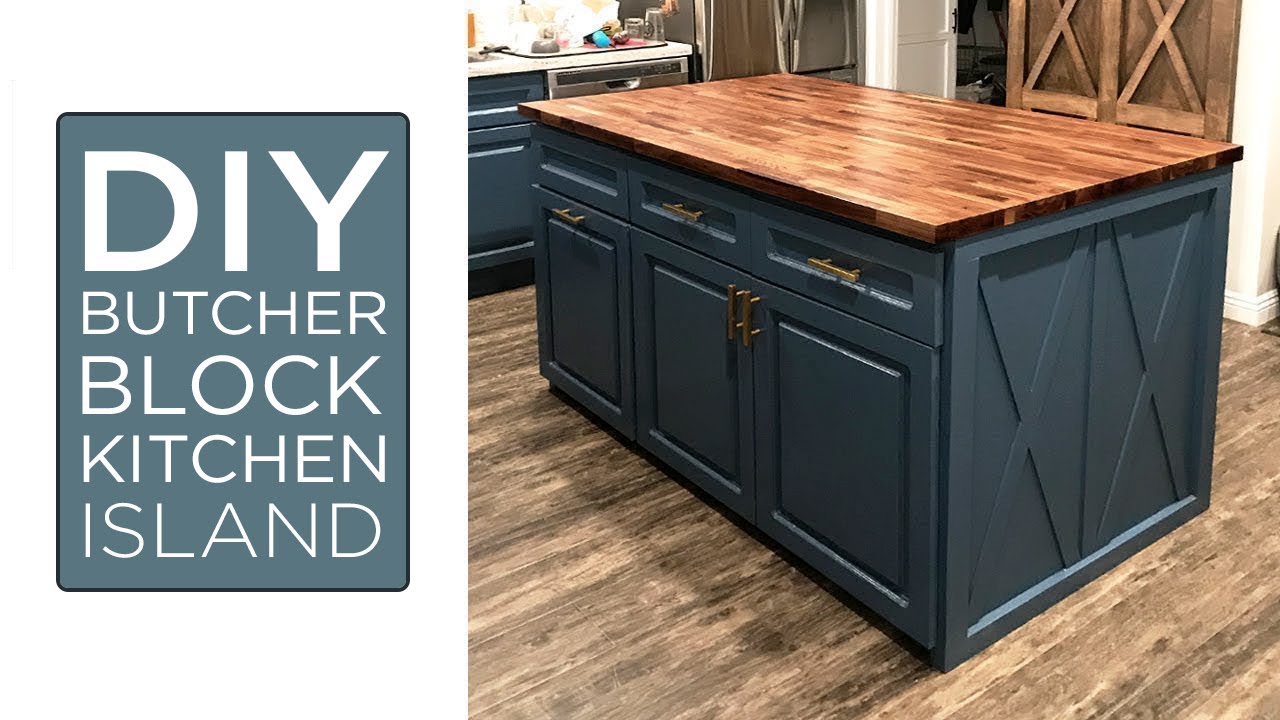
Image Source: i.ytimg.com
How Do I Build A Kitchen Island DIY Guide: Step-by-Step & Budget-Friendly
Creating a custom kitchen island can transform your cooking space. It adds valuable countertop real estate, much-needed storage, and a central hub for family gatherings. Many homeowners wonder, “How do I build a kitchen island?” The good news is, with a bit of planning and some basic DIY skills, you can achieve a professional-looking result without breaking the bank. This guide will cover everything from initial design to the final touches.
Planning Your Dream Kitchen Island
Before you even pick up a hammer, careful planning is key. This is where you’ll lay the groundwork for a successful project.
Deciphering Your Needs and Space
The first step is to assess your kitchen’s layout and your specific needs. Consider:
- Kitchen Size and Layout: How much space do you realistically have? A large island might overwhelm a small kitchen, while a small one could get lost in a vast space. Measure your kitchen carefully, noting appliance locations and traffic flow.
- Functionality: What do you want your island to do?
- Extra prep space?
- Storage for pots, pans, or small appliances?
- A place for casual dining (kitchen island seating)?
- A spot for a sink (kitchen island with sink)?
- A dedicated area for a specific appliance?
- Budget: Determine how much you’re willing to spend. This will influence your material choices and the complexity of your design.
Kitchen Island Dimensions: Getting It Right
The ideal kitchen island dimensions are crucial for both functionality and aesthetics. A good rule of thumb is to ensure at least 36-42 inches of clearance around the island for comfortable movement and appliance door access.
- Width: Typically ranges from 24 to 48 inches. Wider islands offer more prep and seating space.
- Depth: Standard is 24-30 inches for the main cabinet structure. If you add overhang for seating, it can be deeper.
- Height: Most islands are built to standard countertop height (around 36 inches), but you might opt for a bar height (40-42 inches) if you’re incorporating seating.
Table 1: Recommended Kitchen Island Clearances
| Area Around Island | Recommended Clearance | Notes |
|---|---|---|
| Walking space behind island | 36-42 inches | For easy passage and opening cabinets |
| Between island and range | 42-48 inches | Crucial for safe cooking |
| Between island and sink | 36-42 inches | Comfortable working triangle |
| Space for seating (if applicable) | 15-18 inches per person | For legroom and comfortable dining |
Finding the Perfect DIY Kitchen Island Plans
Numerous resources offer free and paid DIY kitchen island plans. Online platforms like Pinterest, YouTube, and dedicated woodworking websites are excellent places to start. Look for plans that match your skill level and desired aesthetic. Consider:
- Simplicity: For a first-time project, opt for a straightforward design.
- Customization: Can you adapt the plans to fit your specific dimensions and storage needs?
- Material Lists: Good plans will include detailed lists of materials and hardware.
Building Your Kitchen Island: Step-by-Step
This section outlines the general kitchen island construction steps. The specifics will vary based on your chosen plans.
Step 1: Gathering Your Materials and Tools
Once you have your plans and dimensions, it’s time to gather everything you need.
Essential Tools:
- Tape Measure
- Pencil
- Safety Glasses
- Miter Saw or Circular Saw
- Drill/Driver with various bits
- Level
- Sander (orbital or belt)
- Clamps
- Hammer
- Wood Glue
- Screws and Nails
Common Materials:
- Plywood (3/4 inch for cabinet boxes, 1/4 inch for backing)
- MDF or Particle Board (for some components if budget is tight)
- 2×4 lumber (for framing, if needed)
- Cabinet-grade plywood or pre-made cabinet boxes
- Countertop material (e.g., butcher block, laminate, granite remnants)
- Cabinet doors and drawer fronts (if not building from scratch)
- Drawer slides and hinges
- Wood filler
- Sandpaper (various grits)
- Primer and Paint or Stain and Sealer
- Hardware (knobs, pulls)
Step 2: Constructing the Base Cabinet Structure
The foundation of your island will likely be a sturdy cabinet box or multiple boxes.
- Using Pre-made Base Cabinets: This is the easiest and often most budget-friendly route. You can buy standard base cabinets from big box home improvement stores. Arrange them according to your plans, ensuring they are level and flush. Secure them together by screwing through the face frames from the inside.
- Building Custom Cabinet Boxes: If you’re comfortable with woodworking, you can build your own. This offers ultimate customization.
- Cut plywood to size for the sides, bottom, and top of your cabinet boxes.
- Assemble the boxes using wood glue and screws. Ensure corners are square.
- Install drawer slides and shelf supports as per your design.
Tip for Budget-Friendly Storage: Consider repurposing existing cabinets or using IKEA base cabinets as the foundation for your island.
Step 3: Adding Shelving and Drawers (Kitchen Island Storage Ideas)
This is where you maximize the utility of your island.
- Adjustable Shelves: Install shelf pins to create adjustable shelves for flexible storage.
- Fixed Shelves: If your plans call for fixed shelves, install them securely with screws and glue.
- Drawers: For smooth operation, use good quality drawer slides. Measure carefully for precise fit.
- Open Shelving: Some designs incorporate open shelves, perfect for displaying cookbooks or decorative items.
- Specialty Storage: Think about kitchen island storage ideas like:
- Pull-out trash and recycling bins.
- Spice racks that pull out.
- Wine racks or bottle storage.
- A cutting board that slides into a slot.
Step 4: Building the Frame and Securing the Base
Depending on your design, you might need to build a supporting frame.
- Framing: If your island is large or needs extra support, build a sturdy frame using 2×4 lumber. This frame will hold the cabinet boxes and provide a solid base for the countertop.
- Securing: Once the cabinet boxes and frame are assembled and positioned, secure them to the floor using L-brackets or specialized island securing hardware. Make sure the island is plumb and level before permanently fixing it.
Step 5: Creating the Countertop
The countertop is often the most visually impactful element.
-
Kitchen Island Countertop Materials:
- Butcher Block: A popular choice for a warm, natural look. It’s durable for chopping (especially maple or walnut) and can be sealed for moisture resistance. You can find pre-made butcher block slabs or glue up your own planks. A kitchen island with butcher block adds a classic, functional appeal.
- Laminate: The most budget-friendly option. Modern laminates offer a wide range of styles, mimicking wood, stone, or tile. Easy to install but less durable than stone or wood.
- Granite/Quartz Remnants: Check local stone yards for remnants. These are often large offcuts that can be purchased at a significant discount for smaller projects like islands.
- Concrete: Can be poured in place or cast as a slab. Offers a modern, industrial look. Requires sealing.
- Tile: A versatile and cost-effective option, but grout lines can be tricky to keep clean.
-
Installing the Countertop:
- Butcher Block: Cut to size using a circular saw with a fine-tooth blade. Sand smooth and seal thoroughly with food-safe mineral oil or a polyurethane finish.
- Laminate: Cut to size using a circular saw and a fine-tooth blade. Use contact cement to adhere the laminate to a plywood substrate, then trim the edges.
- Stone (Granite, Quartz): These are heavy and require careful handling. You may need to hire a professional for precise cutting and installation, especially if you’re creating an overhang. Secure stone countertops using construction adhesive and clips from underneath.
Step 6: Adding Doors, Drawers, and Finishing Touches
This is where your island starts to look like a finished piece of furniture.
- Install Cabinet Doors and Drawer Fronts: Attach hinges to doors and slides to drawers. Ensure they operate smoothly and are aligned correctly.
- Add Trim and Molding: Decorative trim can elevate the look of your island. Use quarter-round, cove molding, or beadboard to add visual interest.
- Sand and Prepare for Finishing: Fill any nail holes or gaps with wood filler. Sand the entire island smooth, working through progressively finer grits of sandpaper. Wipe away dust.
- Paint or Stain: Apply your chosen finish.
- Painting: Use a good quality primer, followed by two coats of semi-gloss or satin enamel paint for durability.
- Staining: Apply wood stain according to the manufacturer’s instructions. Once dry, apply a protective topcoat (polyurethane or polycrylic).
- Install Hardware: Attach your chosen knobs and pulls to the doors and drawers.
Incorporating Additional Features
Beyond the basic structure, you can add features that enhance both usability and style.
Kitchen Island Seating Options
If you plan for kitchen island seating, consider the type of seating and how it will integrate.
- Overhang: Most seating requires an overhang of the countertop. For stools, aim for 12-15 inches of legroom. Ensure your countertop is adequately supported by the island base or with hidden brackets.
- Stool Clearance: Allow about 24-30 inches of space per person when seating is integrated.
- Bar vs. Counter Height: Decide if you want bar stools (30-34 inch seat height) or counter stools (24-26 inch seat height).
Kitchen Island Lighting Considerations
Good lighting is essential for both task and ambient illumination.
- Pendant Lights: These are a popular choice for islands, drawing the eye and providing focused light over the prep area.
- Recessed Lighting: Can provide general ambient light for the kitchen.
- Under-Cabinet Lighting: LED strips under the island’s overhang can create a warm, inviting glow and highlight decorative elements.
- Task Lighting: If you have specific workspaces, consider directed task lighting.
Tip: Ensure your lighting plan considers electrical outlets and wiring needs. If you’re not comfortable with electrical work, hire a qualified electrician.
Kitchen Island with Sink Installation
Adding a sink to your island is a significant undertaking but adds immense functionality.
- Plumbing: This is the most complex part. You’ll need to run new water supply lines and a drain line to the island. This often involves cutting into existing plumbing and possibly the subfloor.
- Sink Base Cabinet: You’ll need a specialized sink base cabinet that accommodates the sink and plumbing.
- Countertop Cutout: Precise cutting of the countertop material is required for the sink.
- Professional Help: For a kitchen island with sink, it’s highly recommended to consult or hire a plumber and potentially a cabinet maker for the sink base.
Budget-Friendly Tips and Tricks
- Repurpose and Recycle: Look for used cabinets, old furniture pieces that can be adapted, or reclaimed wood.
- Focus on Laminate or Butcher Block: These are generally more affordable countertop options.
- DIY Countertop: If you’re adventurous, pouring your own concrete countertop or creating a tiled surface can save money.
- Simple Design: Avoid overly complex designs with many intricate cuts or specialized features.
- Shop Sales: Keep an eye out for sales at home improvement stores.
- Patience: Building it yourself takes time, but it saves labor costs.
Frequently Asked Questions (FAQ)
Q1: How much does it cost to build a DIY kitchen island?
A1: The cost can vary significantly, from a few hundred dollars for a very basic laminate island using repurposed cabinets to over a thousand dollars for a larger island with a stone countertop and custom features.
Q2: Do I need a permit to build a kitchen island?
A2: Generally, minor interior renovations like building a freestanding island don’t require a permit. However, if you are adding plumbing (sink) or electrical work, permits are usually mandatory. Check with your local building department.
Q3: How strong does the island base need to be?
A3: It needs to be strong enough to support the weight of the countertop, appliances (if any), and the items you’ll store inside. Using sturdy plywood for cabinet construction and secure attachment to the floor is essential.
Q4: Can I build a kitchen island with a granite countertop myself?
A4: While the cabinet structure can be DIY, granite installation is best left to professionals due to the weight, specialized tools, and precision required for cutting and fitting.
Q5: What is the best material for a kitchen island countertop for heavy use?
A5: For heavy use, granite, quartz, and thick butcher block (hardwoods like maple or walnut) are excellent choices. They are durable and can withstand frequent use.
Building your own kitchen island is a rewarding project that can significantly enhance your kitchen’s functionality and aesthetic. By carefully planning, following these steps, and making smart material choices, you can create a beautiful and practical addition to your home without overspending. Happy building!