
How to wash kitchen cabinets? You wash kitchen cabinets by first clearing them out, then dusting, wiping with a gentle cleaner, rinsing, and drying. For tougher spots, a slightly stronger solution might be needed.
Kitchen cabinets are the unsung heroes of your culinary space. They hold everything from your everyday essentials to your special occasion china. Over time, though, they can gather dust, grime, and stubborn grease. Giving them a good clean isn’t just about aesthetics; it can also prolong their life and create a more pleasant cooking environment. This comprehensive guide will walk you through every step of kitchen cabinet deep cleaning to achieve that sparkling finish.
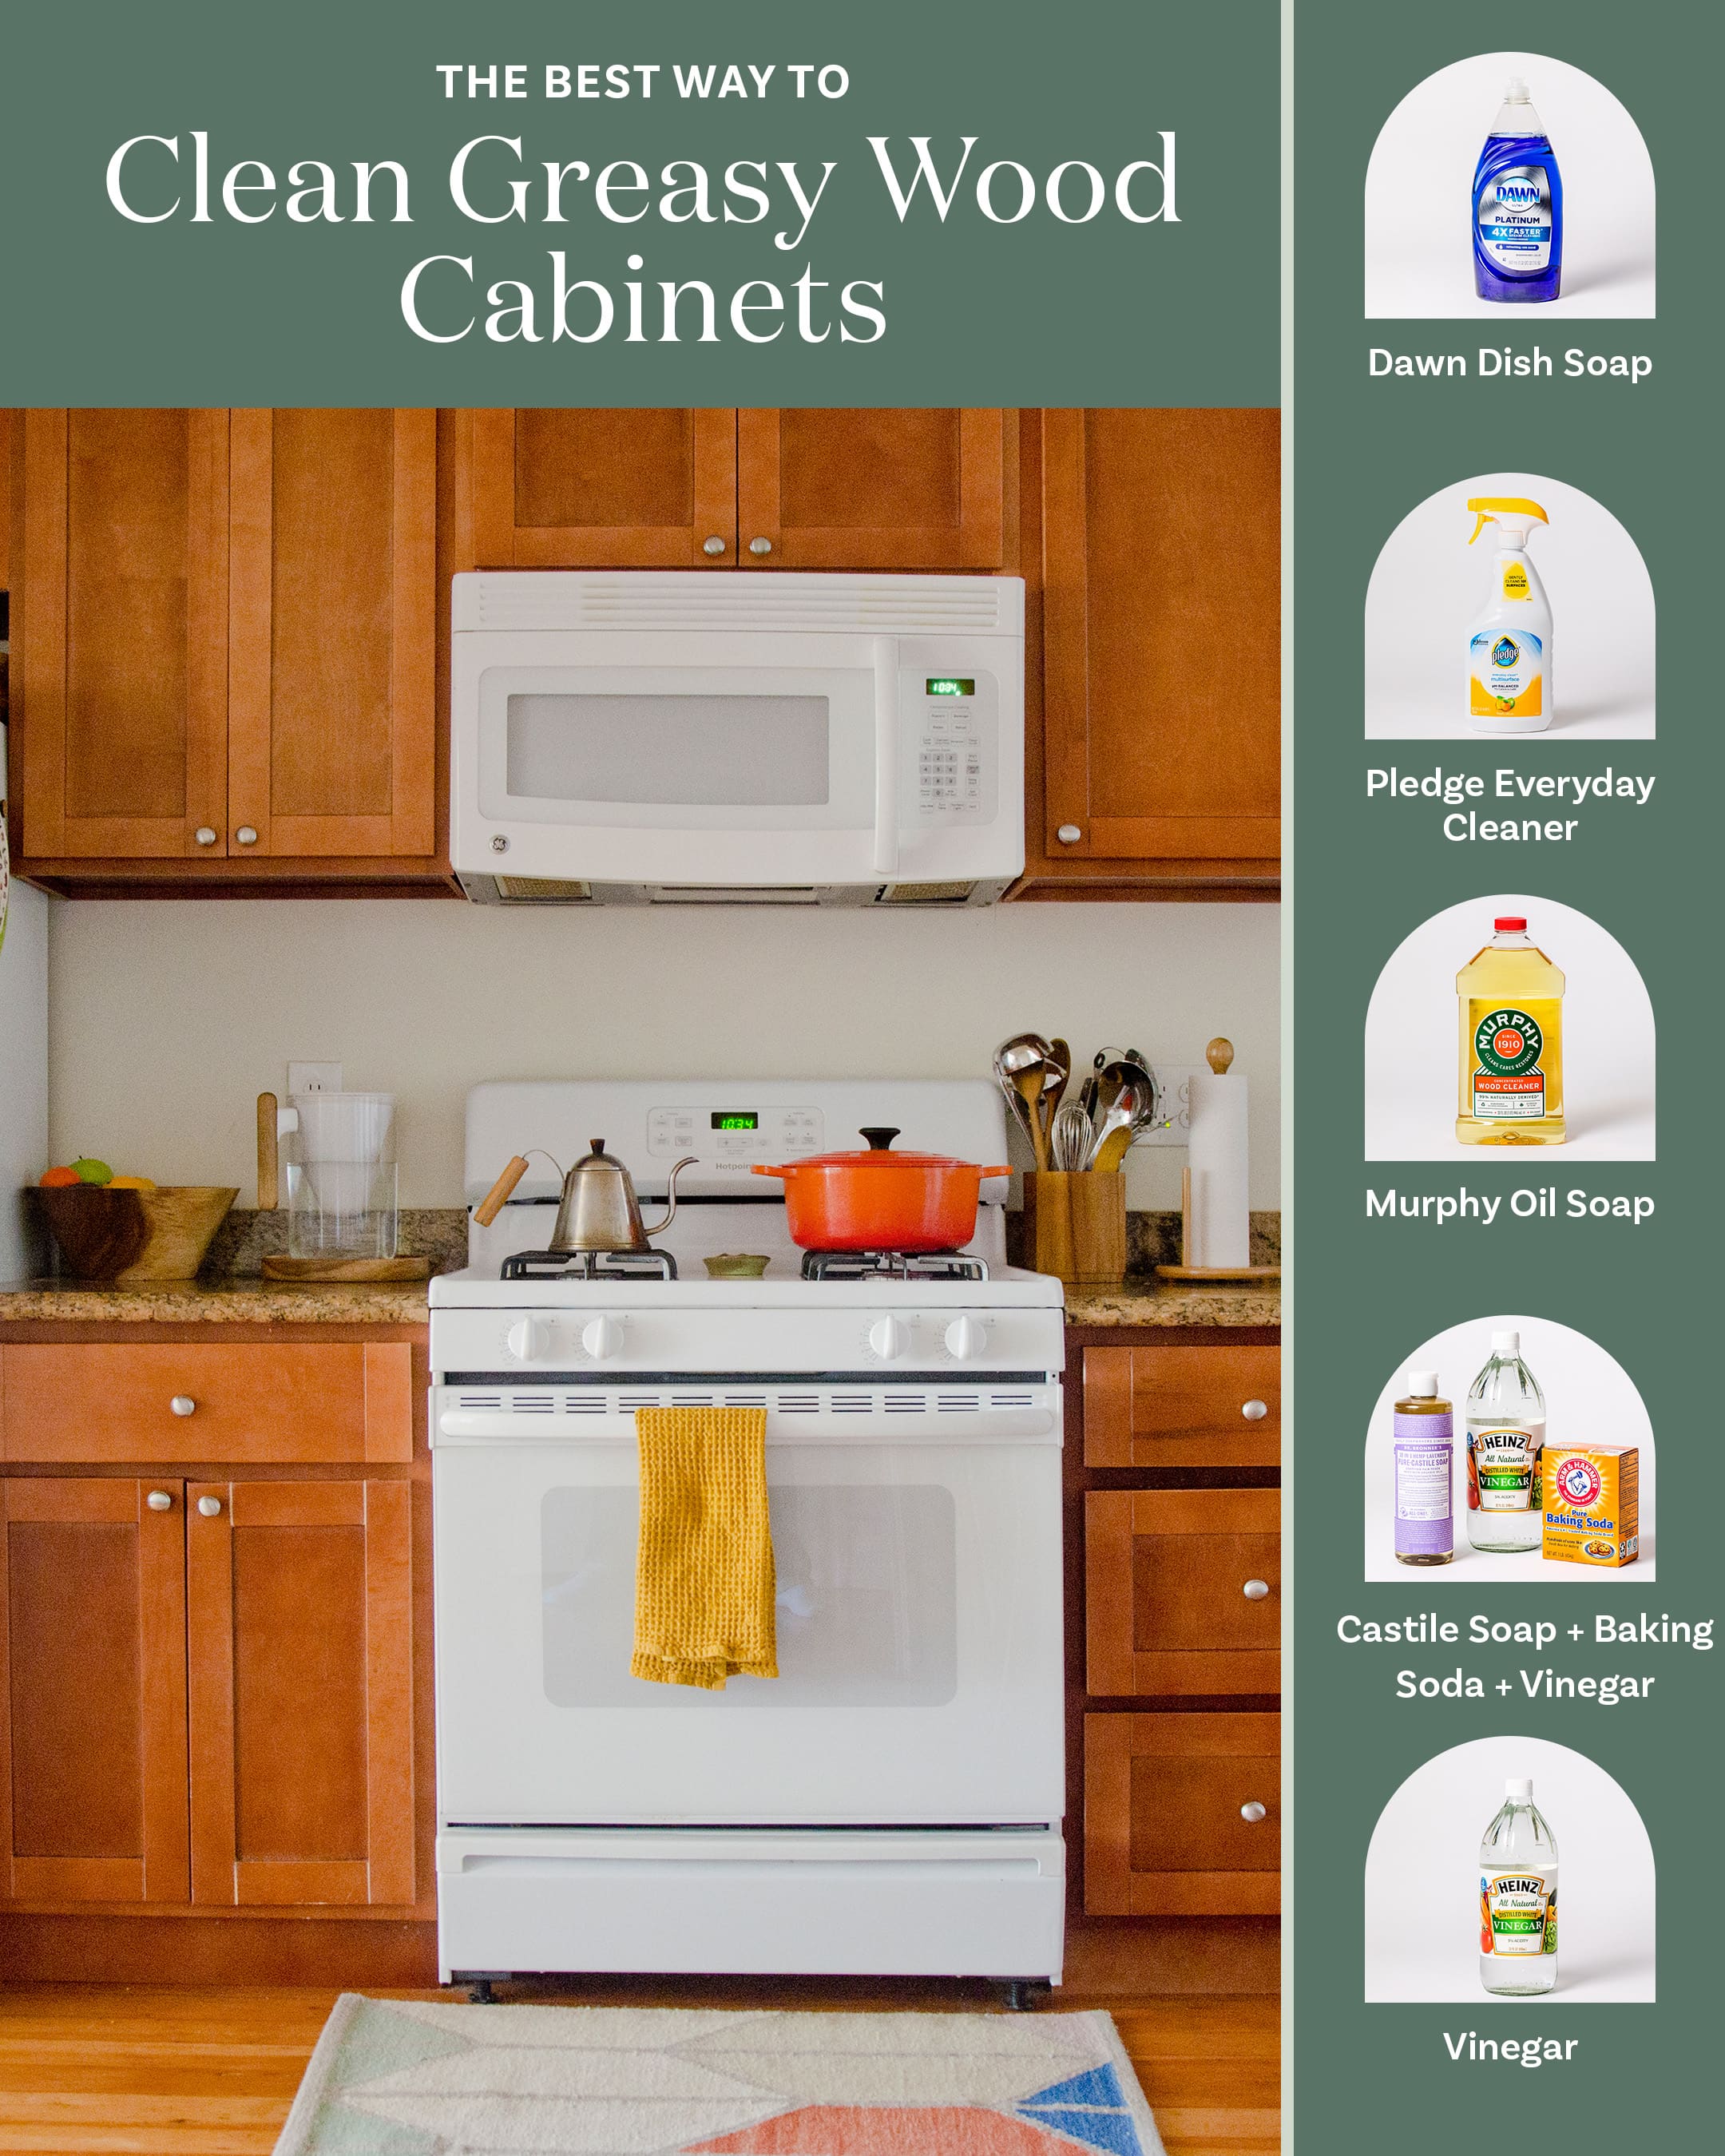
Image Source: cdn.apartmenttherapy.info
Deciphering Your Cabinet Material
Before you grab the first cleaner you see, it’s crucial to know what your cabinets are made of. Different materials require different care.
- Wood Cabinets (Solid Wood & Veneer): These are common and beautiful.
- Solid Wood: Durable, but can be sensitive to too much moisture.
- Veneer: Thin layers of wood glued to a core material. Can be easily damaged by harsh abrasives or excessive water.
- Laminate Cabinets: Made from composite wood covered with a decorative paper or plastic layer. They are generally durable and easy to clean.
- Thermo-foil Cabinets: A vinyl film applied to particleboard or MDF. They can be sensitive to heat and abrasive cleaners.
- Painted Cabinets: The finish type (e.g., latex, oil-based) will influence the best cleaning method.
Knowing your cabinet material is the first step to choosing the best way to clean kitchen cabinets.
Preparing for the Clean-Up
A little preparation goes a long way in making your cabinet cleaning smoother and more effective.
Step 1: Empty the Cabinets
This is non-negotiable for a thorough clean.
- Take everything out of each cabinet and drawer.
- Group similar items together as you remove them. This makes putting them back easier.
- Wipe down any items that are also dusty before storing them temporarily.
Step 2: Dust and Debris Removal
A good dusting is essential before you introduce any moisture.
- Use a dry microfiber cloth to wipe down all surfaces.
- A soft-bristled brush or a vacuum cleaner with a brush attachment can help get into corners and edges.
- Pay attention to the top edges and the undersides of shelves, where dust tends to settle.
Cleaning Kitchen Cabinet Doors: Tackling the Exterior
The cabinet doors are the most visible part of your kitchen cabinetry. Cleaning kitchen cabinet doors effectively will make a huge difference in the overall look of your kitchen.
Step 3: Gentle Cleaning Solution
For most cabinet finishes, a mild cleaning solution is best.
- DIY Kitchen Cupboard Cleaner: Mix warm water with a few drops of mild dish soap in a spray bottle. This is a safe and effective starting point.
- Natural Kitchen Cabinet Cleaner: For a more natural approach, combine equal parts white vinegar and water in a spray bottle. Vinegar is excellent for cutting through grease and grime.
Step 4: Wiping Down the Doors
Work in sections to prevent the cleaner from drying on the surface.
- Lightly spray your chosen cleaner onto a clean microfiber cloth, not directly onto the cabinet doors.
- Wipe down each door, following the grain of the wood if applicable.
- For painted cabinets, test the cleaner in an inconspicuous spot first to ensure it doesn’t damage the paint.
Step 5: Removing Grease from Kitchen Cupboards
Grease is a common enemy in the kitchen. Removing grease from kitchen cupboards requires a slightly more targeted approach.
- Dish Soap Power: Dish soap is designed to cut through grease, so the mild dish soap and water solution is often enough.
- Vinegar’s Strength: The vinegar and water solution is also great for grease.
- Baking Soda Paste (for stubborn spots): For areas with heavy grease build-up, make a paste of baking soda and water. Apply it to the greasy spot, let it sit for a few minutes, then gently wipe it away with a damp cloth. Be cautious with this on delicate finishes, as baking soda is mildly abrasive.
- Rubbing Alcohol (for tough grease): In small amounts, rubbing alcohol can be very effective at dissolving grease. Apply it to a cloth and wipe the affected area. Ensure good ventilation.
Step 6: Rinsing and Drying
After cleaning, it’s important to remove any cleaning residue.
- Dampen a clean microfiber cloth with plain water and wipe down the doors to rinse.
- Immediately dry the doors with a separate, dry microfiber cloth to prevent water spots and streaks. This step is critical for wood and veneer cabinets to avoid moisture damage.
Cleaning Kitchen Cabinet Interiors
Don’t forget the inside! Cleaning kitchen cabinet interiors ensures a hygienic and pleasant storage space.
Step 7: Interior Cleaning
The process for the interiors is similar to the exteriors, but you can be a bit more direct with your cleaning.
- Shelves and Drawers: Wipe down all interior surfaces using your chosen cleaning solution and a microfiber cloth.
- Stubborn Stains: For any dried-on food spills or stubborn stains inside cabinets, a baking soda paste can be very effective. Apply, let sit, and wipe away.
- Odors: If you notice any lingering odors, a small bowl of baking soda left in the cabinet overnight can help absorb them. You can also wipe down interiors with a diluted vinegar solution, as vinegar neutralizes many odors.
- Drawer Slides: Wipe down drawer slides to ensure smooth operation. A dry cloth is usually sufficient. If they feel sticky, a tiny amount of silicone lubricant can help, but avoid oil-based lubricants that can attract dust.
Special Considerations for Different Finishes
Some cabinet finishes require extra care.
Laminate and Thermo-foil
- Avoid Abrasives: Never use abrasive cleaners, scrub brushes, or steel wool. These can scratch and damage the surface.
- Heat Sensitivity: Be cautious with heat from appliances or even hot water, as thermo-foil can peel or bubble.
- Mild Soap is Key: Stick to mild dish soap and water for regular cleaning. For tougher spots, a diluted vinegar solution is generally safe.
Painted Cabinets
- Know Your Paint Type: Latex paints are generally more durable than oil-based paints for cleaning.
- Gentle Approach: Always start with the mildest cleaning solution.
- Test First: Before applying any cleaner to the entire door, test it on a small, hidden area to ensure it doesn’t cause the paint to fade, peel, or blister.
- Avoid Harsh Chemicals: Bleach or ammonia-based cleaners can be too harsh.
Wood and Veneer Cabinets
- Minimize Moisture: Excessive water can warp wood and cause veneer to lift. Always use a damp, not wet, cloth and dry immediately.
- Follow the Grain: When wiping and polishing, always move in the direction of the wood grain.
- Wood Polish: After cleaning, you might want to polish kitchen cabinets made of wood. A good quality wood polish can restore shine and protect the finish. Apply a small amount to a clean cloth and buff gently.
Kitchen Cabinet Cleaning Hacks and Tips
Here are some handy kitchen cabinet cleaning hacks to make the job easier and more effective.
Table: Cleaning Arsenal
| Item | Purpose | Notes |
|---|---|---|
| Microfiber Cloths | Dusting, wiping, polishing | Have plenty on hand; they are essential for streak-free results. |
| Soft Bristle Brush | Getting into crevices, corners | Good for initial dusting or cleaning tight spots. |
| Vacuum Cleaner | Dusting and debris removal | Use with a brush attachment for cabinets. |
| Spray Bottles | Mixing cleaning solutions | Label them clearly (e.g., “Vinegar Solution,” “Soapy Water”). |
| Mild Dish Soap | General cleaning, grease cutting | A little goes a long way. |
| White Vinegar | Grease removal, disinfecting, natural cleaner | Dilute with water for most surfaces. |
| Baking Soda | Scrubbing paste for tough spots | Use sparingly on delicate finishes; always test first. |
| Rubbing Alcohol | Tough grease, disinfects | Use in well-ventilated areas and sparingly. |
| Wood Polish | Restoring shine, protecting wood cabinets | Choose a polish appropriate for your cabinet’s finish. |
| Cotton Swabs/Q-tips | Cleaning small crevices, hardware | Ideal for around knobs and hinges. |
| Old Toothbrush | Cleaning intricate details, hardware | Excellent for getting into tight corners and around cabinet handles. |
Handling Hardware
Knobs, handles, and hinges can also get grimy.
- Remove if Possible: For a deeper clean, consider removing knobs and handles.
- Cleaning Solutions:
- Metal Hardware: For brass or chrome, a vinegar and water solution or a dedicated metal polish can work well. For stainless steel, a specific stainless steel cleaner is often best.
- Painted/Coated Hardware: Treat these like painted cabinet doors – use a mild soap and water solution.
- Cleaning Around Hinges: Use a cotton swab or an old toothbrush dipped in your cleaning solution to get into the tight spaces around hinges. Dry thoroughly afterward.
Reassembling and Organizing
Once everything is clean and dry, it’s time to put things back.
- Organize as you go: While putting items back, take the opportunity to organize your kitchen items. Use drawer dividers or small bins to keep things tidy.
- Line Shelves: Consider using shelf liners to protect the cabinet interiors and make future clean-ups even easier.
How to Polish Kitchen Cabinets
Polishing can restore the gleam and provide a protective layer. This is particularly beneficial for wood and laminate cabinets.
For Wood Cabinets:
- Ensure Cleanliness: The cabinets must be clean and completely dry before polishing.
- Choose Your Polish: Select a quality furniture polish or wax specifically designed for wood. There are natural wood polish options available if you prefer.
- Apply Sparingly: Apply a small amount of polish to a clean, soft cloth (not directly to the cabinet).
- Buff Gently: Rub the polish onto the cabinet doors and frames, working in the direction of the wood grain.
- Buff to a Shine: Use a separate, clean, dry cloth to buff the surface to a lovely shine. This removes excess polish and brings out the luster.
For Laminate and Painted Cabinets:
- Check Manufacturer Recommendations: Some laminate manufacturers advise against polish. Always check the manufacturer’s guidelines.
- Mild Polish/Protectant: If recommended or if you want to add a protective sheen, use a product specifically designed for laminate or a very mild furniture polish. Test in an inconspicuous area first.
- Avoid Wax: Wax can build up on laminate and may be difficult to remove.
Maintaining That Sparkle
Keeping your kitchen cabinets looking their best is an ongoing process.
Daily Wipe-Downs
- Wipe up spills and splatters as soon as they happen with a damp cloth. This prevents them from becoming ingrained.
- Quickly wipe down cabinet fronts, especially around the stove, to remove any fresh grease.
Weekly Touch-Ups
- A quick dusting of the cabinet exteriors can prevent dust build-up.
- Wipe down frequently touched areas like cabinet pulls and drawer fronts.
Monthly or Quarterly Deep Clean
- Perform a more thorough cleaning, including the cabinet interiors, at least every few months, or more often if needed.
Frequently Asked Questions (FAQ)
Q1: Can I use all-purpose cleaners on my kitchen cabinets?
A1: It’s best to avoid general all-purpose cleaners unless they specifically state they are safe for your cabinet material. Many can contain harsh chemicals or abrasives that could damage the finish. Always test in an inconspicuous area first.
Q2: How do I get rid of water stains on my cabinets?
A2: For light water stains on wood cabinets, you can try rubbing with a soft cloth and a bit of petroleum jelly, then buffing. For tougher stains, a very fine steel wool (0000 grade) used very gently with a bit of mineral oil can sometimes lift them, but this carries a risk of damaging the finish, so test in a hidden spot first. For painted cabinets, you might need touch-up paint.
Q3: My cabinets have a sticky residue from cooking spray. How do I remove it?
A3: The sticky residue is often a combination of grease and food particles. A solution of equal parts white vinegar and water is excellent for cutting through this. For very stubborn residue, a paste of baking soda and water, applied gently and then wiped away with a damp cloth, can also be effective. Always rinse and dry thoroughly afterward.
Q4: What’s the best way to clean the inside of my drawers?
A4: First, empty the drawers completely. Then, wipe down the interiors with a damp cloth using a mild soap and water solution or a diluted vinegar solution. For any tough spots, a baking soda paste can be used. Ensure the drawers are completely dry before putting items back.
Q5: How often should I polish my kitchen cabinets?
A5: This depends on the finish and your preference. For wood cabinets, polishing once or twice a year can help maintain their shine and protection. For laminate or painted cabinets, polishing is often unnecessary unless recommended by the manufacturer, and a simple wipe-down with a damp cloth is usually sufficient.
By following these steps and tips, you can transform your kitchen cabinets from drab to dazzling, ensuring they look their best and serve you well for years to come. Your kitchen will not only look cleaner but feel more hygienic and inviting.