
Can you install a kitchen hood yourself? Yes, with the right tools and a careful approach, many homeowners can successfully install a kitchen hood. This guide will walk you through the process step-by-step, covering everything from preparation to the final connections, making kitchen vent installation a manageable task.
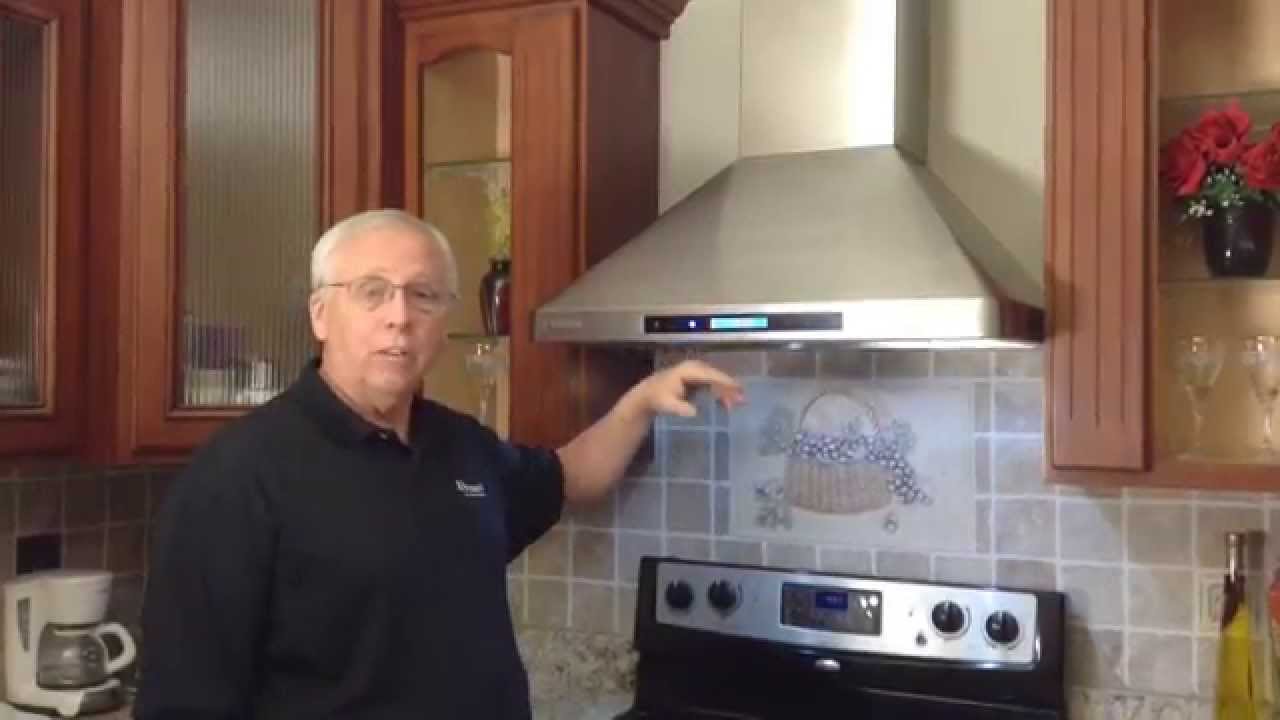
Image Source: i.ytimg.com
Preparing for Your Kitchen Hood Installation
Before you begin, gather your tools and materials. Proper preparation is key to a smooth installation. Think of it as laying the groundwork for a safe and effective kitchen ventilation system.
Essential Tools and Materials
Having the right equipment on hand will save you time and frustration. Here’s a checklist:
- Kitchen Hood Unit: Ensure you have the correct type (under-cabinet, wall mount, etc.) and that it fits your space.
- Screwdriver Set: Both Phillips and flathead screwdrivers are usually needed.
- Drill and Drill Bits: For creating pilot holes and driving screws.
- Measuring Tape: For accurate placement.
- Level: To ensure the hood is straight.
- Pliers: For electrical connections.
- Wire Strippers: To prepare electrical wires.
- Voltage Tester: To ensure the power is off.
- Safety Glasses: To protect your eyes.
- Gloves: For grip and protection.
- Stud Finder: To locate wall studs for secure mounting.
- Duct Tape: If you are installing a ducted system, for sealing joints.
- Mounting Hardware: Screws, bolts, and brackets, often included with the hood but sometimes requiring specific types for your wall or cabinet.
- Electrical Tape: For insulating wire connections.
- Caulking Gun and Caulk: For sealing any gaps if required.
- Pencil: For marking.
- Jigsaw or Reciprocating Saw: If you need to cut a hole for ductwork.
- Ladder or Stool: For reaching the installation area.
Choosing the Right Kitchen Hood
The type of hood you choose impacts the installation process.
- Under Cabinet Hoods: These are mounted directly beneath your kitchen cabinets. They are generally the simplest to install.
- Wall Mount Hoods: These are mounted directly to the wall above your stove. They often require more secure mounting due to their weight and size.
- Ductless Hoods: These recirculate air through filters and don’t require an external vent. Ductless hood setup is often simpler as it avoids cutting holes in walls or roofs.
- Ducted Hoods: These vent air outside, requiring a duct to be run from the hood to the exterior. This is essential for effective removal of smoke and grease. Ducted range hood wiring needs to be done carefully.
Safety First!
- Turn Off Power: Locate your electrical panel and turn off the breaker for the kitchen circuit. Use a voltage tester to confirm the power is off at the intended connection point.
- Read the Manual: Each hood comes with specific installation instructions. Always refer to the manufacturer’s manual for your particular model.
- Get Help if Needed: If you’re uncomfortable with any part of the process, especially electrical work, hire a professional. A professional kitchen hood installation ensures everything is done correctly and safely.
Installing an Under Cabinet Hood
This is a common choice for its practicality and ease of installation.
Step 1: Measure and Mark
- Measure the width of your stove. The hood should ideally be the same width or slightly wider.
- Determine the correct mounting height. The manufacturer’s manual will specify this, usually between 24 to 30 inches above the stovetop.
- Using your measuring tape and level, mark the desired mounting line on the underside of your cabinet.
Step 2: Prepare the Cabinet
- Some under cabinet hoods require you to cut a hole for the exhaust. Check your model’s manual. If so, mark the opening needed based on the hood’s dimensions or the duct outlet.
- If your hood has a built-in light or fan, you’ll need to route the electrical cable. This might involve drilling a small hole through the back of the cabinet or the underside.
Step 3: Mounting the Hood
- Hold the hood in place against the underside of the cabinet.
- Use your drill to create pilot holes through the mounting brackets on the hood and into the cabinet.
- Secure the hood with the provided screws. Ensure it is firmly attached and level.
Step 4: Connecting the Ductwork (If Applicable)
- If your hood is ducted, you’ll need to connect it to your range hood exhaust vent.
- Attach the duct connector to the hood’s outlet.
- Run the ductwork from the hood to the wall or ceiling opening that leads outside.
- Secure all duct connections with screws or clamps and seal them with foil tape. Make sure there are no kinks in the duct.
Step 5: Electrical Connections
This is a critical step. If you are unsure, call an electrician.
- Access the hood’s junction box, usually located on the top or back of the unit.
- Carefully strip a small amount of insulation from the ends of the wires from your home’s wiring and the hood’s wires.
- Connect the wires: Black (hot) to black, white (neutral) to white, and green or bare copper (ground) to ground. Use wire nuts for secure connections.
- Ensure all connections are tight and insulated with electrical tape.
- Tuck the wires neatly into the junction box and secure the cover.
Step 6: Final Checks
- Ensure the hood is securely mounted.
- Double-check all electrical connections.
- Turn the power back on at the breaker panel.
- Test the fan and light to confirm they are working.
Installing a Wall Mount Hood
Wall mount hoods are often larger and heavier, requiring more robust mounting.
Step 1: Locate Studs and Mark Placement
- Your stove will dictate the hood’s position. Measure the correct height above the stovetop as per the manufacturer’s guidelines.
- Use a stud finder to locate the wall studs behind your desired mounting location. Mark the center of the studs.
- Hold the mounting bracket or the hood itself against the wall at the correct height. Use a level to ensure it’s perfectly horizontal.
- Mark the screw hole locations on the wall, ensuring they align with the studs.
Step 2: Drill Pilot Holes and Mount Brackets
- Drill pilot holes at the marked locations. The size of the pilot hole should be slightly smaller than the diameter of your mounting screws.
- If your hood comes with a separate mounting bracket, attach it securely to the wall using the appropriate screws. Ensure it is flush and level.
Step 3: Hanging the Hood
- Many wall mount hoods are designed to hang on the bracket. Carefully lift the hood and hook it onto the mounting bracket.
- Some hoods may require you to secure them further with screws from the bottom or through the back. Refer to your manual.
Step 4: Connecting Ductwork
- This process is similar to the under-cabinet hood. Align the range hood exhaust vent opening with the hole in your wall or ceiling.
- Connect the duct collar to the hood and then attach your ductwork.
- Seal all duct joints with foil tape to prevent air leaks. Ensure the ducting runs smoothly to the exterior vent cap.
Step 5: Electrical Connections
- As with under-cabinet hoods, turn off the power at the breaker. Confirm with a voltage tester.
- Route the power supply cable from your home’s wiring to the hood’s junction box. This might involve fishing the wire through the wall if there isn’t an existing opening.
- Connect the wires using wire nuts: hot to hot, neutral to neutral, and ground to ground.
- Secure the connections and tuck them neatly into the junction box.
Step 6: Finishing Touches
- Some wall mount hoods have decorative canopies or covers that slide over the ductwork. Install these according to the manual.
- Ensure all screws are tightened and the hood is stable.
- Restore power and test the hood’s functions.
Installing a Ductless Hood
These are popular for kitchens where running ductwork is difficult or impossible.
Step 1: Prepare the Mounting Area
- Determine the correct mounting height above your stove.
- Mark the mounting points on the wall or underside of the cabinet based on the hood’s template or dimensions.
Step 2: Mounting the Hood
- For under-cabinet ductless hoods, secure the unit to the underside of the cabinet using screws, as described for ducted under-cabinet models.
- For wall-mount ductless hoods, locate studs, drill pilot holes, and attach any necessary mounting brackets. Then, hang or secure the hood to the bracket.
Step 3: Electrical Connections
- Ductless hoods often come with a power cord that plugs directly into an outlet. If an outlet is not conveniently located, you may need to have one installed by an electrician.
- If the hood requires a hardwired connection, follow the same electrical connection steps as described for ducted hoods (Step 5 for under-cabinet, Step 5 for wall mount).
Step 4: Filter Installation
- Ductless hoods rely on filters to clean the air. Ensure you correctly install the charcoal and grease filters as per the manufacturer’s instructions. These are usually accessible from the front or bottom of the hood.
Step 5: Testing
- With power restored, test the fan and light. Ensure the filters are seated properly.
Replacing an Old Range Hood
A DIY range hood replacement can be a straightforward project if you’re familiar with basic wiring and mounting.
Step 1: Turn Off Power
- Crucially, turn off the power to the existing hood at the breaker box. Test to confirm the power is off.
Step 2: Remove the Old Hood
- Disconnect Ductwork: Carefully detach any ductwork connected to the old hood. If it’s taped, cut the tape. If it’s screwed, unscrew it.
- Disconnect Wiring: Open the junction box on the old hood and carefully disconnect the wires.
- Unscrew the Hood: Unscrew the hood from the cabinet or wall. You might need someone to help hold it while you remove the last screws.
- Lower the Old Hood: Gently lower the old hood from its position.
Step 3: Prepare for the New Hood
- Clean the mounting area.
- Compare the mounting holes and duct openings of the old and new hoods. You may need to drill new holes or adapt existing ones.
- If you’re switching from a ducted to a ductless hood, you’ll need to patch any existing duct openings. If you’re switching from ductless to ducted, you’ll need to create a new opening for the duct.
Step 4: Install the New Hood
- Follow the installation steps for your specific type of hood (under cabinet, wall mount, ducted, or ductless) as outlined in the previous sections.
- Pay close attention to ducted range hood wiring and secure mounting, especially if the new hood is heavier or has different mounting points.
Step 5: Connect Ductwork and Wiring
- Connect the new hood to the existing or new ductwork. Seal all connections.
- Make the electrical connections for the new hood, ensuring correct wire pairings and secure connections within the junction box.
Step 6: Test and Finish
- Restore power and test all functions of the new hood.
Common Installation Challenges and Solutions
Even with careful planning, you might encounter issues.
Table: Common Installation Issues and Solutions
| Issue | Cause | Solution |
|---|---|---|
| Hood is not level. | Uneven mounting surface or bracket. | Use shims behind the bracket or hood to correct any tilt. Re-measure and mark carefully. |
| Ductwork doesn’t fit. | Incorrect measurements or incompatible duct sizes. | Purchase adapter fittings. Ensure you’re using standard duct sizes. Double-check measurements before purchasing ductwork. |
| Electrical wires are too short. | Existing wiring is not positioned ideally. | Extend the wiring by splicing in additional wire of the same gauge, using wire nuts and electrical tape. Consult an electrician if unsure. |
| Cannot find studs for mounting. | Studs are not where expected or wall construction differs. | Use toggle bolts or heavy-duty drywall anchors rated for the hood’s weight if studs are unavailable and mounting directly to studs is impossible. Ensure anchors are suitable for the hood’s weight. |
| Hood vibrates or is noisy. | Loose mounting screws or unbalanced fan. | Tighten all mounting screws. Check if the fan blades are obstructed or if the hood is vibrating against the cabinet or wall. Some vibration is normal, but excessive noise indicates a problem. |
| Exhaust vent hole is too small. | Incorrect hole size for ducting. | Use a jigsaw or reciprocating saw to carefully enlarge the hole to accommodate the ductwork. |
Frequently Asked Questions (FAQ)
Q: How high should I mount my kitchen hood?
A: The ideal mounting height varies by hood type and manufacturer, but it’s typically between 24 and 30 inches above your stovetop. Always consult your hood’s manual for the specific recommendation.
Q: Do I need a permit for kitchen hood installation?
A: In some areas, permits may be required, especially if you are altering structural elements or electrical wiring. Check with your local building department for regulations.
Q: What is the difference between a ducted and ductless hood?
A: A ducted hood vents smoke, grease, and odors outside your home through ductwork. A ductless hood filters the air and recirculates it back into the kitchen. Ducted hoods are generally more effective at removing pollutants.
Q: Can I use flexible ducting for my range hood exhaust vent?
A: While flexible ducting can be used in some situations, rigid metal ducting is generally preferred. Flexible ducting can trap grease and debris, reduce airflow efficiency, and is more prone to damage. If using flexible ducting, ensure it’s kept as straight and short as possible.
Q: How do I clean my kitchen hood filters?
A: Most grease filters are dishwasher safe or can be washed by hand with hot, soapy water. Charcoal filters in ductless hoods are usually not washable and need to be replaced periodically. Refer to your hood’s manual for specific cleaning and replacement instructions.
Q: Is it safe to do a DIY range hood replacement myself?
A: For many DIYers, replacing a range hood is a manageable project. However, if you are not comfortable with electrical wiring or cutting into cabinetry/walls, it’s best to hire a professional. Safety should always be the top priority.
By following these detailed steps, you can successfully install your new kitchen hood, improving your kitchen’s air quality and your cooking experience. Remember to prioritize safety and consult your manual for specific guidance.