
Can you clean greasy kitchen cabinets with dish soap? Yes, you can! Dish soap is a fantastic grease-cutting ingredient that works wonders on kitchen cabinets. This guide will walk you through how to make your cabinets shine again, no matter the material.
Kitchen cabinets are workhorses in any home. They house our dishes, pots, pans, and pantry staples. But with all that use comes grime. Cooking splatters, fingerprints, and general kitchen dust can quickly turn even the most beautiful cabinets dull and greasy. Fret not! Tackling this common kitchen problem is easier than you might think. Whether your cabinets are painted, wood, laminate, or stainless steel, there’s a method to restore their gleam without harsh chemicals or endless scrubbing.
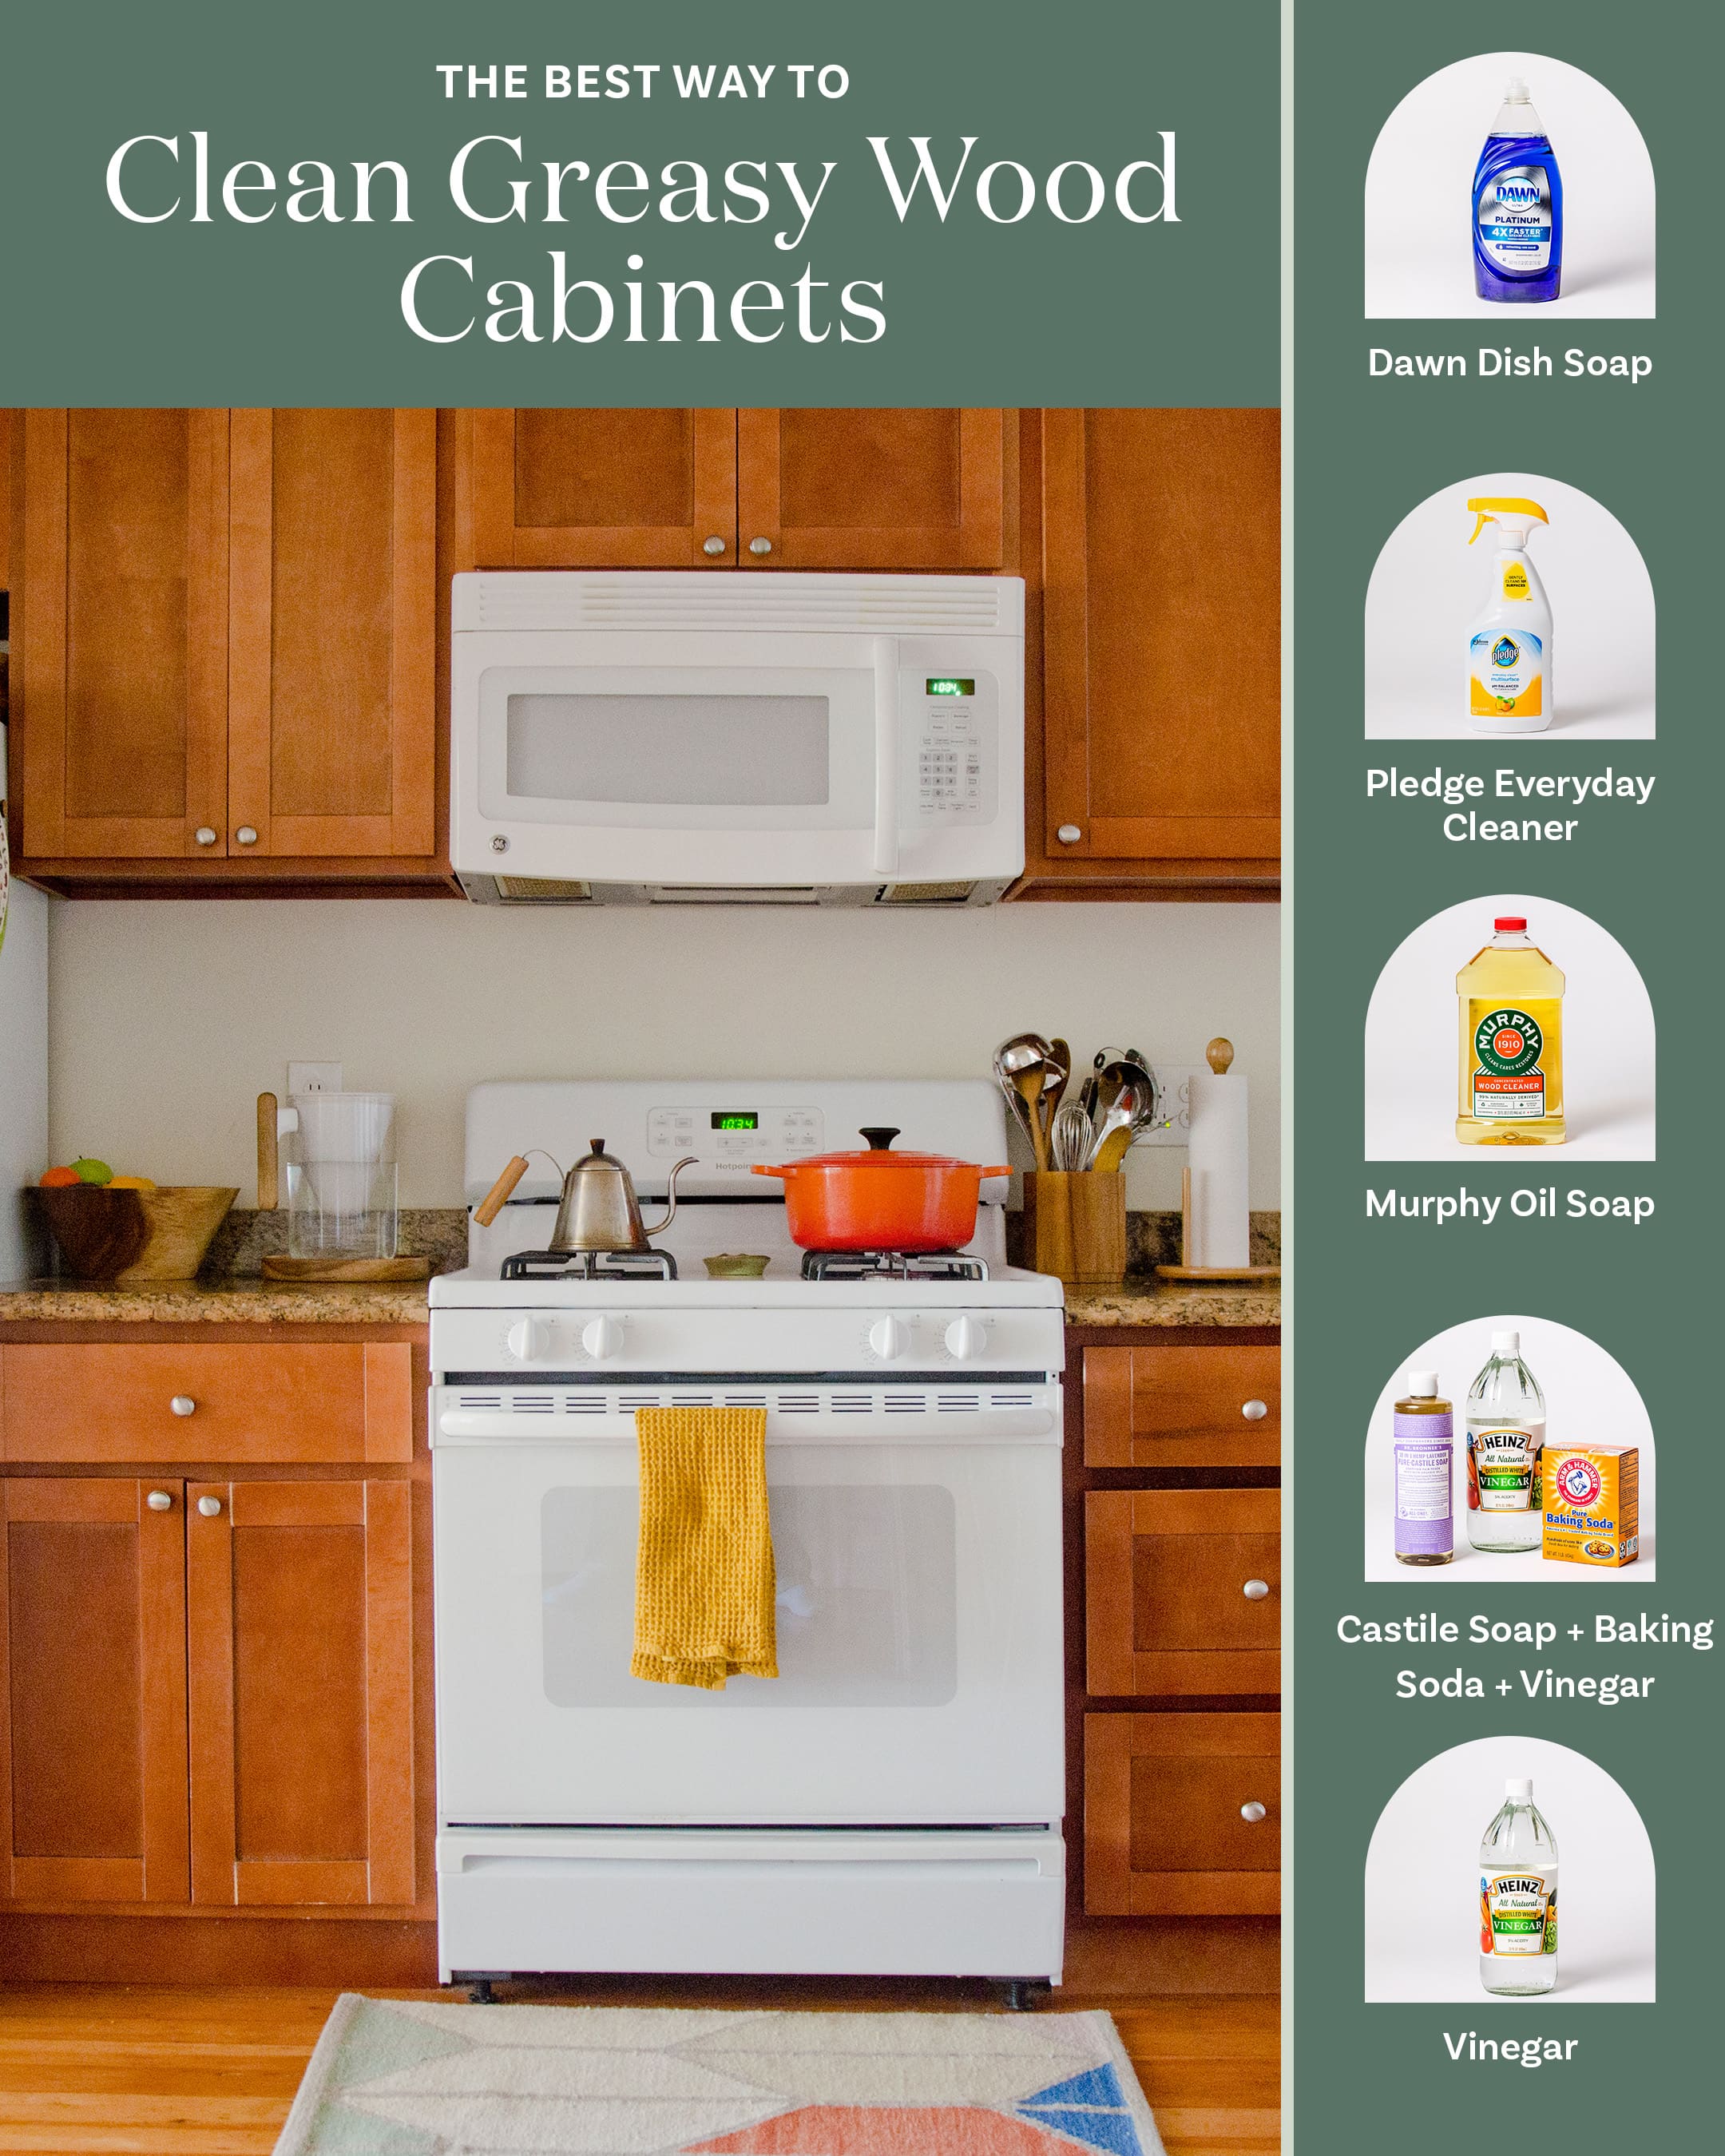
Image Source: cdn.apartmenttherapy.info
Why Cabinets Get Greasy
Before we dive into cleaning, let’s briefly touch on why cabinets accumulate grease. It’s a combination of factors:
- Cooking Steam and Splatter: When you cook, especially frying or sautéing, tiny oil droplets become airborne. These particles settle on all surfaces, including your cabinets.
- Heat: Heat can make grease molecules stickier, making them harder to remove once they’ve landed.
- Fingerprints and Handling: We touch our cabinets constantly. Our hands carry natural oils that transfer to the cabinet surfaces.
- Airborne Particles: Dust and other airborne particles in the kitchen can stick to the existing grease layer, creating a thicker, more stubborn film.
Preparing Your Kitchen for Cleaning
A little preparation goes a long way to make your cabinet cleaning smooth and efficient.
Emptying the Cabinets (Optional but Recommended)
While you don’t have to empty all your cabinets, it can be helpful for deep cleaning. If you’re dealing with significant grease buildup or planning a thorough overhaul, consider:
- Removing dishes and pantry items: This prevents them from getting wet or sprayed with cleaning solutions.
- Grouping items: Place similar items together as you remove them so it’s easier to put them back.
Protecting Your Countertops and Floors
Protecting surrounding areas ensures that any drips or spills from your cleaning efforts don’t cause damage or extra work.
- Lay down old towels or newspapers: Place these along your countertops and on the floor in front of the cabinets you’ll be cleaning.
- Cover appliances: If you’re cleaning overhead cabinets, consider covering your stovetop or range hood.
Gathering Your Cleaning Supplies
Having all your tools and cleaners ready before you start means you won’t be interrupted. Here’s a general list, but we’ll detail specific solutions later:
- Soft cloths (microfiber is excellent)
- Sponge (non-abrasive)
- Buckets (one for cleaning solution, one for rinse water)
- Gloves (to protect your hands)
- Your chosen kitchen cabinet cleaner or DIY solution
- Old toothbrushes (for nooks and crannies)
- Optional: Ladder or sturdy step stool for high cabinets
Effective Cleaning Solutions for Greasy Cabinets
There are many ways to tackle greasy cabinets, from commercial products to simple natural cleaning solutions. The best approach depends on your cabinet material and the severity of the grease.
The Power of Dish Soap: Your First Line of Defense
Dish soap is a remarkably effective degreaser and readily available in most kitchens. Its surfactants break down grease molecules, making them easy to wipe away.
How to use dish soap:
- Mix: In a bucket, mix a few drops of mild dish soap with warm water. You don’t need much – too much soap can leave a residue.
- Dampen: Dip a soft cloth or sponge into the soapy water and wring it out thoroughly. You want the cloth damp, not dripping wet.
- Wipe: Gently wipe down the cabinet fronts, focusing on areas with visible grease. Work in small sections.
- Rinse: Dampen a clean cloth with plain warm water and wipe away any soap residue.
- Dry: Immediately dry the cabinets with a clean, dry microfiber cloth to prevent water spots and protect the finish.
DIY Cabinet Cleaner Recipes: Natural and Effective
For those who prefer a more natural approach or want to create their own cabinet cleaning spray, several DIY recipes are highly effective. These DIY cabinet cleaner options are often gentler and can be tailored to your needs.
1. Vinegar and Water Solution
Vinegar is another excellent degreaser and disinfectant. Its acidity helps cut through grease and grime.
- Ingredients:
- 1 part white vinegar
- 1 part warm water
- Instructions:
- Combine vinegar and water in a spray bottle.
- Shake well.
- Spray directly onto a cloth (not the cabinet itself, to avoid oversaturation) or onto heavily greased areas.
- Wipe the cabinets.
- Rinse with a damp cloth and dry thoroughly.
- Caution: While generally safe for cabinets, test vinegar solutions on an inconspicuous spot first, especially on painted or antique wood cabinets, as its acidity can sometimes dull finishes if not diluted properly or left on too long.
2. Baking Soda Paste
Baking soda is a mild abrasive and a fantastic deodorizer, making it ideal for stubborn grease and stuck-on grime.
- Ingredients:
- 3 parts baking soda
- 1 part water (enough to form a paste)
- Instructions:
- Mix baking soda and water in a small bowl to create a paste.
- Apply the paste to greasy areas using a soft cloth or sponge.
- Let it sit for a few minutes for tougher spots.
- Gently scrub in a circular motion.
- Wipe away the paste with a damp cloth.
- Rinse thoroughly with a clean, damp cloth.
- Dry the cabinets completely.
- Best for: Stubborn spots, textured cabinets where a paste can get into crevices.
3. Lemon Juice and Oil
This combination uses the natural degreasing power of lemon and the conditioning properties of oil.
- Ingredients:
- Juice of 1 lemon
- 2 tablespoons olive oil or mineral oil
- Instructions:
- Mix lemon juice and oil in a bowl.
- Dip a soft cloth into the mixture and wring it out well.
- Wipe down cabinets. The oil will help lift grease, and the lemon juice will cut through it.
- Follow up with a clean cloth dampened with plain water to remove any residue.
- Dry the cabinets with a soft cloth.
- Caution: This is best for wood cabinets and can add a slight sheen. Test on a hidden area first.
Cleaning Different Cabinet Materials
The best kitchen cabinet cleaner and method can vary depending on what your cabinets are made of. Always test any cleaner on an inconspicuous area first to ensure it’s safe for cabinets.
Painted Cabinets
Painted cabinets can be delicate. Avoid abrasive cleaners or scrubbers that can scratch the paint.
- Best solutions: Mild dish soap and water, diluted white vinegar, or a gentle commercial kitchen cabinet cleaner specifically designed for painted surfaces.
- Technique: Use a soft microfiber cloth or sponge. Wipe gently. Rinse thoroughly to prevent any cleaner from sitting on the paint. Dry immediately with a soft cloth.
- What to avoid: Steel wool, abrasive scrubbers, harsh chemical cleaners, excessive water.
Wood Cabinets (Stained or Varnished)
Wood requires a bit more care to preserve its finish.
- Best solutions:
- Mild dish soap and water.
- Diluted white vinegar (1:1 ratio with water).
- A specialized wood cabinet cleaner.
- For light grease, a cloth dampened with just water can sometimes suffice.
- Technique: Always wipe with the grain of the wood. Use a damp, not wet, cloth. Rinse with a clean, damp cloth and dry immediately to prevent moisture damage or water spots. For a little extra shine and protection, you can use a small amount of furniture polish or natural oil (like mineral oil or a beeswax polish) after cleaning and drying.
- What to avoid: Ammonia-based cleaners, excessive water, abrasive materials, steam cleaners (can lift veneers or damage finishes).
Laminate and Melamine Cabinets
These synthetic materials are generally durable but can be damaged by harsh chemicals or excessive moisture.
- Best solutions:
- Mild dish soap and water.
- Diluted white vinegar.
- A multi-surface cleaner (ensure it’s safe for cabinets).
- Technique: Use a soft cloth or sponge. Wipe down the cabinets, focusing on removing grease. Rinse with a damp cloth and dry thoroughly.
- What to avoid: Acetone or nail polish remover (can melt the finish), abrasive scrubbers, soaking the cabinets with water.
Stainless Steel Cabinets
Stainless steel can show fingerprints and grease easily and requires specific care to avoid scratching.
- Best solutions:
- Mild dish soap and warm water is often the best degreaser.
- Specialized stainless steel cleaner.
- A DIY cabinet cleaner of equal parts water and white vinegar can also work.
- Technique: Always wipe in the direction of the grain (look closely at the metal to see the faint lines). Use a microfiber cloth. For polishing after cleaning, you can use a little mineral oil or a dedicated stainless steel polish.
- What to avoid: Steel wool, abrasive pads, chlorine bleach, oven cleaners, ammonia, glass cleaners containing ammonia, anything that can scratch the surface.
Tackling Stubborn Grease Buildup
Sometimes, simple wiping isn’t enough. For those tough, sticky patches of grease, you might need a stronger approach.
Using a Dedicated Degreaser
A commercial degreaser is specifically formulated to break down tough grease.
- How to use:
- Read the product label carefully to ensure it’s safe for cabinets of your material.
- Apply the degreaser to a cloth or sponge, not directly to the cabinets (unless the instructions specify).
- Gently rub the greasy areas. You might need to let the degreaser sit for a minute or two.
- Wipe away the loosened grease with a clean, damp cloth.
- Rinse thoroughly with a cloth dampened with plain water.
- Dry immediately.
The Baking Soda Paste Method for Tough Spots
As mentioned earlier, a baking soda paste is excellent for targeted spot cleaning of stubborn grime.
The Vinegar Soak Method (for very tough spots, with caution)
For extreme buildup, you can create a more concentrated vinegar solution or soak a cloth in diluted vinegar and place it over the greasy area for a few minutes.
- Instructions:
- Mix equal parts white vinegar and warm water in a bowl.
- Soak a cloth in the solution.
- Wring it out so it’s damp but not dripping.
- Place the damp cloth over the heavily greased area and let it sit for 5-10 minutes.
- Remove the cloth and gently wipe away the softened grease with a clean cloth.
- Rinse the area thoroughly with a clean, damp cloth to remove all vinegar residue.
- Dry completely.
- Crucial: Always test this method on an inconspicuous area first, especially on painted or delicate finishes.
Cleaning Cabinet Hardware
Don’t forget your cabinet knobs and pulls! They often get the most fingerprints.
- For most hardware (metal, wood): Use your chosen kitchen cabinet cleaner or a mild dish soap solution.
- For brass or copper: Use a specialized polish or a paste of lemon juice and salt, then rinse and dry thoroughly.
- For stainless steel: Follow the same guidelines as stainless steel cabinets.
- Technique: Remove knobs and pulls if possible for a more thorough clean. If not, use a toothbrush or cotton swab dipped in cleaner to get into crevices.
Maintaining Clean Kitchen Cabinets
The best way to keep your cabinets looking good is with regular maintenance.
Daily Wipes
- Quick wipe-down: After cooking, take a moment to wipe down cabinet fronts near the stove and sink with a dry microfiber cloth or a slightly damp cloth to catch fresh splatters before they harden.
Weekly Cleaning Routine
- Spot cleaning: Address any visible fingerprints or smudges as they appear.
- General wipe: Once a week, give all cabinet fronts a quick wipe with a damp cloth (using water or a very mild cleaner if needed) and dry them.
Deep Cleaning Schedule
- Monthly or quarterly: Perform a more thorough cleaning using your preferred kitchen cabinet cleaner or DIY cabinet cleaner to tackle any accumulated grease buildup.
Frequently Asked Questions About Cleaning Greasy Kitchen Cabinets
Here are some common questions people have about keeping their kitchen cabinets clean and grease-free.
Q1: What is the best natural way to clean greasy kitchen cabinets?
A: The best natural way often involves a mixture of white vinegar and water (1:1 ratio) or a paste made from baking soda and water. Both are effective degreasers and are safe for cabinets when used correctly and tested first. Dish soap and water is also a highly effective natural cleaner for grease.
Q2: Can I use an all-purpose cleaner on my kitchen cabinets?
A: It depends on the type of all-purpose cleaner and your cabinet material. Many all-purpose cleaners are too harsh for cabinet finishes. Always check the product label to ensure it’s safe for cabinets and specifically designed for kitchen use. It’s generally safer to stick to milder solutions like dish soap, vinegar, or products specifically marketed as kitchen cabinet cleaner.
Q3: How do I clean grease from the inside of my cabinets?
A: The inside of cabinets can also get greasy from food packaging or spills. You can use the same mild dish soap and water solution or a diluted vinegar spray. Wipe down the shelves and interior walls with a damp cloth and dry thoroughly. For stubborn spots, a baking soda paste can be useful.
Q4: My cabinets are old and have a delicate finish. What’s the safest way to clean them?
A: For older cabinets with delicate finishes, it’s crucial to use the gentlest methods. Start with a soft cloth dampened with plain water. If that’s not enough, try a very dilute solution of mild dish soap and water, ensuring the cloth is only slightly damp. Always test in a hidden area first. Avoid any abrasive cleaners or excessive moisture.
Q5: How do I prevent grease buildup on my cabinets in the first place?
A: Prevention is key!
* Use your range hood: Always turn on your exhaust fan when cooking, especially when frying or sautéing.
* Wipe splatters immediately: Keep a microfiber cloth handy and wipe up any splatters or spills on cabinet fronts right after they happen.
* Regular dusting: Dusting cabinets regularly can prevent airborne particles from sticking to grease.
* Consider cabinet liners: For shelves inside cabinets, consider using shelf liners that can be easily removed and washed.
By following these methods and tips, you can easily restore the shine and cleanliness of your kitchen cabinets, making your entire kitchen feel fresh and inviting. Remember to always be gentle, test your cleaning solutions, and dry surfaces thoroughly for the best results. Happy cleaning!