
Can you build a kitchen island yourself? Absolutely! With a bit of planning and the right tools, you can create a stunning and functional DIY kitchen island that perfectly suits your space and style. This guide will walk you through every step of how to build a kitchen island, from initial design to the final polish.
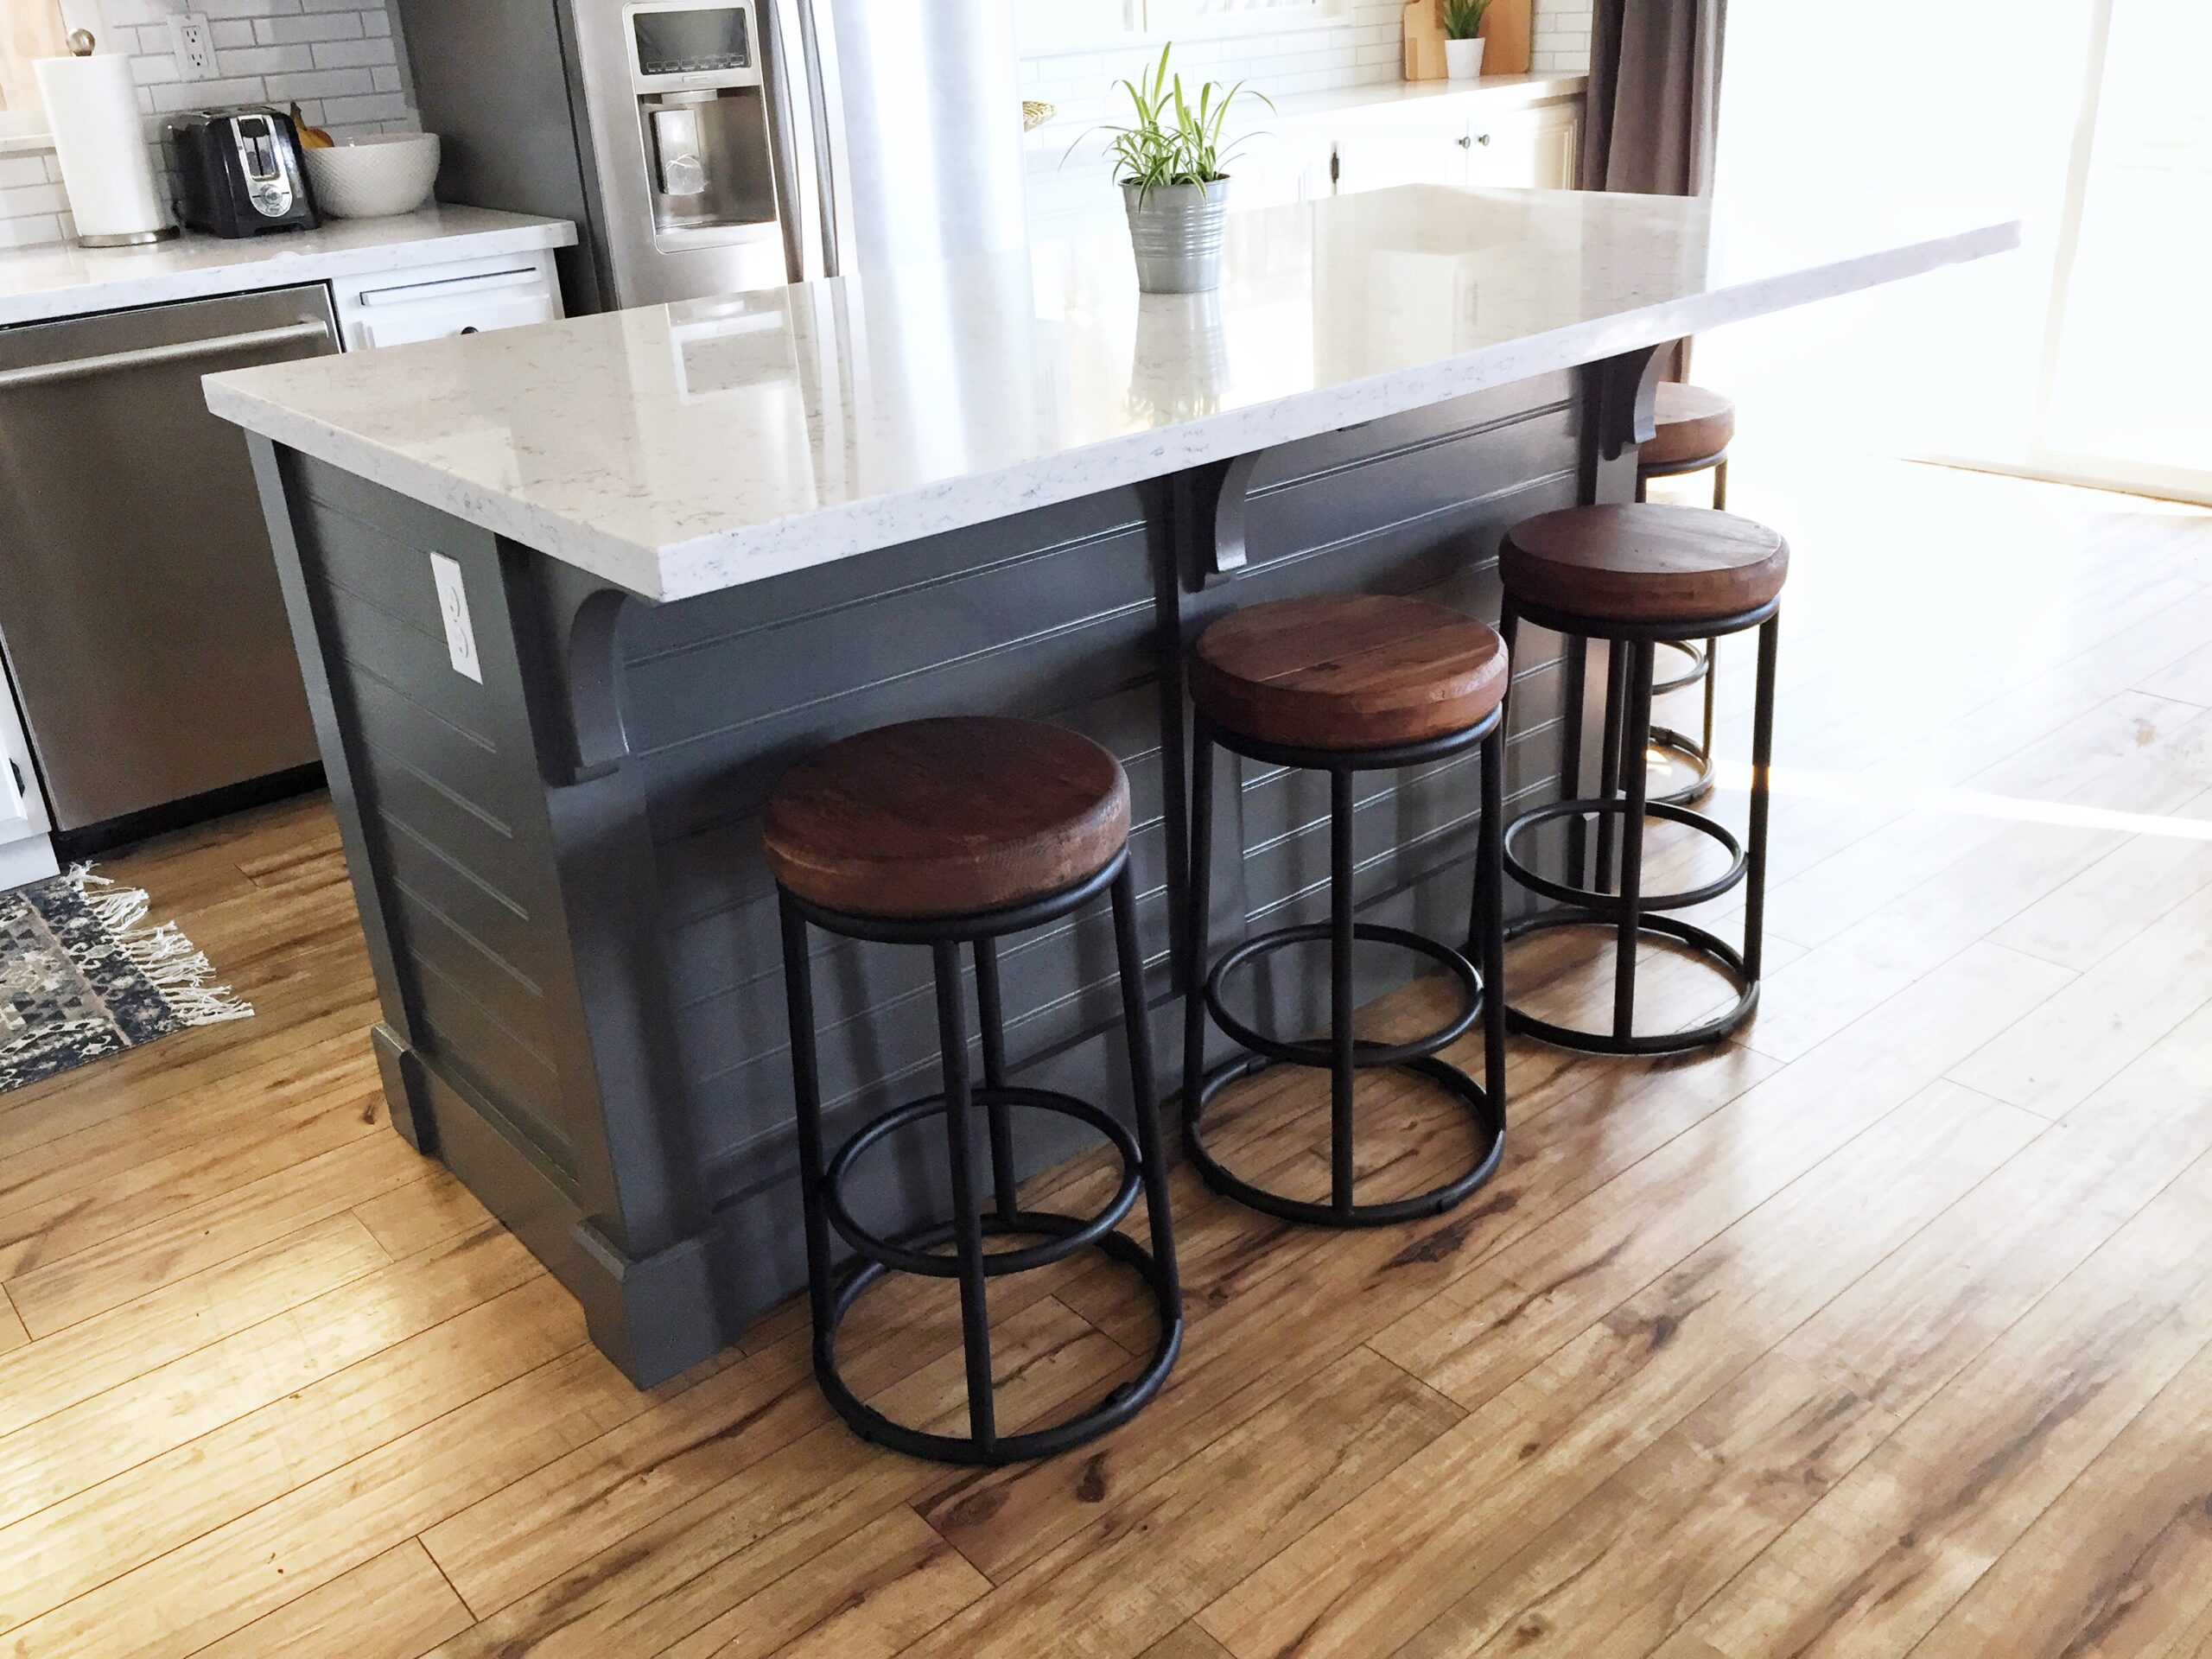
Image Source: domesticblonde.com
Planning Your Perfect Kitchen Island
Before you grab a single tool, careful planning is key. This is where your kitchen island design truly takes shape. Think about how you’ll use your island. Will it be primarily for food prep, casual dining, extra storage, or a combination of all three?
Defining Your Island’s Purpose
- Prep Space: Do you need a large, flat surface for chopping vegetables and rolling dough? Consider durable countertops like butcher block or granite.
- Dining Area: If you want a place to eat, you’ll need an overhang for seating. Add comfortable stools for a cozy breakfast nook.
- Storage Hub: Think about drawers, shelves, or cabinets. This is a great way to declutter your kitchen and keep essentials handy.
- Appliance Integration: Will you house a microwave, wine fridge, or dishwasher? Plan for the necessary cutouts and electrical access.
Measuring Your Kitchen Space
This is non-negotiable for a successful kitchen island construction. Too large, and it will feel cramped; too small, and it won’t be as functional.
- Work Aisles: Aim for at least 36 inches of clearance around the island for comfortable movement. If you have a dishwasher, ensure at least 42 inches on the working side.
- Overall Footprint: Measure the available space in your kitchen. Sketch out your kitchen layout with the proposed island dimensions.
- Height Considerations: Standard kitchen counter height is 36 inches. However, you might opt for a higher bar-height island (around 42 inches) for seating.
Choosing Your Kitchen Island Style
The aesthetic of your island should complement your existing kitchen. There are countless kitchen island ideas to explore!
- Minimalist Modern: Clean lines, simple shapes, and perhaps a sleek laminate or quartz countertop.
- Rustic Farmhouse: Think reclaimed wood, a sturdy butcher block top, and perhaps some open shelving.
- Classic Traditional: Detailed cabinetry, ornate hardware, and a granite or marble countertop.
- Industrial Chic: Metal accents, concrete or stainless steel countertops, and exposed hardware.
Gathering Your Materials and Tools
Once your kitchen island plans are set, it’s time to gather what you’ll need. Opting for a cheap kitchen island is achievable with smart material choices and by using what you might already have.
Essential Tools for Your DIY Kitchen Island
- Measuring Tape: For accurate measurements.
- Pencil: For marking cuts and placements.
- Safety Glasses: Protect your eyes.
- Work Gloves: To protect your hands.
- Circular Saw or Miter Saw: For cutting wood.
- Jigsaw: For making curved cuts or cutouts.
- Drill/Driver: For drilling pilot holes and driving screws.
- Screwdriver Set: Various sizes.
- Orbital Sander: For smoothing surfaces.
- Level: To ensure everything is straight.
- Clamps: To hold pieces together while gluing or screwing.
- Putty Knife: For applying wood filler.
- Paintbrushes or Rollers: For finishing.
- Utility Knife: For various tasks.
Common Building Materials
- Plywood: For the cabinet boxes and frames. ¾-inch birch or oak plywood is a good choice for strength.
- Dimensional Lumber (2x4s, 2x2s): For framing and supporting the structure.
- MDF (Medium-Density Fiberboard): Can be used for decorative panels or if you plan to paint.
- Countertop Material: Butcher block, laminate, granite, quartz, concrete, or even a repurposed piece of furniture.
- Screws: Various lengths, suitable for wood.
- Wood Glue: For strong bonds.
- Wood Filler: To fill nail holes and imperfections.
- Primer and Paint or Stain and Sealer: For finishing.
- Cabinet Hinges and Drawer Slides (if adding doors/drawers).
- Hardware: Knobs, pulls, casters (if desired).
Where to Find Free Kitchen Island Plans
Looking for free kitchen island plans can be a great starting point. Many woodworking websites, DIY blogs, and home improvement stores offer free downloadable plans. These often provide measurements and cutting lists to simplify the process. Searching online for “free kitchen island plans PDF” or “DIY island blueprints” will yield many results.
Step-by-Step: Building Your Kitchen Island
This kitchen island tutorial will focus on building a basic, yet functional, cabinet-style island.
Step 1: Constructing the Cabinet Box
This forms the core of your island.
- Cut Plywood: Based on your kitchen island plans, cut your ¾-inch plywood into pieces for the sides, top, bottom, and back of your cabinet box.
- Assemble the Box: Apply wood glue to the edges where pieces will join. Use screws to fasten the sides to the bottom and top. Ensure all corners are square using a carpenter’s square.
- Add a Back Panel: If your design includes a back panel, cut and attach it now. This adds stability.
- Reinforce: Add 2×2 or 2×4 bracing inside the cabinet corners for extra strength.
Step 2: Building the Frame and Base
This provides the structural support for your island.
- Create a Base Frame: Use 2×4 lumber to build a rectangular base frame that fits the dimensions of your cabinet box.
- Attach the Cabinet Box: Securely attach the cabinet box to the base frame using screws. Ensure it’s level.
- Add Legs or Skirting: You can add legs to elevate the island, or create a skirting around the base for a more finished look.
Step 3: Adding Shelving or Drawers (Optional)
This is where customization shines.
- Fixed Shelves: Cut plywood to size and install them within the cabinet box using shelf pins or by screwing them directly into place.
- Drawers: This is a more involved step. You’ll need to build drawer boxes and install drawer slides according to the manufacturer’s instructions. Many kitchen island tutorial videos focus specifically on drawer installation.
Step 4: Building the Countertop Support
This is crucial for supporting your chosen countertop material.
- Create a Support Frame: Depending on your countertop material (especially for heavier options like granite), you might need a robust support frame. This often involves a plywood or 2×4 frame that extends slightly beyond the cabinet box to support the overhang.
- Attach to the Cabinet: Secure this support frame to the top of your cabinet box.
Step 5: Attaching the Countertop
The countertop is the crowning glory of your DIY kitchen island.
- Butcher Block: Cut to size and secure from underneath through the support frame with screws. You may want to leave some overhang.
- Laminate: Cut to size. Apply laminate adhesive to the countertop support and the underside of the laminate. Carefully place the laminate and press firmly, working out any air bubbles. Trim any excess with a router and laminate trimming bit.
- Granite/Quartz: These are usually installed by professionals, but if you’re doing it yourself, they are typically glued to the support frame with a strong construction adhesive.
Step 6: Finishing Touches and Assembly
This is where your custom kitchen island truly comes to life.
- Sand Everything: Sand all surfaces smooth, starting with a coarser grit sandpaper and moving to finer grits.
- Fill Imperfections: Use wood filler to fill any screw holes or gaps. Let it dry, then sand smooth.
- Prime and Paint/Stain: Apply a coat of primer if painting. Then, apply your chosen paint or stain. Apply multiple thin coats for a smooth finish. Follow with a sealant or topcoat for durability.
- Attach Hardware: Install knobs, pulls, or any other decorative hardware.
- Add Casters (Optional): If you want a mobile island, attach heavy-duty casters to the base.
Advanced Kitchen Island Construction Techniques
For those looking to go beyond a basic build, consider these additions.
Incorporating Drawers and Doors
- Drawer Construction: Cut drawer sides, front, back, and bottom from plywood or MDF. Use dado joints or simple butt joints reinforced with glue and screws.
- Drawer Slides: Choose appropriate drawer slides (ball-bearing or epoxy-coated) and install them on both the drawer box and the cabinet interior according to the manufacturer’s guidelines. Precision is key here for smooth operation.
- Cabinet Doors: Cut doors from plywood or MDF. Install cabinet hinges, ensuring they are properly aligned for smooth opening and closing.
Adding Decorative Elements
- Molding and Trim: Add decorative molding or trim around the base or edges for a more polished look.
- Backsplash: Consider a tile or beadboard backsplash on the working side of the island.
- Specialty Countertops: Explore concrete, stainless steel, or even recycled glass countertops for a unique statement.
Plumbing and Electrical Considerations
If you plan to integrate a sink or appliances that require power, this becomes a more complex project.
- Plumbing: This typically requires running new water lines and drain pipes. It’s often best to consult a plumber for this aspect of kitchen island construction.
- Electrical: Outlets for appliances or overhead lighting will need to be wired. If you’re not experienced with electrical work, hire a qualified electrician. They can also install dedicated circuits for specific appliances.
Making Your Island Affordable: The Cheap Kitchen Island Approach
Creating a cheap kitchen island doesn’t mean sacrificing quality or style. It’s about smart choices.
- Repurpose Existing Furniture: An old dresser, console table, or even a sturdy workbench can be transformed into a kitchen island with a new countertop and some modifications. This is a fantastic way to get free kitchen island plans implicitly by working with an existing structure.
- Laminate Countertops: Laminate is significantly less expensive than stone or wood and comes in a vast array of styles.
- Simple Design: Avoid complex joinery or intricate details if budget is a major concern. A straightforward cabinet box with a nice countertop can be very effective.
- DIY Countertop: If you’re handy, consider making your own concrete or butcher block countertop.
- Buy Used: Look for used cabinets or island bases at architectural salvage yards or online marketplaces.
Kitchen Island Design Ideas to Inspire You
Beyond basic functionality, your island can be a style statement.
- Two-Tiered Island: Offers separate spaces for prep and dining, often with a higher bar section.
- Island with Seating: Incorporates an overhang and space for stools, turning your island into a casual dining hub.
- Rolling Island: Built with casters, it can be moved around the kitchen or even stored away when not in use.
- Island with Built-in Appliances: Integrates a microwave, wine fridge, or dishwasher for ultimate convenience.
- Open Shelving Island: Features open shelves for displaying cookbooks, decorative items, or storing frequently used kitchenware. This can make a cheap kitchen island feel more open and airy.
Frequently Asked Questions (FAQ)
Q1: How much clearance do I need around a kitchen island?
A1: You should aim for at least 36 inches of clearance on all sides for comfortable movement. If you have a dishwasher or oven door that opens into the aisle, increase this to 42 inches.
Q2: Can I use particle board for my kitchen island?
A2: While particle board is cheaper, it’s less durable and more prone to moisture damage than plywood. For a functional and long-lasting island, plywood is generally a better choice for the cabinet boxes and structural elements.
Q3: What is the best countertop material for a DIY kitchen island?
A3: Butcher block is popular for DIY projects due to its affordability and ease of cutting and installation. Laminate is also a budget-friendly option. For durability and a premium look, granite or quartz are excellent but require more precise installation.
Q4: Do I need a special plan to build a kitchen island?
A4: While you can design your own, using kitchen island plans can be very helpful, especially for beginners. They provide detailed measurements, cutting lists, and assembly instructions, ensuring a more accurate and successful build. You can find many free kitchen island plans online.
Q5: How do I make my DIY kitchen island look professional?
A5: Attention to detail is key! Ensure all cuts are precise, joinery is strong, surfaces are sanded smooth, and finishes (paint or stain) are applied evenly with multiple thin coats. Using quality hardware and adding decorative trim can also elevate the look.
Q6: Can I add a sink or electrical outlets to my DIY kitchen island?
A6: Yes, but it significantly increases the complexity of the project. If you plan to add plumbing or electrical work, it is highly recommended to consult with or hire a professional plumber and electrician to ensure safety and code compliance.
Building your own kitchen island is a rewarding project that can transform your kitchen. By following these steps and tailoring the design to your needs, you can create a beautiful and functional centerpiece for your home. Happy building!