
What is the best way to clean kitchen cabinets? The best way to clean kitchen cabinets involves using the right products, the right techniques, and a bit of elbow grease. Whether you’re dealing with stubborn grease, sticky fingerprints, or just general grime, this guide will help you achieve that sparkling, like-new shine on your kitchen cabinets. We’ll cover everything from choosing the right cabinet cleaner to tackling specific materials and even how to perform kitchen cabinet restoration on older pieces.
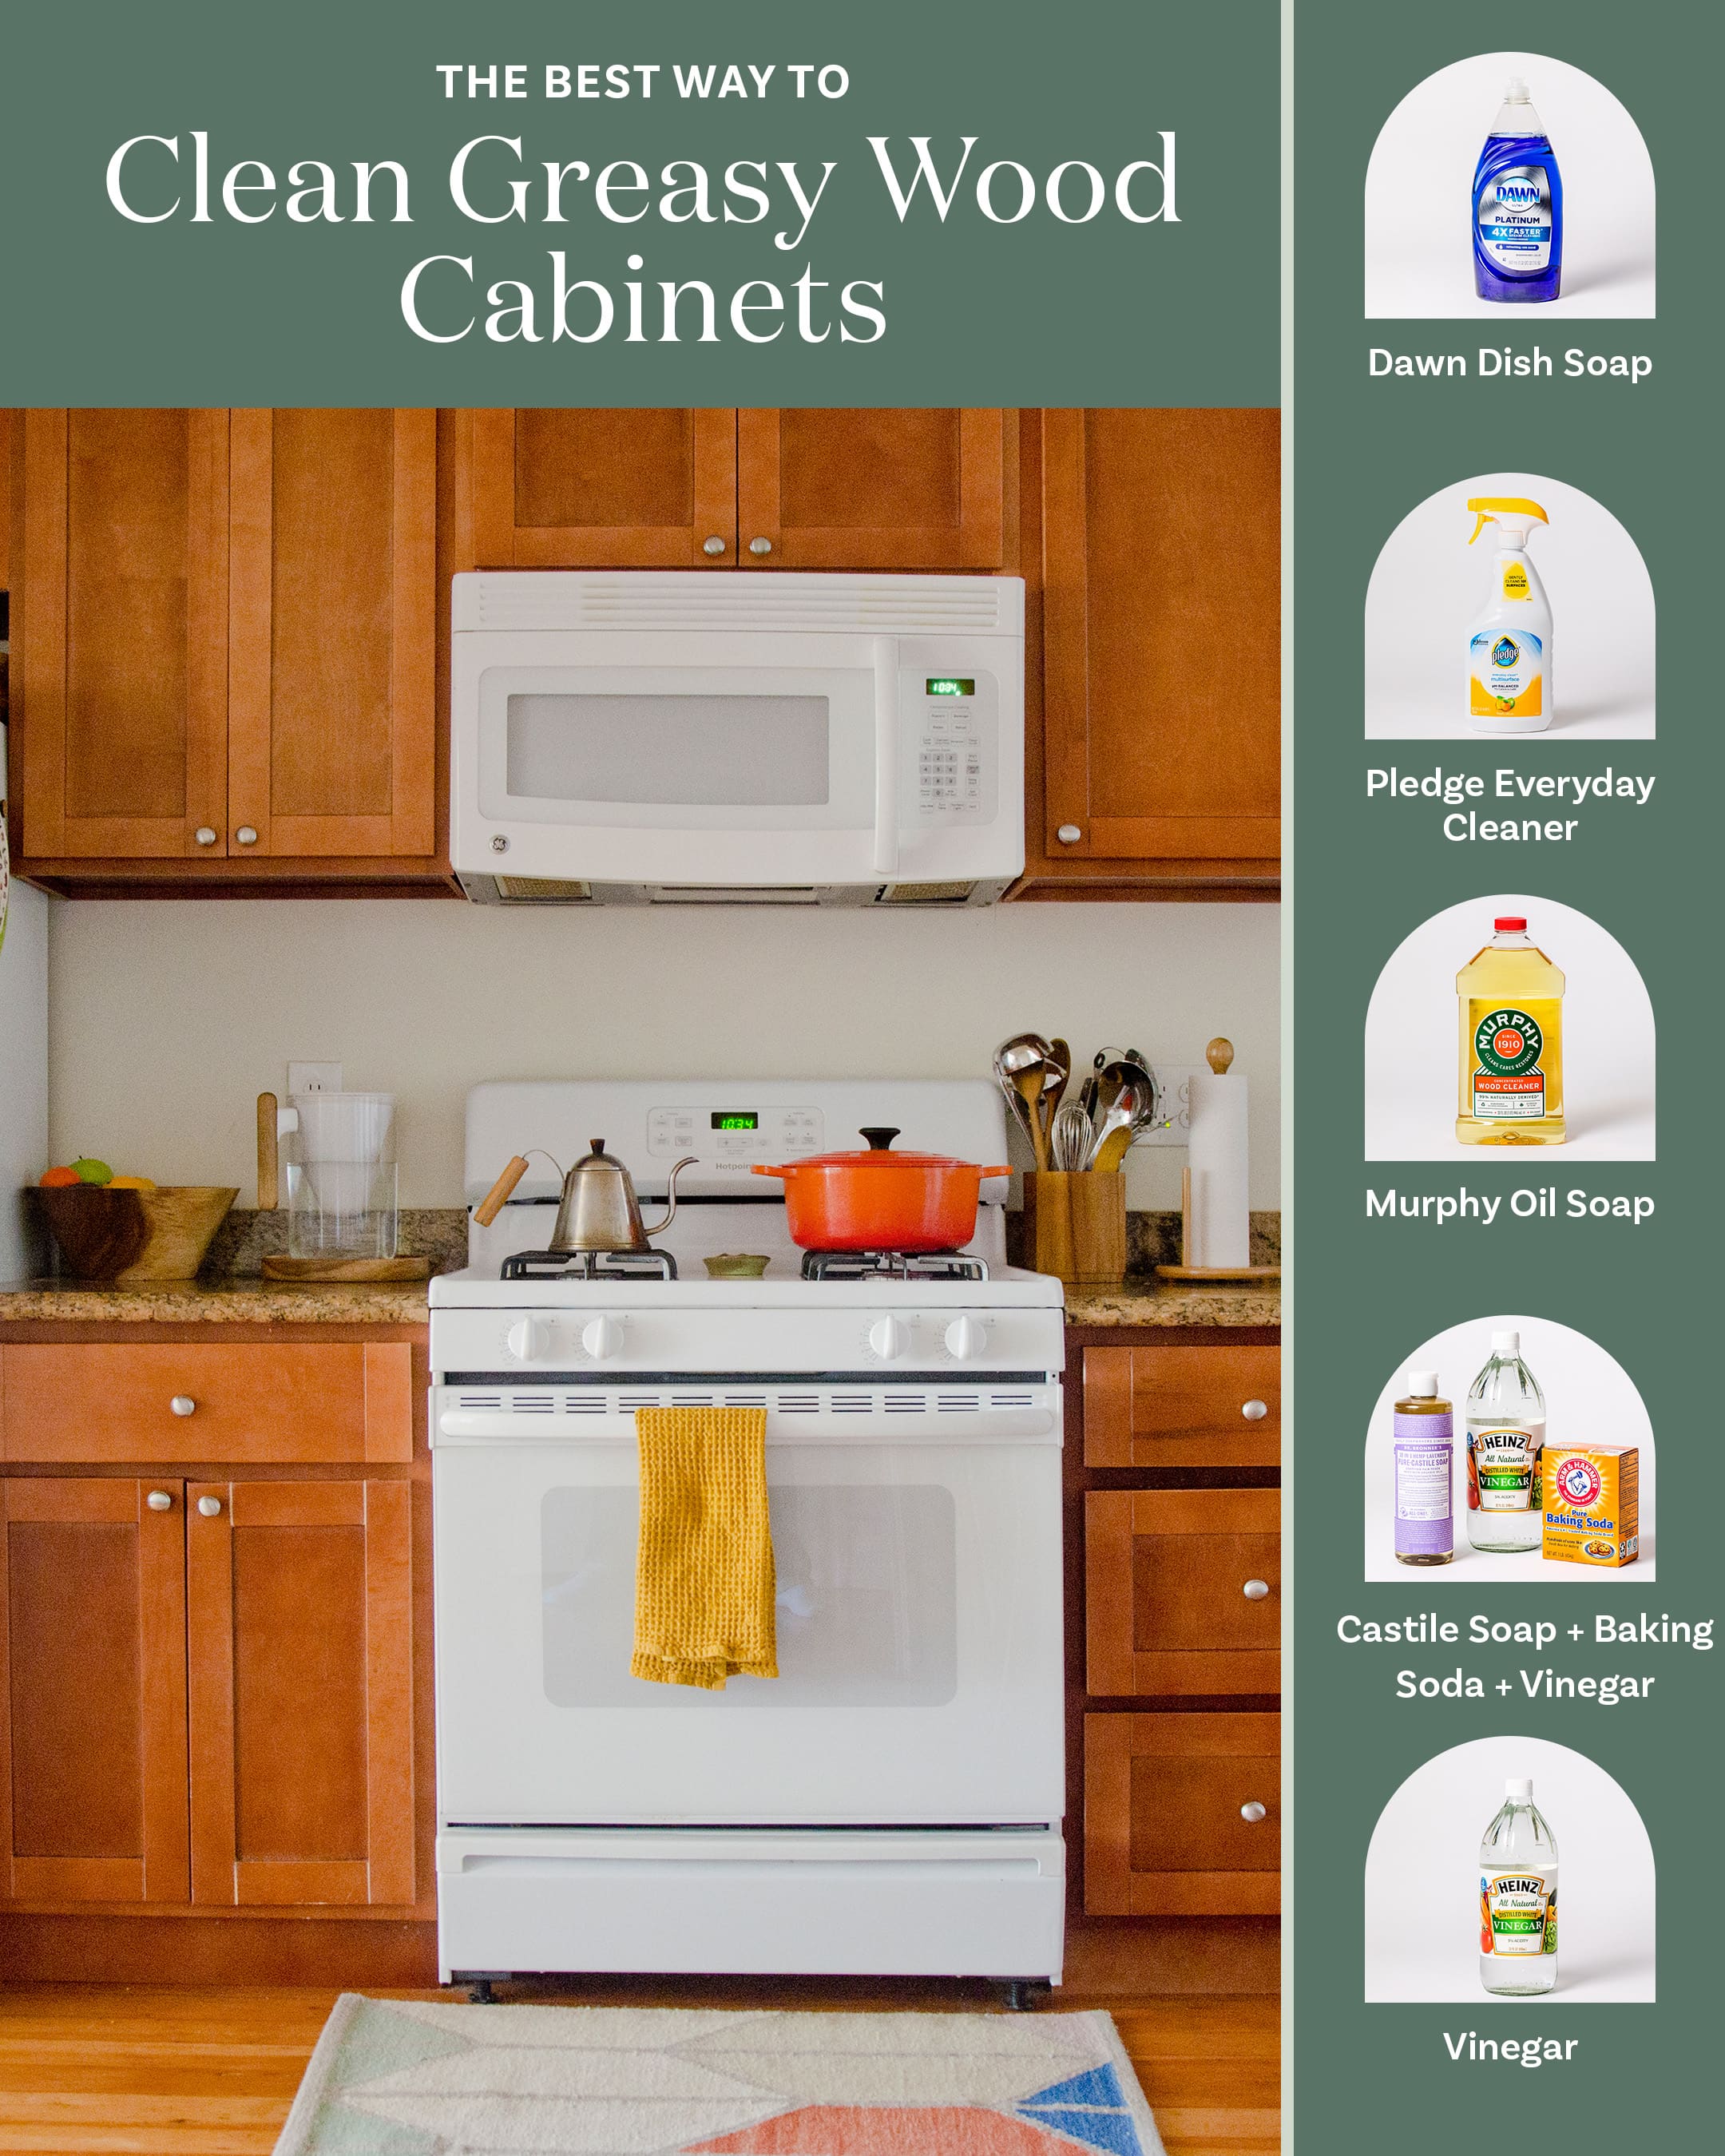
Image Source: cdn.apartmenttherapy.info
Why Cleaning Kitchen Cabinets Matters
Kitchen cabinets are the unsung heroes of your kitchen. They hold your dishes, your pantry staples, and your everyday tools. But they’re also exposed to a lot of action. Cooking splatters, oily fumes, hands touching them all day – it all adds up. Keeping them clean isn’t just about looks; it’s about hygiene and prolonging the life of your cabinets.
- Hygiene: Food particles and grease can harbor bacteria. Regular cleaning keeps your kitchen healthier.
- Appearance: Shiny, clean cabinets make your whole kitchen look brighter and more inviting.
- Durability: Dirt and grime can degrade finishes over time, especially on wood. Cleaning protects your investment.
- Resale Value: Well-maintained cabinets are a big plus if you ever decide to sell your home.
First Things First: Identifying Your Cabinet Material
Before you grab any cabinet cleaning products, it’s crucial to know what your cabinets are made of. The cleaning method and products that work for one material might damage another.
Common Cabinet Materials and How to Identify Them
- Solid Wood: This is often the most durable and can be stained or painted. Look for natural wood grain patterns.
- Wood Veneer: A thin layer of real wood glued over a less expensive core material (like particleboard or plywood). You might see a repeating grain pattern if it’s a veneer.
- Laminate: This is a synthetic material, usually made of plastic or resin, bonded to a core material. Laminate cabinets often have a very consistent, non-natural-looking pattern or a solid color. They are durable and easy to clean.
- MDF (Medium-Density Fiberboard) or Particleboard with a Finish: These are composite wood products. They are often painted or covered with a laminate or foil. They can be susceptible to water damage.
- Painted Cabinets: These can be made from various materials (wood, MDF, etc.) but have a painted finish. Cleaning painted kitchen cabinets requires a gentle approach.
Preparing for the Clean: Gathering Your Supplies
Having everything ready makes the job much easier.
Essential Cleaning Supplies
- Microfiber cloths: These are essential for cleaning and polishing without scratching. Have several on hand.
- Soft sponges: For tackling tougher spots. Avoid abrasive scrubbers.
- Buckets: One for your cleaning solution, one for rinsing.
- Mild dish soap: A great all-purpose cleaner for grease.
- Warm water: The base for most cleaning solutions.
- Spray bottles: For homemade cleaners or diluted commercial solutions.
- Gloves: To protect your hands.
- Old towels or drop cloths: To protect your countertops and floor.
Optional but Helpful Supplies
- White vinegar: A natural disinfectant and degreaser.
- Baking soda: A gentle abrasive for stubborn spots.
- Rubbing alcohol: Can be effective for sticky residue.
- Commercial cabinet cleaner: Choose one appropriate for your cabinet material.
- Wood polish or conditioner: For solid wood and veneer cabinets after cleaning.
Tackling the Grime: Step-by-Step Cleaning Process
Let’s get down to business! Follow these steps for a thorough clean.
Step 1: Empty and Dust
- Empty: If possible, remove items from a few cabinets at a time. This prevents drips from getting onto your stored goods and allows you to clean the insides too.
- Dust: Use a dry microfiber cloth or a vacuum cleaner with a soft brush attachment to remove loose dust and debris from all surfaces, including corners and inside hinges.
Step 2: Surface Cleaning – The Gentle Approach First
Always start with the gentlest cleaning method.
- Mild Soap and Water: Mix a few drops of mild dish soap into a bucket of warm water. Dampen a microfiber cloth with the solution (wring it out well – you don’t want excess water).
- Wipe Down: Gently wipe the surfaces of your cabinets. Work in sections, rinsing your cloth frequently in the soapy water.
- Rinse: Use a separate cloth dampened with clean water to wipe away any soap residue. This is important to prevent streaks.
- Dry: Immediately dry the cabinets with a clean, dry microfiber cloth. This prevents water spots and protects wood finishes.
Step 3: Dealing with Tougher Stains and Grease
Sometimes, mild soap isn’t enough. This is where you might need a specialized cabinet cleaner or a DIY solution.
How to Remove Grease from Cabinets
Grease is a common culprit in kitchens, especially around the stovetop.
- Dish Soap Power: Dish soap is designed to cut through grease, so a slightly stronger solution of dish soap and warm water can often do the trick.
- Vinegar Solution: Mix equal parts white vinegar and warm water in a spray bottle. Spray onto a cloth (not directly onto the cabinets unless they are laminate) and wipe the greasy areas. Vinegar is a fantastic natural cabinet cleaner for cutting through grease.
- Baking Soda Paste: For very stubborn, caked-on grease, make a paste of baking soda and water. Apply it to the greasy spot, let it sit for a few minutes, then gently scrub with a soft sponge or cloth. Wipe clean with a damp cloth and dry thoroughly.
- Commercial Degreasers: If DIY solutions aren’t working, consider a commercial kitchen degreaser. Make sure it’s safe for your cabinet material. Always test in an inconspicuous area first.
Removing Sticky Residue and Fingerprints
- Rubbing Alcohol: For sticky spots like sticker residue or dried sap, dampen a cotton ball or a corner of a microfiber cloth with rubbing alcohol. Gently rub the affected area. Wipe clean with a damp cloth and dry.
- Commercial Adhesive Removers: If alcohol doesn’t work, a specialized adhesive remover might be needed, but use with extreme caution and always test first.
Step 4: Cleaning Specific Cabinet Materials
Let’s dive deeper into material-specific care.
Best Way to Clean Wood Cabinets
Wood cabinets are beautiful but require careful handling to preserve their finish.
- Avoid Harsh Chemicals: Steer clear of ammonia, bleach, or abrasive cleaners, as these can strip the finish or damage the wood.
- Water Caution: While water is necessary, don’t oversaturate. Excess moisture can cause wood to warp, swell, or delaminate.
- Cleaning Process: Use a damp, well-wrung-out microfiber cloth with mild dish soap and water. Follow up with a clean, damp cloth to rinse, and a dry cloth to buff.
- Conditioning: After cleaning, consider using a furniture polish or conditioner specifically designed for wood. This replenishes moisture and protects the finish. This is part of kitchen cabinet restoration for maintaining the wood’s health.
Cleaning Laminate Cabinets
Laminate is generally more forgiving and easier to clean.
- Gentle but Effective: A mild dish soap and water solution is usually sufficient.
- Vinegar is Your Friend: A vinegar and water solution (50/50) is excellent for cleaning laminate cabinets as it cuts grease and disinfects without damaging the laminate surface. You can spray this directly onto a cloth or, if you’re confident in the laminate seal, lightly mist the cabinets.
- Avoid Excess Water: While laminate is more resistant to water than wood, it’s still best to avoid soaking the seams, as moisture can seep in and cause damage.
- Drying is Key: Always wipe dry with a microfiber cloth to prevent water spots and maintain shine.
Cleaning Painted Kitchen Cabinets
Cleaning painted kitchen cabinets requires a delicate touch to avoid chipping or dulling the paint.
- Mildest Approach: Start with just a damp microfiber cloth and warm water.
- Mild Soap Solution: If water alone isn’t enough, use a very dilute solution of mild dish soap.
- Avoid Abrasives: Never use abrasive cleaners, scouring pads, or stiff brushes.
- Vinegar Use with Caution: A very dilute vinegar solution can be used, but test it in a hidden spot first to ensure it doesn’t affect the paint finish.
- Drying: Always dry gently with a soft cloth to prevent water spots.
- Touch-ups: For small chips or scratches, you might need touch-up paint as part of kitchen cabinet restoration.
Step 5: Cleaning Cabinet Hardware
Don’t forget the handles and knobs!
- Remove if Possible: If your hardware is easily removable, taking it off makes cleaning much simpler.
- Material Matters:
- Brass/Bronze: Use a brass cleaner or a paste of lemon juice and baking soda. Rinse and dry thoroughly.
- Stainless Steel: Use a stainless steel cleaner or a microfiber cloth dampened with vinegar and water. Wipe in the direction of the grain and buff dry.
- Nickel/Chrome: Mild dish soap and water, followed by a polish.
- Painted/Plastic: Mild dish soap and water. Be cautious with strong cleaners.
- Reattach: Once clean and dry, reattach the hardware.
Step 6: Cleaning the Inside of Cabinets (Optional but Recommended)
While you’re at it, a quick clean of the inside can make a big difference.
- Dust and Wipe: Use a damp cloth to wipe down shelves and the inside of the doors.
- For Shelving Liners: If you have shelf liners, remove and wash them separately.
- Deodorize: Sprinkle a little baking soda on the shelves and let it sit for a few hours (or overnight) to absorb odors, then wipe it up.
Advanced Cleaning and Restoration Techniques
For cabinets that need more than just a regular clean, consider these methods.
DIY Cabinet Cleaner Recipes
Creating your own diy cabinet cleaner can be cost-effective and allow you to control the ingredients.
All-Purpose Natural Cabinet Cleaner
- Ingredients:
- 1 cup warm water
- 1 cup white vinegar
- 1 teaspoon mild dish soap (optional, for extra grease-cutting)
- 10-15 drops essential oil (like lemon or orange, for scent)
- Instructions: Mix all ingredients in a spray bottle. Shake gently before each use. Spray onto a microfiber cloth and wipe cabinets. Always dry with a separate clean cloth. This is a great option for cleaning laminate cabinets and is generally safe for most painted finishes after testing.
Gentle Wood Cabinet Cleaner
- Ingredients:
- 2 cups warm water
- 1 tablespoon mild dish soap
- 1 tablespoon olive oil (helps to condition the wood)
- Instructions: Mix in a spray bottle. Lightly mist onto a cloth and wipe the cabinets. Buff with a dry cloth. This is one of the best ways to clean wood cabinets to maintain their natural beauty.
When to Consider Kitchen Cabinet Restoration
If your cabinets are looking dull, scratched, or the finish is damaged, you might need more than just cleaning.
Signs Your Cabinets Need Restoration
- Fading or Dull Finish: The protective topcoat is wearing off.
- Scratches and Dings: Surface damage that cleaning won’t remove.
- Water Damage: Swelling, warping, or peeling finish, especially around sinks or dishwashers.
- Peeling Veneer: The thin layer of wood is lifting from the core.
- Worn Edges: The finish is rubbed off on cabinet edges.
Kitchen Cabinet Restoration Options
- Cleaning and Polishing: For minor dullness, a good cleaning followed by a quality wood polish or cabinet restorer can revive the shine.
- Minor Repairs: Small scratches can sometimes be filled with wood filler or colored markers/crayons.
- Refinishing: This involves sanding down the old finish and applying a new stain or paint. This is a more involved process, often best left to professionals if you’re not experienced.
- Re-Veneering: For damaged veneer, replacing the veneer is an option.
- Professional Refacing or Replacement: For severely damaged cabinets, you might consider refacing (replacing the doors and drawer fronts) or replacing the entire cabinet structure.
Maintaining That Shiny Finish: Pro Tips
Once your cabinets are sparkling, keeping them that way is much easier.
Daily Habits
- Wipe Spills Immediately: Don’t let spills or splatters sit. A quick wipe with a damp cloth prevents them from setting in.
- Grease Trap: Clean the area around your stovetop and exhaust fan regularly to prevent grease buildup on nearby cabinets.
- Hand Hygiene: Encourage family members to wash their hands before touching cabinet doors, especially around cooking areas.
Weekly/Monthly Tasks
- Quick Wipe-Down: Dedicate a few minutes each week to wipe down the most frequently touched areas (around handles, drawer fronts).
- Deeper Clean: Perform a more thorough cleaning of all cabinet surfaces every month or two, depending on usage.
- Hardware Check: Wipe down cabinet hardware to keep it gleaming.
Seasonal Maintenance
- Deep Clean and Polish: Twice a year, or as needed, give all your cabinets a thorough clean and apply a polish or conditioner, especially for wood cabinets. This is part of preventative kitchen cabinet restoration.
Frequently Asked Questions (FAQ)
Q1: Can I use Windex on my kitchen cabinets?
A1: It’s generally not recommended. Windex contains ammonia, which can dull or damage the finish on many types of cabinets, especially wood and painted surfaces. Stick to milder solutions.
Q2: What is the best way to clean greasy kitchen cabinet doors?
A2: For greasy doors, a solution of warm water and a few drops of mild dish soap is very effective. For tougher grease, try a 50/50 mix of white vinegar and water applied to a cloth, or a paste of baking soda and water for very stubborn spots. Always wipe clean and dry thoroughly.
Q3: How often should I clean my kitchen cabinets?
A3: A quick wipe-down of high-touch areas daily or weekly is ideal. A full, thorough cleaning of all cabinets is recommended every 1-3 months, depending on how heavily your kitchen is used and how prone it is to grease and grime.
Q4: Can I use all-purpose cleaners on my cabinets?
A4: It depends on the cleaner and the cabinet material. Many all-purpose cleaners are too harsh. Always check the product label to ensure it’s safe for your specific cabinet finish. Using a dedicated cabinet cleaner or a mild DIY solution is usually safer.
Q5: What are the best cabinet cleaning products for painted cabinets?
A5: The best products are the mildest. Start with a damp microfiber cloth and warm water. If more is needed, use a very dilute solution of mild dish soap. Avoid abrasive cleaners, harsh chemicals, and excessive moisture.
Q6: How do I get rid of water spots on my cabinets?
A6: Water spots are usually best removed with a clean, dry microfiber cloth by buffing the area. If the spots are from dried mineral deposits, try a slightly damp cloth with a tiny amount of white vinegar, then immediately wipe dry and buff.
Q7: Is there a good natural cabinet cleaner for wood?
A7: Yes! A simple solution of warm water with a few drops of mild dish soap, or the DIY recipe using water, vinegar, and a touch of olive oil, can serve as a natural cabinet cleaner for wood. Always wring out cloths well and dry the wood immediately.
By following these comprehensive steps, you can effectively clean and maintain your kitchen cabinets, ensuring they not only look fantastic but also stand the test of time. A little regular attention will keep them shiny and protected, making your kitchen a more pleasant place to be.