
Can you use water to clean wooden kitchen cabinets? Yes, but sparingly and with the right technique, as too much moisture can damage the wood. What’s the best way to clean wood cabinets? The best way involves using gentle, non-toxic cleaners and soft cloths, tailored to the cabinet’s finish.
Your kitchen cabinets are the workhorses of your culinary space, constantly exposed to splatters, grease, and everyday grime. Keeping them clean not only enhances the beauty of your kitchen but also helps preserve the wood for years to come. This comprehensive guide will walk you through everything you need to know about cleaning wooden kitchen cabinets easily and safely, ensuring they sparkle without damage. We’ll cover everything from daily wipe-downs to deep cleaning methods, and even touch on wood cabinet restoration for those times when a simple clean isn’t enough.
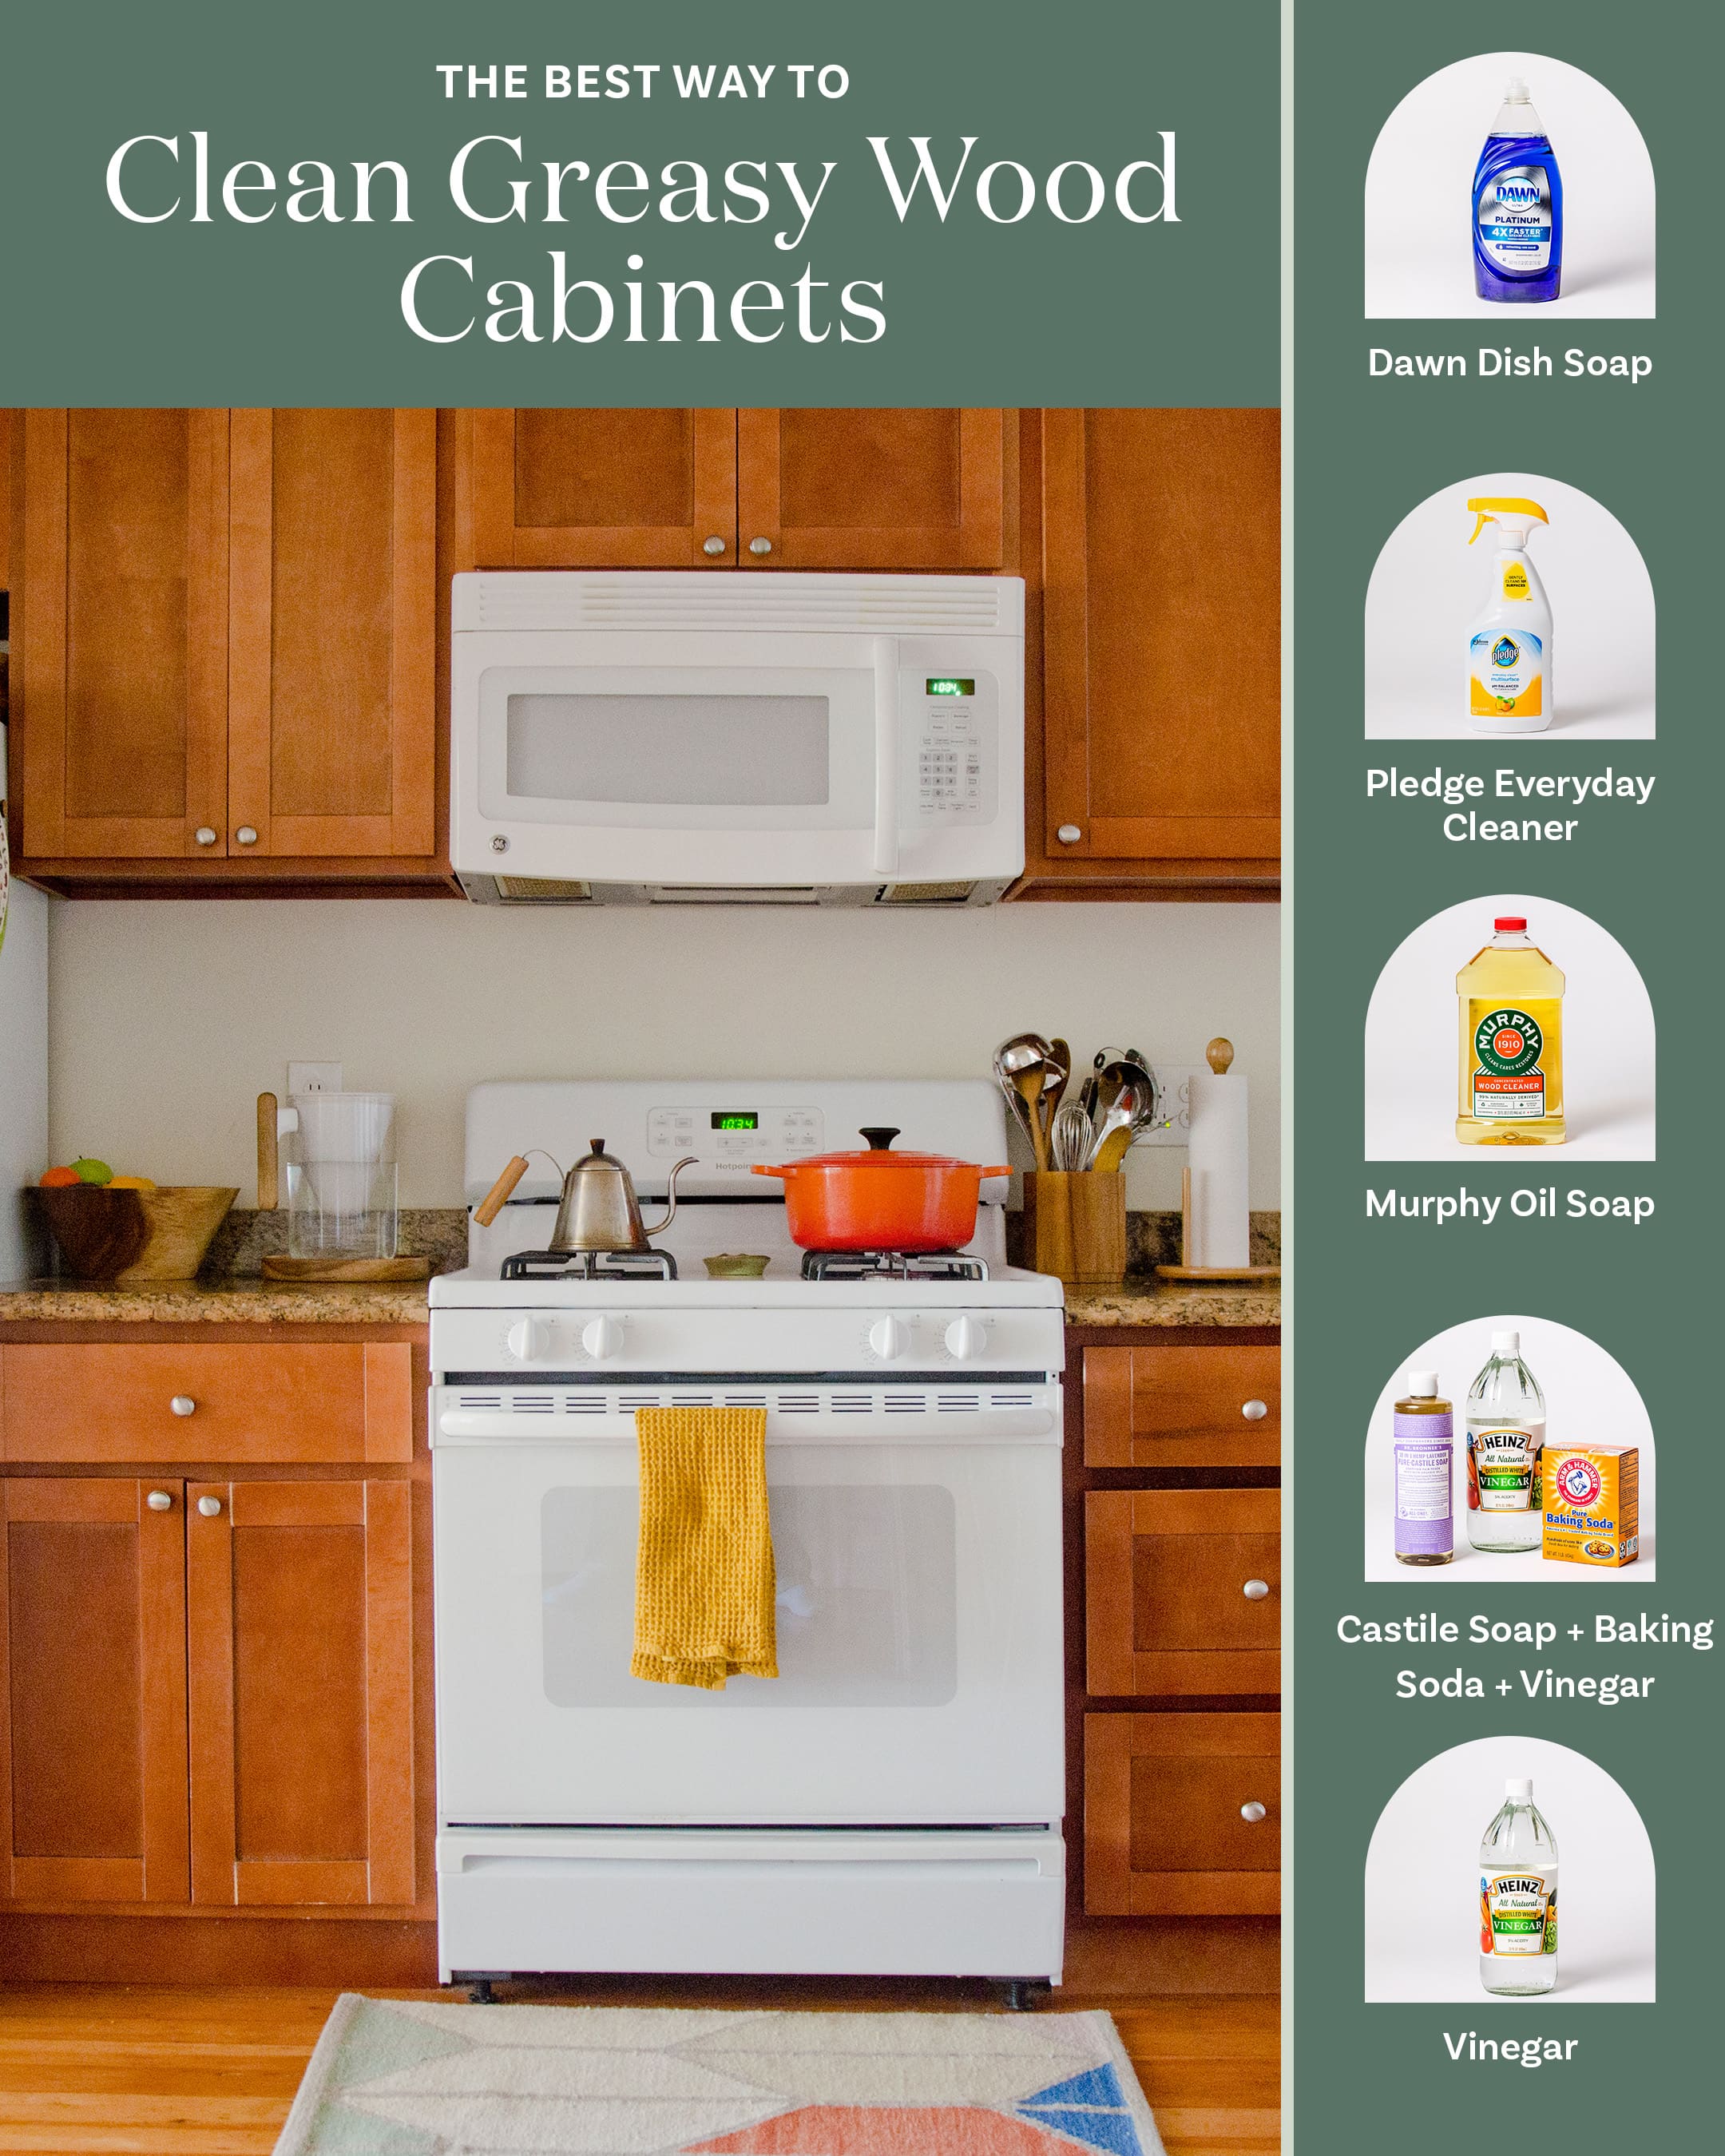
Image Source: cdn.apartmenttherapy.info
Daily Care: Keeping the Shine Between Deeper Cleans
Regular, gentle maintenance is key to preventing stubborn build-up. A few minutes spent each day can save you hours of scrubbing later.
Quick Wipe-Downs
- Frequency: Daily or every few days.
- What to use: A soft, dry microfiber cloth.
- How to do it: Simply wipe down the surfaces of your cabinets, paying attention to handles and areas prone to fingerprints. This removes dust and light smudges before they have a chance to set.
Tackling Minor Spills Immediately
- Frequency: As needed.
- What to use: A slightly damp cloth (water or a diluted gentle cleaner).
- How to do it: For small spills like water splashes or a bit of sauce, blot them up immediately with a soft cloth. If a residue remains, use a cloth dampened with water or a mild solution (explained below). Always dry the area thoroughly afterwards with a clean, dry cloth.
Natural Kitchen Cabinet Cleaners: Gentle Yet Effective Solutions
When it comes to cleaning wood, less is often more. Harsh chemicals can strip finishes and dull the wood’s natural luster. Opting for natural kitchen cabinet cleaners is a safe and effective approach.
Mild Soap and Water Solution
This is a go-to for most everyday cleaning needs.
-
Ingredients:
- 1 gallon of warm water
- 1-2 drops of mild dish soap (like Dawn or a natural alternative)
-
How to prepare and use:
- Fill a bucket or sink with warm water.
- Add just a tiny amount of dish soap. You want suds, but not an overwhelming amount.
- Dip a soft cloth into the solution and wring it out very thoroughly. The cloth should be damp, not wet.
- Gently wipe down the cabinet surfaces.
- Immediately follow with a clean, dry cloth to remove any moisture.
Vinegar Solution for Tougher Grime
White vinegar is a natural degreaser and disinfectant, but it needs to be diluted to avoid damaging wood finishes.
-
Ingredients:
- 1 part white vinegar
- 2 parts warm water
-
How to prepare and use:
- Mix white vinegar and warm water in a spray bottle or bowl.
- As with the soap solution, dampen a soft cloth with the mixture and wring it out thoroughly.
- Wipe down the cabinets.
- Dry immediately with a clean, dry cloth.
- Caution: Test this solution in an inconspicuous area first, especially on antique or delicate finishes.
Baking Soda Paste for Stubborn Spots
For dried-on food or tougher stains, a gentle paste can be effective.
-
Ingredients:
- Baking soda
- Water
-
How to prepare and use:
- Mix baking soda with a little water to form a thick paste.
- Apply the paste directly to the stain using a soft cloth or your finger.
- Let it sit for a few minutes.
- Gently rub the area with a soft cloth.
- Wipe away the residue with a clean, damp cloth.
- Dry thoroughly with a soft, dry cloth.
- Caution: Baking soda is mildly abrasive, so use it sparingly and gently.
DIY Wood Cabinet Cleaning: Step-by-Step Guide
Making your own natural cleaners is easy and cost-effective. Here’s a simple DIY approach for cleaning wooden kitchen cabinets.
Materials You’ll Need:
- Microfiber cloths (several)
- Soft sponges (non-abrasive)
- Bucket or bowl
- Spray bottle (optional)
- Your chosen natural cleaner (mild soap solution, vinegar solution, or baking soda paste)
- Optional: Wood polish or furniture wax
Step-by-Step Cleaning Process:
Step 1: Prepare Your Workspace and Cabinets
- Clear your countertops around the cabinets you’ll be cleaning.
- Remove any items from inside the cabinets if you plan on a deeper clean.
- Protect your floors with old towels or newspapers, especially if using liquid cleaners.
Step 2: Dust the Cabinets
- Start by dusting all cabinet surfaces with a dry microfiber cloth. This removes loose debris that could scratch the finish during wet cleaning.
Step 3: Apply Your Chosen Cleaner
- Dip a soft cloth into your prepared natural cleaning solution.
- Wring out the cloth extremely well. It should be only slightly damp.
- If using a spray bottle, lightly mist the cloth, not the cabinet directly. This controls moisture.
Step 4: Wipe Down Surfaces
- Work in small sections.
- Wipe the cabinets using gentle, sweeping motions. Follow the grain of the wood if visible.
- For areas with build-up, like around handles or hinges, you might need to apply slightly more pressure, but always avoid harsh scrubbing. A soft sponge can be helpful here.
Step 5: Address Grease and Grime
- For tougher spots, especially on removing grease from kitchen cabinets, the diluted vinegar solution or a slightly stronger soap solution can be effective.
- Apply the cleaner to the cloth and gently work on the greasy areas.
- For very stubborn grease, the baking soda paste can be carefully applied.
Step 6: Rinse (If Necessary)
- If you used a soap solution and there’s any residue, dampen a clean cloth with plain water and wipe the cabinets again. Again, ensure the cloth is well wrung out.
Step 7: Dry Thoroughly
- This is a critical step for cabinet wood care tips. Immediately after cleaning a section, use a clean, dry microfiber cloth to buff and dry the surface completely. This prevents water spots and moisture damage.
Step 8: Polish and Protect (Optional)
- Once your cabinets are clean and dry, consider applying a wood polish or furniture wax. This can restore shine, provide a protective layer, and enhance the natural beauty of the wood. Apply a small amount with a clean cloth and buff to a shine.
Cleaning Hardwood Kitchen Cabinets: Specific Considerations
Cleaning hardwood kitchen cabinets requires a bit more attention due to the nature of the wood. Hardwood is generally durable but can be sensitive to excessive moisture and harsh chemicals.
Finish Types and Their Care:
- Polyurethane or Varnish: Most modern cabinets have a protective coating like polyurethane or varnish. These are quite durable, and the mild soap and water or diluted vinegar solutions are usually safe.
- Lacquer: Older or more delicate cabinets might have a lacquer finish. These are more sensitive to moisture and alcohol. Stick to very mild, diluted solutions and dry immediately.
- Oil or Wax Finishes: These offer a more natural look but require specific care. Avoid strong cleaners. Gentle dusting and occasional reapplication of the appropriate oil or wax are best.
Best Way to Clean Wood Cabinets with Specific Finishes:
For most wood cabinets, the mild soap and water solution is the safest bet. If you’re unsure of your cabinet’s finish, always start with the gentlest method and test in a hidden spot.
Table: Recommended Cleaning Agents by Finish Type
| Finish Type | Recommended Cleaners | Avoid |
|---|---|---|
| Polyurethane/Varnish | Mild soap and water, diluted vinegar (sparingly) | Abrasive cleaners, ammonia, bleach, excess water |
| Lacquer | Mild soap and water (very dilute), specialized lacquer cleaner | Strong solvents, alcohol, abrasives, excess water |
| Oil/Wax | Dry dusting, specialized oil/wax cleaners, mild soap and water (very diluted, rarely) | Harsh chemicals, excessive water, abrasive pads |
Non-Toxic Cabinet Cleaning: Prioritizing Health and Environment
Choosing non-toxic cabinet cleaning methods is beneficial for your health, your family, and the environment. The natural solutions we’ve discussed are excellent examples.
Why Non-Toxic Matters:
- Health: Avoids inhaling harsh fumes.
- Safety: Reduces the risk of skin irritation.
- Environment: Prevents harmful chemicals from entering waterways.
- Cabinet Longevity: Protects the wood finish from damage caused by corrosive ingredients.
Removing Grease from Kitchen Cabinets: Tackling the Tough Stuff
Grease is a common kitchen nemesis. It builds up from cooking fumes and can make cabinets feel sticky and look dull.
Effective Grease Removal Techniques:
- Warm Water and Dish Soap: For lightly greased areas, the mild dish soap and water solution is often sufficient. Use a slightly warmer water temperature (but not hot) and ensure the cloth is well wrung out.
- Vinegar Solution: The diluted white vinegar solution is excellent for cutting through grease. Its acidic nature helps break down oily residues.
- Baking Soda Paste: For baked-on or stubborn grease, a baking soda paste can be very effective. Apply it to the greasy spot, let it sit for a few minutes to absorb the oil, then gently scrub and wipe clean.
- Citrus-Based Cleaners: Some natural citrus-based cleaners can also be effective degreasers. Ensure they are safe for wood finishes.
- Rubbing Alcohol (Use with Caution): For extremely tough, old grease spots, a small amount of rubbing alcohol on a cotton ball can be used very sparingly. Apply directly to the grease spot, let it dissolve briefly, then wipe clean with a damp cloth and dry immediately. Always test this in an inconspicuous area first, as alcohol can damage certain finishes.
Important Tip: Always wipe in the direction of the wood grain. For heavily greased cabinets, you might need to repeat the cleaning process or use a slightly more concentrated (but still safe) solution.
Wood Cabinet Restoration: Bringing Back the Beauty
Sometimes, cleaning isn’t enough. If your cabinets are looking dull, scratched, or the finish is worn, wood cabinet restoration might be in order. This can range from simple touch-ups to a complete refinishing.
Minor Restoration and Touch-Ups:
- Scratch Repair: For minor scratches, you can often use furniture repair markers or crayons that match your cabinet color. For deeper scratches, wood filler might be needed, followed by a touch-up stain or paint.
- Color Touch-Ups: If the color is scuffed or worn in spots, you can often find touch-up stain pens or small cans of paint that match your cabinet’s finish. Apply carefully with a fine brush.
Deeper Restoration: Refinishing
This is a more involved process that typically involves stripping the old finish, sanding, staining (if desired), and applying a new protective topcoat.
-
When to Consider Refinishing:
- The finish is heavily worn, chipped, or peeling.
- There are deep scratches or water damage that cleaning and touch-ups can’t fix.
- You want to change the color or style of your cabinets.
-
The Process (Overview):
- Disassembly: Remove cabinet doors and drawers.
- Stripping: Use a chemical stripper or sanding to remove the old finish.
- Sanding: Sand the wood smooth, working through progressively finer grits of sandpaper.
- Staining (Optional): Apply wood stain if you want to change the color.
- Sealing/Topcoat: Apply multiple coats of a durable wood finish like polyurethane or varnish.
- Reassembly: Reattach hardware and hang doors and drawers.
-
DIY vs. Professional: While DIY refinishing is possible, it’s labor-intensive and requires precision. For a flawless finish, especially on high-value cabinetry, consider hiring a professional.
Polishing Wooden Kitchen Cabinets: The Finishing Touch
After cleaning, polishing wooden kitchen cabinets can bring back their natural luster and provide a protective barrier.
Choosing a Polish:
- Beeswax or Carnauba Wax Polishes: These natural waxes offer a beautiful shine and good protection without harsh chemicals. They are excellent for most wood finishes.
- Oil-Based Polishes: Products containing lemon oil or mineral oil can help nourish the wood and restore a subtle sheen. Use sparingly, as too much oil can make cabinets feel greasy.
- Commercial Furniture Polishes: Many commercial polishes are available. Read labels carefully to ensure they are suitable for your cabinet’s finish and avoid those with silicone, as silicone can build up and interfere with future refinishing.
How to Polish:
- Ensure Cabinets are Clean and Dry: Never polish dirty cabinets.
- Apply Polish Sparingly: Put a small amount of polish onto a clean, soft microfiber cloth.
- Work in Sections: Apply the polish to a small area of the cabinet at a time.
- Buff to a Shine: Using a clean cloth or a buffer attachment on a drill (if you’re experienced), gently buff the area to a shine.
- Wipe Away Excess: If any excess polish remains, buff it off with a clean, dry cloth.
Cabinet Deep Cleaning Methods: For a Thorough Refresh
When daily or weekly cleaning isn’t enough, it’s time for a cabinet deep cleaning method. This is ideal for a spring cleaning or before selling your home.
The Deep Clean Process:
- Empty Cabinets: Remove everything from the cabinets, drawers, and pantry. This is the perfect opportunity to declutter.
- Wash Removable Parts: If your cabinet doors and drawer fronts are removable, take them off. This allows for easier access and more thorough cleaning of all surfaces, including edges and hinges. You can lay them flat on a protected surface for cleaning.
- Clean Interior Surfaces: Wipe down the insides of cabinets and drawers with your chosen mild cleaner. A damp cloth followed by a dry one is effective. For shelving, you might use a slightly damp cloth.
- Address Hinges and Hardware: Clean knobs and handles separately. For hinges, a gentle wipe with a damp cloth is usually sufficient. For stubborn grime or rust, specialized metal cleaners might be needed, but use them with extreme caution to avoid contact with the wood finish.
- Clean Doors and Drawer Fronts: Now is the time to tackle the exteriors thoroughly. Use your preferred natural cleaner, paying attention to any nooks and crannies.
- Degrease: Focus on areas known for grease build-up.
- Dry Thoroughly: Ensure all surfaces, especially where moisture might have accumulated (like around hinges), are completely dry.
- Polish and Protect: Once everything is clean and dry, consider polishing all exterior surfaces.
- Reassemble: Put everything back in its place.
Essential Cabinet Wood Care Tips: For Long-Term Beauty
To keep your wooden kitchen cabinets looking their best, incorporate these cabinet wood care tips into your routine.
- Control Humidity: Avoid extreme humidity fluctuations, which can cause wood to swell or contract, leading to cracks or warping. Use a dehumidifier or humidifier if necessary.
- Avoid Direct Sunlight: Prolonged exposure to direct sunlight can fade and dry out wood finishes. Use window treatments to protect your cabinets.
- Be Mindful of Heat and Steam: Avoid placing appliances that generate excessive heat or steam directly next to cabinets. If steam is unavoidable (e.g., from a kettle), wipe down the affected area immediately.
- Use Protective Mats: Place mats or liners inside cabinets, especially where spills are likely (e.g., under cleaning supplies).
- Wipe Spills Immediately: As mentioned, prompt action prevents stains and damage.
- Handle with Care: Avoid banging cabinet doors or drawers, which can chip finishes or loosen hinges.
- Regular Dusting: A quick dusting prevents abrasive particles from scratching the finish.
- Gentle Cleaning Agents: Always opt for mild, natural cleaners.
- Test New Products: Before using any new cleaner or polish on your entire cabinet surface, test it on a small, inconspicuous area.
Frequently Asked Questions (FAQ)
Q1: What is the best way to clean greasy kitchen cabinets?
The best way to clean greasy kitchen cabinets is to use a diluted white vinegar solution (1 part vinegar to 2 parts water) or a mild dish soap and warm water solution. Apply with a well-wrung-out cloth, wipe gently, and dry immediately. For stubborn grease, a baking soda paste can be used cautiously.
Q2: Can I use bleach to clean my wooden kitchen cabinets?
No, you should never use bleach on wooden kitchen cabinets. Bleach is a harsh chemical that will strip the finish, discolor the wood, and can cause permanent damage.
Q3: How often should I deep clean my kitchen cabinets?
A deep clean can be performed once or twice a year, or whenever you notice significant build-up of grime or grease that regular cleaning can’t address.
Q4: My cabinets have water stains. Can I remove them?
For light water stains, a paste of baking soda and water might help lift the stain. For deeper water marks or rings, wood cabinet restoration might be necessary, possibly involving light sanding and refinishing.
Q5: What are the best non-toxic cleaners for wood cabinets?
Excellent non-toxic cleaners include solutions of mild dish soap and water, diluted white vinegar and water, or even just plain water with a good microfiber cloth for dusting. Baking soda paste is also a good non-toxic option for spot cleaning.
Q6: Can I use furniture polish on all types of wood cabinet finishes?
Most furniture polishes are safe for finished wood, but it’s crucial to check the product label and test it on an inconspicuous area first. Avoid polishes with silicone, as they can build up and complicate future refinishing. Natural wax-based polishes are generally a safe and effective choice.
By following these guidelines and incorporating regular, gentle care, you can keep your wooden kitchen cabinets looking beautiful and well-maintained for years to come. Enjoy your sparkling clean kitchen!