
Can you build your own kitchen island? Yes, you absolutely can build your own kitchen island! This comprehensive DIY guide will walk you through every step of creating a beautiful and functional centerpiece for your kitchen. Building a DIY kitchen island is a rewarding project that can transform your space, offering extra prep area, storage, and even seating.
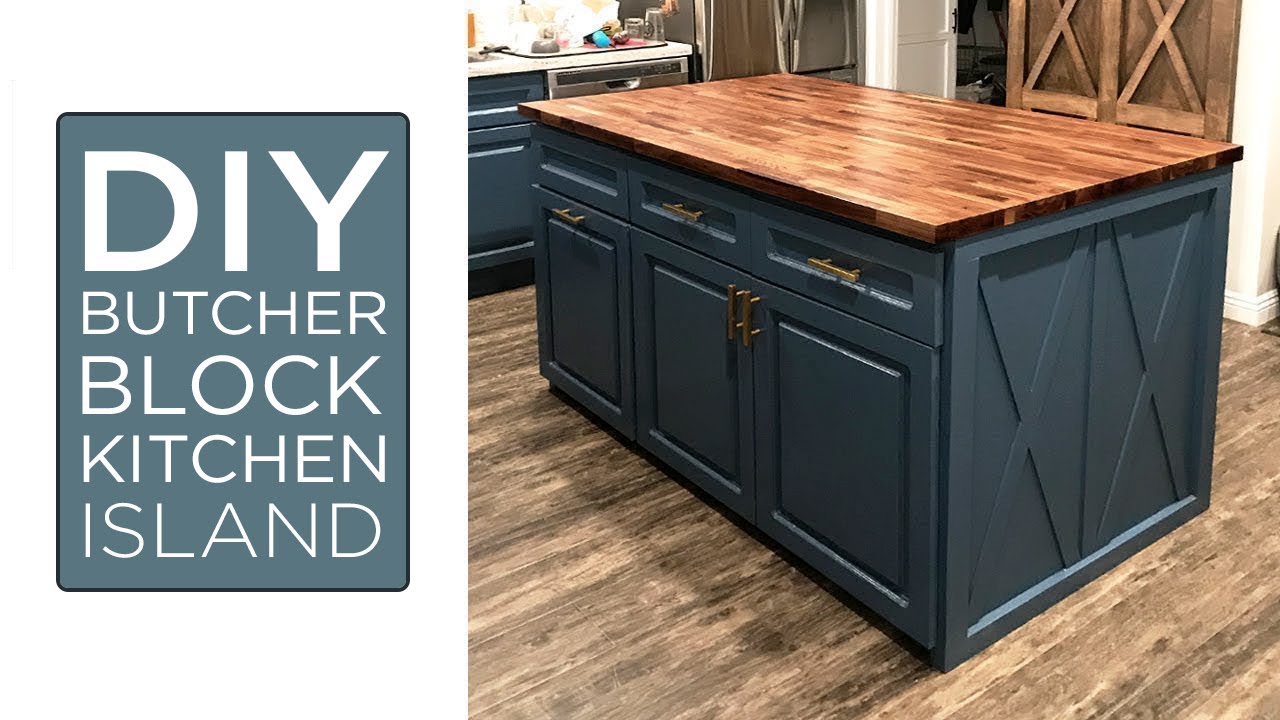
Image Source: i.ytimg.com
Planning Your DIY Kitchen Island
Before you grab any tools, it’s crucial to plan. This is where your kitchen island design truly takes shape. Think about what you want your island to do for you. Do you need more workspace for chopping vegetables? More storage for pots and pans? Or perhaps a casual spot for breakfast?
Determining Size and Placement
First, measure your kitchen. You need to ensure there’s enough clearance around the island for comfortable movement. A good rule of thumb is at least 36 inches of walkway space on all sides where you’ll be opening cabinets or appliances.
Consider the flow of your kitchen. Where will the island best serve your cooking and entertaining needs? Think about the “kitchen triangle” (sink, stove, refrigerator) and how the island fits into that workflow.
Choosing Your Style and Features
Your kitchen island ideas can be endless! Here are some popular styles and features to consider:
- Standard Rectangular Island: The most common and versatile.
- Island with Seating: Incorporate an overhang for bar stools.
- Island with Storage: Utilize kitchen island cabinets and drawers for maximum utility.
- Rolling Island: Offers flexibility if you need to move it.
- Peninsula Island: Attaches to your existing cabinetry or wall.
Think about the materials you want to use. Will you match your existing cabinetry? What kind of kitchen island countertop are you envisioning? Granite, quartz, butcher block, laminate – each has its pros and cons.
Sketching Your Kitchen Island Plans
Once you have a clear idea of size, style, and features, it’s time for kitchen island plans. You don’t need to be an architect. Simple sketches with measurements are perfectly fine. Draw the basic shape, mark where doors and drawers will go, and note the desired height and depth. This visual guide will be invaluable throughout the kitchen island construction.
Gathering Your Materials and Tools
With your plans in hand, you can create a detailed shopping list.
Essential Tools
- Tape measure
- Pencil
- Safety glasses
- Work gloves
- Circular saw or miter saw
- Jigsaw (for curves or sink cutouts)
- Drill/driver
- Screwdriver bits
- Level
- Clamps
- Sander (orbital or belt)
- Stud finder (if anchoring to floor)
- Caulking gun
- Putty knife
Lumber and Plywood
- Plywood (¾-inch for the base, ½-inch for backs and drawer bottoms)
- 2×4 or 2×3 lumber for framing
- 1x lumber for trim and decorative elements
- Cabinet-grade plywood for visible sides
Hardware and Fasteners
- Wood screws (various lengths)
- Wood glue
- Pocket hole jig and screws (optional, but recommended for strong joinery)
- Drawer slides
- Cabinet hinges
- Door pulls/knobs
- Screws for countertop installation
Finishing Supplies
- Wood filler
- Primer
- Paint or stain
- Polyurethane or other sealant
- Sandpaper (various grits: 80, 120, 220)
Step-by-Step Kitchen Island Construction
This section details the core kitchen island construction process. Remember, patience and precision are key!
Building the Base Frame
The foundation of your DIY kitchen island is its base frame. This provides structural integrity.
- Cut Your Lumber: Using your kitchen island plans, cut your 2×4 or 2×3 lumber to size for the base and vertical supports.
- Assemble the Base: Create a rectangular frame for the bottom of your island using wood screws and glue. Ensure the corners are square.
- Add Vertical Supports: Attach vertical studs inside the frame at regular intervals, especially where you plan to place cabinets or drawers. These will support the top and side panels.
- Reinforce Corners: Add corner braces or use pocket hole joints for extra strength.
Table 1: Lumber Cutting Guide (Example)
| Component | Lumber Type | Length | Quantity |
|---|---|---|---|
| Base Frame | 2×4 | Varies by plan | 4 |
| Vertical Studs | 2×4 | Varies by plan | Varies |
| Top Supports | 2×4 | Varies by plan | 4 |
Creating the Box/Cabinetry Structure
If you’re incorporating kitchen island cabinets, this is where they come into play. You can buy pre-made base cabinets and build around them, or build your own from scratch using plywood.
Option A: Using Pre-Made Cabinets
- Position Cabinets: Place your pre-made cabinets within the frame you built.
- Secure Cabinets: Screw the cabinets to the frame and to each other. Ensure they are level.
- Build the Surrounding Box: Use ¾-inch plywood to create the sides, back, and front panels that will enclose the cabinets and frame, giving your island a solid, finished look. Cut these panels precisely according to your plans.
Option B: Building Cabinets from Scratch
This allows for a truly build custom island experience.
- Cut Plywood Panels: Cut ¾-inch plywood for the cabinet boxes (sides, top, bottom, back).
- Assemble Cabinet Boxes: Use wood glue and screws (or pocket holes) to assemble the boxes. Ensure they are square.
- Install Drawer Slides and Hinges: Mount drawer slides inside the cabinet boxes and attach hinges to the doors according to the manufacturer’s instructions.
- Build Drawers and Doors: Construct drawers from ½-inch plywood. Cut doors to size and attach them to the hinges.
Attaching the Top Frame and Plywood Skin
Now, you’ll add the upper structure and the outer shell.
- Build the Top Frame: Construct a sturdy top frame using 2x4s that will support your kitchen island countertop. This frame should sit on top of your vertical supports and align with the outer dimensions of your island.
- Attach Plywood Skin: Cut ¾-inch plywood panels for the exterior sides, front, and back of your island. Attach these panels to the frame using wood glue and screws. Ensure they are flush and smooth. This creates the solid body of your island.
- Cut Openings: If you’re adding doors or drawers, carefully cut out the openings in the plywood skin before or after attaching the panels, depending on your design. Use a jigsaw for precise cuts.
Adding Drawer and Door Fronts
This is where your island starts to look like furniture.
- Cut Drawer and Door Fronts: Cut your chosen wood (plywood, MDF, or solid wood) for the drawer and door fronts.
- Attach Drawer Fronts: Mount drawer fronts to the drawer boxes. You’ll typically attach the drawer box to the front, leaving a slight reveal for ease of opening, or use specialized hardware for a flush mount.
- Attach Doors: Mount the doors onto the hinges you installed earlier. Adjust them so they hang straight and have even gaps.
Installing the Kitchen Island Countertop
The kitchen island countertop is often the most visible element.
- Prepare the Countertop: If you purchased a slab, ensure it’s cut to size. If you’re using butcher block, you might need to join pieces and sand them smooth.
- Test Fit: Carefully place the countertop onto the island frame to check the fit.
- Secure the Countertop: From underneath, screw the countertop to the top frame using appropriate screws. Be careful not to drill through the top surface. If you have an overhang for seating, ensure it’s well-supported.
Countertop Installation Tips
- For heavy countertops like granite or quartz, you might need assistance.
- Use construction adhesive along the top of the frame before placing the countertop for a secure bond.
- If you’re installing a sink or cooktop, ensure the cutouts are precise and the countertop is sealed appropriately around the edges.
Finishing Touches: Trim, Sanding, and Painting/Staining
This stage brings your DIY kitchen island to life.
- Add Trim: Attach decorative trim pieces to the base, corners, or edges as per your kitchen island design. This adds a professional touch. Use wood glue and finishing nails.
- Fill and Sand: Fill any screw holes or imperfections with wood filler. Once dry, sand the entire island smooth. Start with a coarser grit (80-120) to remove imperfections and progress to finer grits (180-220) for a smooth finish.
- Clean: Wipe down the entire island with a tack cloth or damp cloth to remove all dust.
- Prime and Paint/Stain: Apply a coat of primer. Once dry, apply your chosen paint or stain. Multiple thin coats are better than one thick coat.
- Seal: Apply a protective topcoat like polyurethane or a furniture wax to protect the finish.
How to Install a Kitchen Island
How to install a kitchen island depends on whether it’s a movable unit or a permanently fixed one.
Movable Islands
If your island is on casters or simply placed on the floor, how to install a kitchen island is straightforward: position it where you want it and ensure it’s stable. You might want to add locking casters for extra security.
Fixed Islands
For islands that are meant to be stationary, especially those with plumbing or electrical connections, permanent installation is necessary.
- Locate Floor Joists: Use a stud finder to locate floor joists directly beneath where the island will sit.
- Mark Placement: Mark the exact position of the island on the floor.
- Anchor the Island: Drive long wood screws or lag bolts through the base of the island frame into the floor joists. This secures the island firmly to the floor. If you cannot reach joists, use heavy-duty toggle bolts or mounting plates.
- Plumbing and Electrical: If your island includes a sink or outlets, this is the stage where you’d connect to existing plumbing and electrical lines. This often requires professional help to ensure safety and code compliance.
Adding Seating to Your Kitchen Island
An island with seating is a fantastic addition for casual dining and entertaining.
Designing for Seating
- Overhang: For comfortable seating, you’ll need an overhang of at least 10-12 inches for standard counter height (36 inches) and 12-15 inches for bar height (42 inches).
- Knee Space: Ensure there’s enough knee space for people to sit comfortably.
- Stool Height: Choose stools that are the correct height for your island (counter height or bar height).
Building the Support for an Overhang
If you’re adding an overhang for kitchen island with seating, proper support is crucial.
- Countertop Brackets: Install heavy-duty metal brackets underneath the countertop, screwed into the island frame.
- Knee Wall: A small wall built into the island structure can also provide support.
- Overhang Supports: For significant overhangs, consider adding 2×4 supports that run perpendicular to the island frame and extend into the overhang area.
Frequently Asked Questions (FAQ)
How much space do I need around a kitchen island?
You need at least 36 inches of clearance around your kitchen island for comfortable movement and access to cabinets and appliances. More is always better if your kitchen size allows.
Can I use butcher block for my kitchen island countertop?
Yes, butcher block is a popular and beautiful choice for a kitchen island countertop. It’s durable and can be stained or sealed to match your decor. However, it requires regular maintenance, such as oiling, to prevent drying and cracking.
What’s the easiest way to build a DIY kitchen island?
Using pre-made base cabinets as the core of your island is often the easiest method for beginners. You can then build a frame around them and add a custom countertop and decorative elements to create a build custom island look without the complexity of building cabinets from scratch.
How do I make sure my island is level?
Use a spirit level throughout the construction process. Check for levelness when assembling the base frame, when attaching vertical supports, and especially when securing the countertop. Adjust by shimming if necessary.
Do I need to anchor my kitchen island to the floor?
It’s highly recommended to anchor a fixed kitchen island to the floor, especially if it’s large or if you have children. This prevents tipping and adds stability. If your island is on casters and you intend to move it, anchoring isn’t necessary, but locking casters are a good safety feature.
What kind of wood is best for building a kitchen island?
For the frame, standard construction lumber like 2x4s is suitable. For cabinet boxes, drawer components, and visible surfaces, cabinet-grade plywood (like birch or maple) is excellent. For drawer fronts, doors, and countertops, you can use plywood, MDF, solid wood (like oak, maple, or cherry), or butcher block.
How can I incorporate storage into my DIY kitchen island?
Kitchen island cabinets and drawers are the most common ways. You can also add open shelving, wine racks, or even a small appliance garage. Think about what you use most and design your storage solutions accordingly.
Building your own kitchen island is a fantastic project that offers both a creative outlet and a practical upgrade to your home. By carefully planning, gathering the right materials, and following these steps, you can create a beautiful and functional centerpiece that you’ll enjoy for years to come.