
What is a kitchen deep clean, and can I achieve it quickly?** Yes, a kitchen deep clean involves thoroughly cleaning every surface, appliance, and hidden corner, and it can absolutely be achieved quickly with the right strategies and a systematic approach. This guide will show you how to tackle your kitchen in record time, making every inch sparkle.
The kitchen is often the heart of the home, a place where meals are made, memories are shared, and life happens. But with all that activity comes inevitable messes. Sticky countertops, splattered stovetops, and grime-filled appliances are common, making kitchen deep cleaning a necessary, albeit sometimes daunting, task. Fortunately, you don’t need an entire weekend to achieve a sparkling clean kitchen. By breaking down the process into manageable steps and employing smart cleaning techniques, you can speed up your deep clean considerably. This guide is packed with easy tips to help you clean your kitchen fast and efficiently, transforming it from cluttered chaos to pristine perfection.
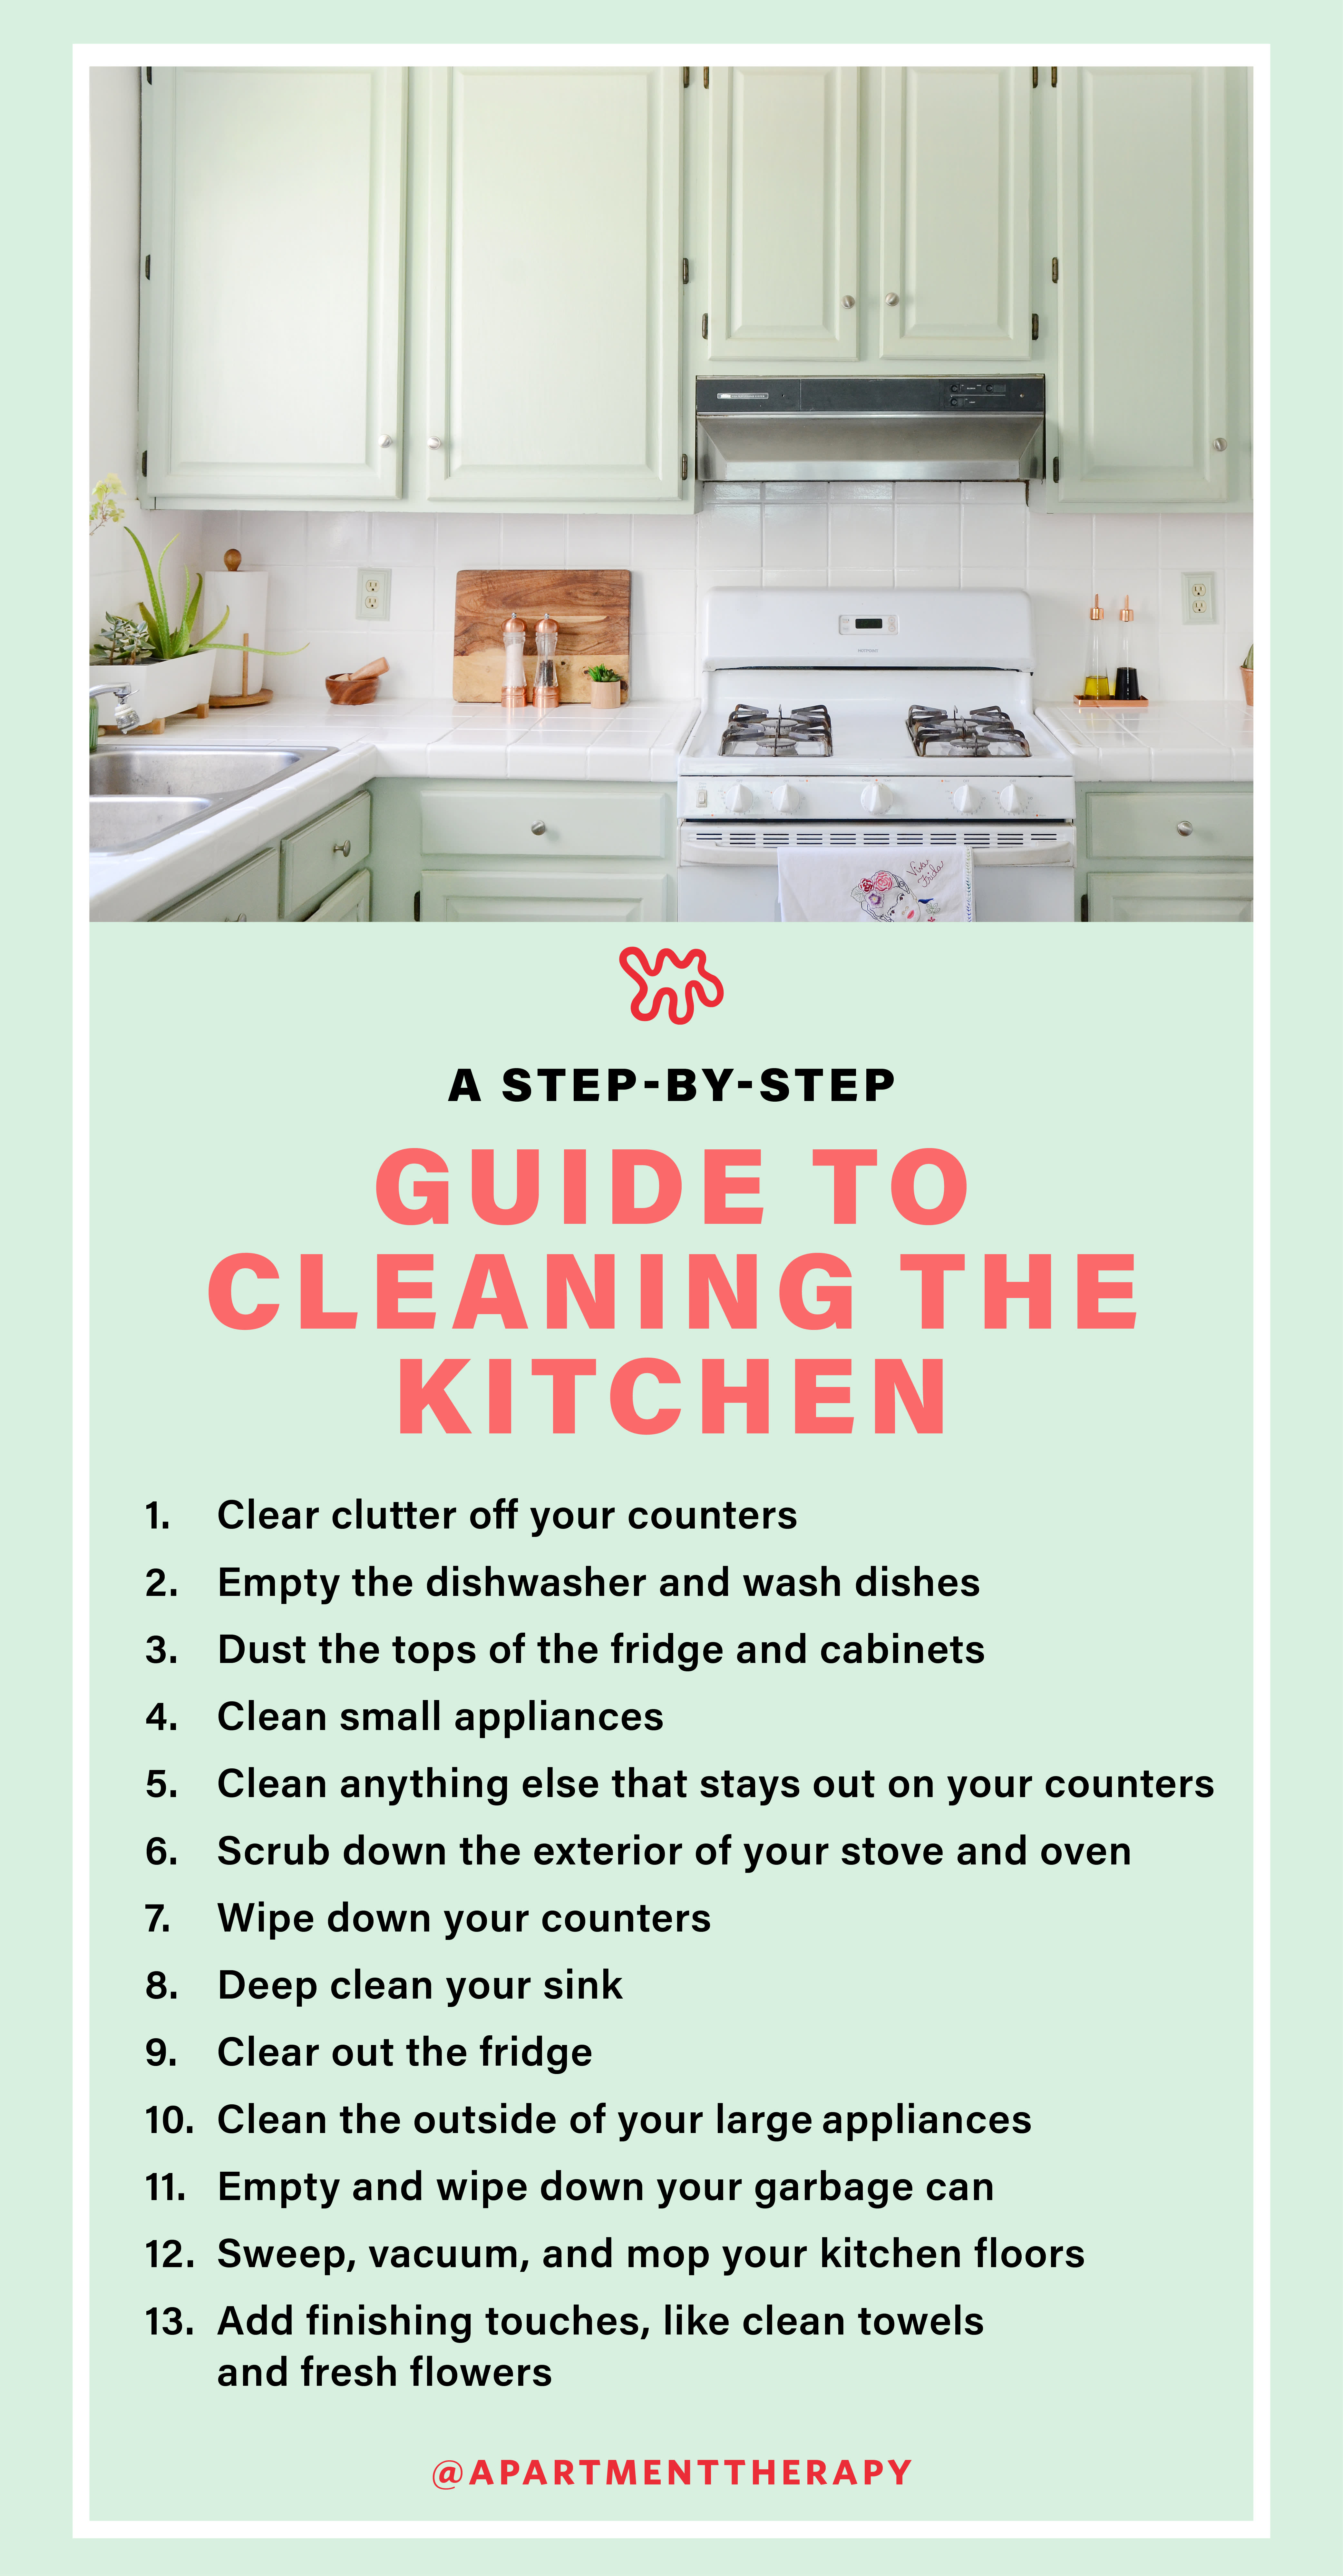
Image Source: cdn.apartmenttherapy.info
The Swift Strategy: Your Kitchen Deep Cleaning Blueprint
To clean your kitchen fast, you need a plan. Think of it like a race – the more organized your route, the faster you’ll finish. We’ll go room by room, tackling specific areas with effective methods. This approach ensures you don’t miss a spot and use your cleaning time wisely.
Gathering Your Arsenal: Essential Cleaning Supplies
Before you dive in, make sure you have everything you need. Having your supplies ready saves time and prevents interruptions.
- All-purpose cleaner: For most surfaces.
- Degreaser: Crucial for appliance degreasing and stubborn kitchen grease.
- Glass cleaner: For windows and appliance doors.
- Baking soda: A natural abrasive and deodorizer.
- Vinegar: Great for disinfecting and cutting through grime.
- Dish soap: For washing dishes and cleaning greasy surfaces.
- Microfiber cloths: Several for different tasks (wiping, polishing, scrubbing).
- Sponges: Both soft and scrubby.
- Scrub brush: For tough spots.
- Rubber gloves: To protect your hands.
- Trash bags: For quick disposal.
- Bucket: For water and cleaning solutions.
- Old toothbrush: For getting into tight crevices.
- Paper towels: For quick spills and drying.
Tackling the Countertops: Countertop Cleaning Made Easy
Countertops are high-traffic areas, accumulating spills, crumbs, and general daily use. Fast countertop cleaning starts with clearing everything off.
- Clear the Decks: Remove everything from your countertops – appliances, canisters, decorative items. Place them on a nearby table or even the floor temporarily. This gives you a clear workspace.
- Wipe Down: Use your all-purpose cleaner and a microfiber cloth. Spray the surface and wipe down in one direction to catch all debris. For stubborn spots, let the cleaner sit for a minute.
- Deep Dive on Tough Stains: For tougher stains or sticky residues, baking soda paste (baking soda mixed with a little water) works wonders. Apply, let it sit for a few minutes, then gently scrub with a damp sponge. Rinse thoroughly with a damp cloth.
- Polish and Shine: For granite, marble, or laminate, a quick buff with a dry microfiber cloth after cleaning leaves them looking great. Always check your countertop material for specific cleaning recommendations to avoid damage.
Sink Scrubbing: The Sparkle of a Clean Sink
A sparkling sink makes the whole kitchen feel cleaner. Sink scrubbing is often quick but can reveal hidden grime.
- Clear the Sink: Remove all dishes, sponges, and sink strainers.
- Rinse and Debris Removal: Rinse the sink thoroughly to remove loose food particles and debris. Use a brush to dislodge anything stuck to the sides or bottom.
- Tackle Grease and Grime: Apply a generous amount of dish soap or your all-purpose cleaner. Use a sponge or scrub brush to scrub the entire sink basin, paying attention to corners and around the faucet.
- The Power of Baking Soda: For a deeper clean and to remove water spots or mild stains, sprinkle baking soda liberally into the damp sink. Scrub with a sponge. This gentle abrasive lifts away grime effectively.
- Sanitize with Vinegar: For sanitizing and shine, spray white vinegar into the sink and let it sit for a few minutes. This also helps to deodorize.
- Rinse and Dry: Rinse the sink completely with hot water. Use a clean, dry microfiber cloth to wipe it dry. This prevents water spots and leaves a beautiful shine. Don’t forget to clean the faucet and handles!
Floor Mopping: Quick Steps to Gleaming Floors
Clean floors tie the whole room together. Fast floor mopping involves a few strategic moves.
- Clear the Path: Pick up any items from the floor – chairs, rugs, stray toys. Sweep or vacuum thoroughly to remove all loose dirt, crumbs, and dust. Pay attention to corners and edges.
- Prepare Your Mop Solution: Fill your bucket with hot water and your preferred floor cleaner. For most tile and vinyl floors, a mixture of hot water and a squirt of dish soap or a splash of vinegar works well. For sealed wood floors, use a wood-specific cleaner and minimal water.
- Mop with Purpose: Dip your mop into the solution, wring it out well so it’s damp, not soaking wet. Mop the floor in sections, working your way backward towards the exit. Rinse your mop frequently in the bucket to avoid spreading dirt.
- Stubborn Spots: For sticky spots or dried-on messes, you might need to pre-treat with a concentrated cleaner or let the mop solution sit on the spot for a minute before scrubbing.
- Drying: Allow the floor to air dry, or if time is of the essence, use a clean, dry microfiber cloth or a spare mop to quickly dry any excess moisture.
Appliance Degreasing: Banishing Kitchen Grease
Appliances are often the biggest culprits for grease buildup. Appliance degreasing can be surprisingly quick.
The Stovetop Slayer: Conquering Cooktop Grime
Your stovetop is ground zero for splatters.
- Remove Grates and Burner Covers: If you have a gas stove, remove grates and burner covers. If you have an electric stove, remove the drip pans.
- Degrease: Spray a good degreaser onto the stovetop surface, burner areas, and any removed parts. Let it sit for a few minutes to break down the grease.
- Wipe and Scrub: Use a damp microfiber cloth to wipe away the degreaser and loosened grime. For tough, baked-on messes, use a scrub brush or a non-scratch scouring pad. For glass stovetops, use a glass-safe cleaner and scraper.
- Clean Removable Parts: Wash the grates, burner covers, or drip pans in hot, soapy water. For very greasy parts, a soak in hot water with a degreaser can be helpful.
- Reassemble: Once clean and dry, put all the parts back in place.
Microwave Cleaning: Speedy Microwave Revival
Microwave cleaning is usually a fast job.
- The Steam Method: Fill a microwave-safe bowl with 1 cup of water and 2 tablespoons of white vinegar. You can also add a few lemon slices for a fresh scent.
- Heat It Up: Place the bowl in the microwave and heat on high power for 3-5 minutes, or until the water is steaming and the window is foggy.
- Let It Sit: Keep the microwave door closed for another 5-10 minutes to let the steam loosen any dried-on food.
- Wipe Clean: Carefully remove the hot bowl (use oven mitts!). Wipe down the interior walls, ceiling, and door with a damp microfiber cloth. The grime should wipe away easily.
- Turntable and Exterior: Wash the turntable plate in the sink. Wipe down the exterior with an all-purpose cleaner.
Oven Cleaning: Making Your Oven Shine
Oven cleaning can be time-consuming, but these tips speed it up.
- Pre-Clean: Remove oven racks. Use a damp cloth to wipe up any large, loose debris from the oven floor.
- Self-Cleaning Option (Use with Caution): If your oven has a self-cleaning feature, this is the fastest way. Follow your oven’s manual instructions. Caution: This process can create smoke and fumes, so ensure good ventilation and remove any oven liners or foil.
- Manual Oven Cleaning: For a faster manual clean, use a good oven cleaner. Spray it on the interior surfaces, avoiding the heating elements and fan. Close the door and let it sit for the time recommended on the product label (often 20-30 minutes for faster-acting cleaners).
- Wipe and Rinse: Use damp cloths or sponges to wipe away the cleaner and the loosened grime. You may need to rinse your cloth frequently. An old toothbrush can help scrub away stubborn spots.
- Clean Racks: Wash oven racks in hot, soapy water. For tough grime, you might need to soak them in hot water with a degreaser or baking soda.
- Final Wipe: Once the oven interior is clean, give it a final wipe with a damp cloth and polish with a dry one.
Refrigerator Cleaning: A Quick Fridge Refresh
A clean refrigerator is key to food safety and a pleasant kitchen.
- Empty and Sort: Take out all food items. Group them by type (dairy, produce, condiments). Discard anything expired or questionable.
- Remove Shelves and Drawers: Take out removable shelves, drawers, and bins. This makes cleaning the interior much easier.
- Wipe Down Interior: Use a solution of warm water and a little dish soap or vinegar. Wipe down all interior surfaces, including walls, ceiling, and door seals. For stubborn stains, a baking soda paste can be used.
- Clean Shelves and Drawers: Wash shelves and drawers in the sink with warm, soapy water. Rinse and dry them thoroughly before returning them to the fridge.
- Clean Exterior and Seals: Wipe down the exterior of the refrigerator with an all-purpose cleaner or a stainless steel cleaner if applicable. Pay attention to handles and the top surface. Clean the door seals with a damp cloth to remove any sticky residue.
- Restock: Put your food items back into the clean refrigerator.
Dishwasher Cleaning: Keeping Your Dishwasher Pristine
A clean dishwasher means cleaner dishes.
- Empty the Dishwasher: Make sure there are no dishes inside.
- Clean the Filter: Most dishwashers have a filter at the bottom that catches food particles. Remove it and rinse it under running water, using a small brush to remove any stuck debris.
- Wipe Down Interior: Use a damp cloth and your all-purpose cleaner or a vinegar solution to wipe down the inside walls, door, and detergent dispenser.
- Run a Hot Cycle: Pour about 1-2 cups of white vinegar into the bottom of the empty dishwasher. Run a hot water cycle. Vinegar helps to disinfect and remove odors and mineral buildup.
- Optional Deodorizer: For extra deodorizing, sprinkle baking soda on the bottom of the dishwasher and run another short, hot cycle.
- Clean the Exterior: Wipe down the exterior door and control panel with appropriate cleaners.
Cabinet Cleaning: Refreshing Your Kitchen Cabinets
Cabinet cleaning can make a huge difference to the overall look of your kitchen.
- Clear and Declutter: Take everything out of a few cabinets at a time. Group similar items together. Discard anything you no longer need. This is a good opportunity for a quick declutter.
- Wipe Down Shelves: Use a damp cloth with a mild cleaner (dish soap and water or an all-purpose cleaner) to wipe down the interior shelves. For stubborn spots, a bit of baking soda paste can help.
- Wipe Down Cabinet Doors: Clean the exterior of your cabinet doors. For wood cabinets, use a cleaner specifically designed for wood or a damp cloth with a little dish soap. For laminate or painted cabinets, an all-purpose cleaner usually works well.
- Tackle Hardware: Use an old toothbrush dipped in cleaner to get into the crevices of cabinet knobs and handles.
- Dry and Replace: Dry the shelves and cabinet doors with a clean, dry cloth. Replace your items, arranging them neatly.
Tackling Other Kitchen Areas: Don’t Forget These Spots!
A truly fast deep clean means hitting all the often-overlooked areas.
The Backsplash Brilliance
Backsplashes can get greasy and stained quickly.
- Spray and Wipe: Use an all-purpose cleaner or a degreaser. Spray onto the backsplash and let it sit for a moment.
- Scrubbing Power: Use a microfiber cloth or a soft sponge to wipe away grime. For tough splatters, a scrub brush may be needed.
- Grout Care: For tiled backsplashes with grout, a paste of baking soda and water applied with an old toothbrush can lift stains. Wipe clean with a damp cloth.
Window Wonders
Clean windows let in more light and make the kitchen feel bigger.
- Spray and Squeegee: Use a glass cleaner and a squeegee for a streak-free finish. Alternatively, a mixture of vinegar and water works well.
- Microfiber Magic: If you don’t have a squeegee, use clean microfiber cloths. Spray the cleaner onto one cloth, wipe the window, then use a dry cloth to buff it dry.
Lighting Fixtures and Ceiling Fans
Dust accumulates quickly on these surfaces.
- Dusting Power: Use a long-handled duster or a microfiber cloth attached to a broom to reach these areas.
- Lamp Shades: Gently vacuum lampshades with a brush attachment or wipe them with a slightly damp cloth if they are washable.
Pro Tips for Speed Cleaning Success
To truly clean your kitchen fast, incorporate these strategies:
- Work Top to Bottom: Always clean from the highest surfaces down to the floor. This way, any dust or debris you dislodge falls onto areas you haven’t cleaned yet.
- Clean in Zones: Break your kitchen into logical zones (e.g., sink area, stove area, pantry). Focus on completing one zone before moving to the next.
- Use the Right Tools: Microfiber cloths are incredibly effective and reusable. Having a good scrub brush for tough jobs is also essential.
- Don’t Be Afraid of Help: If you share your home, delegate tasks! Even small contributions can speed things up considerably.
- Music On! Put on your favorite upbeat music. It can make the task more enjoyable and help you maintain a good pace.
- Preventative Measures: Wipe down surfaces as you cook. Clean up spills immediately. This makes deep cleaning sessions much less intensive.
Frequently Asked Questions About Fast Kitchen Cleaning
Q1: How often should I deep clean my kitchen?
A1: A thorough deep clean is recommended every 1-3 months, depending on how heavily your kitchen is used. However, maintaining cleanliness with daily wipe-downs and weekly sweeps will make the deep clean process much faster and less arduous.
Q2: What are the best natural cleaning solutions for a kitchen?
A2: White vinegar and baking soda are fantastic natural cleaners. Vinegar is great for disinfecting and cutting grease, while baking soda acts as a mild abrasive and deodorizer. Lemon juice can also be used for cleaning and deodorizing.
Q3: My oven is extremely dirty. Can I still clean it fast?
A3: If your oven has a self-cleaning function, that’s your fastest option. If cleaning manually, a powerful oven cleaner designed for quick action is your best bet. For very tough, baked-on grime, a longer cleaning time might be unavoidable, but focusing on one appliance at a time can help manage the task.
Q4: How do I deal with stubborn grease on kitchen cabinets?
A4: For stubborn grease on cabinets, a mixture of warm water and a few drops of dish soap is often effective. For tougher spots, try a solution of one part vinegar to two parts water, or a dedicated kitchen degreaser. Always test in an inconspicuous spot first.
Q5: What’s the quickest way to clean a greasy backsplash?
A5: The quickest way is to use a good degreaser spray. Spray it on, let it sit for a minute or two to break down the grease, then wipe it clean with a damp microfiber cloth. For tiled backsplashes, a soft brush can help with grout lines.
By following these detailed steps and incorporating smart strategies, you can achieve a sparkling clean kitchen fast. Remember, consistency is key, and a little effort regularly goes a long way in making those deeper cleans quicker and easier!