
Can I make my own concrete kitchen countertops? Yes, you absolutely can! Making your own concrete kitchen countertops is a rewarding DIY project that can significantly enhance your kitchen’s aesthetic and value. This comprehensive guide will walk you through every step, from planning and material selection to the final polish. We’ll cover everything you need to know to successfully create your own DIY concrete counters.
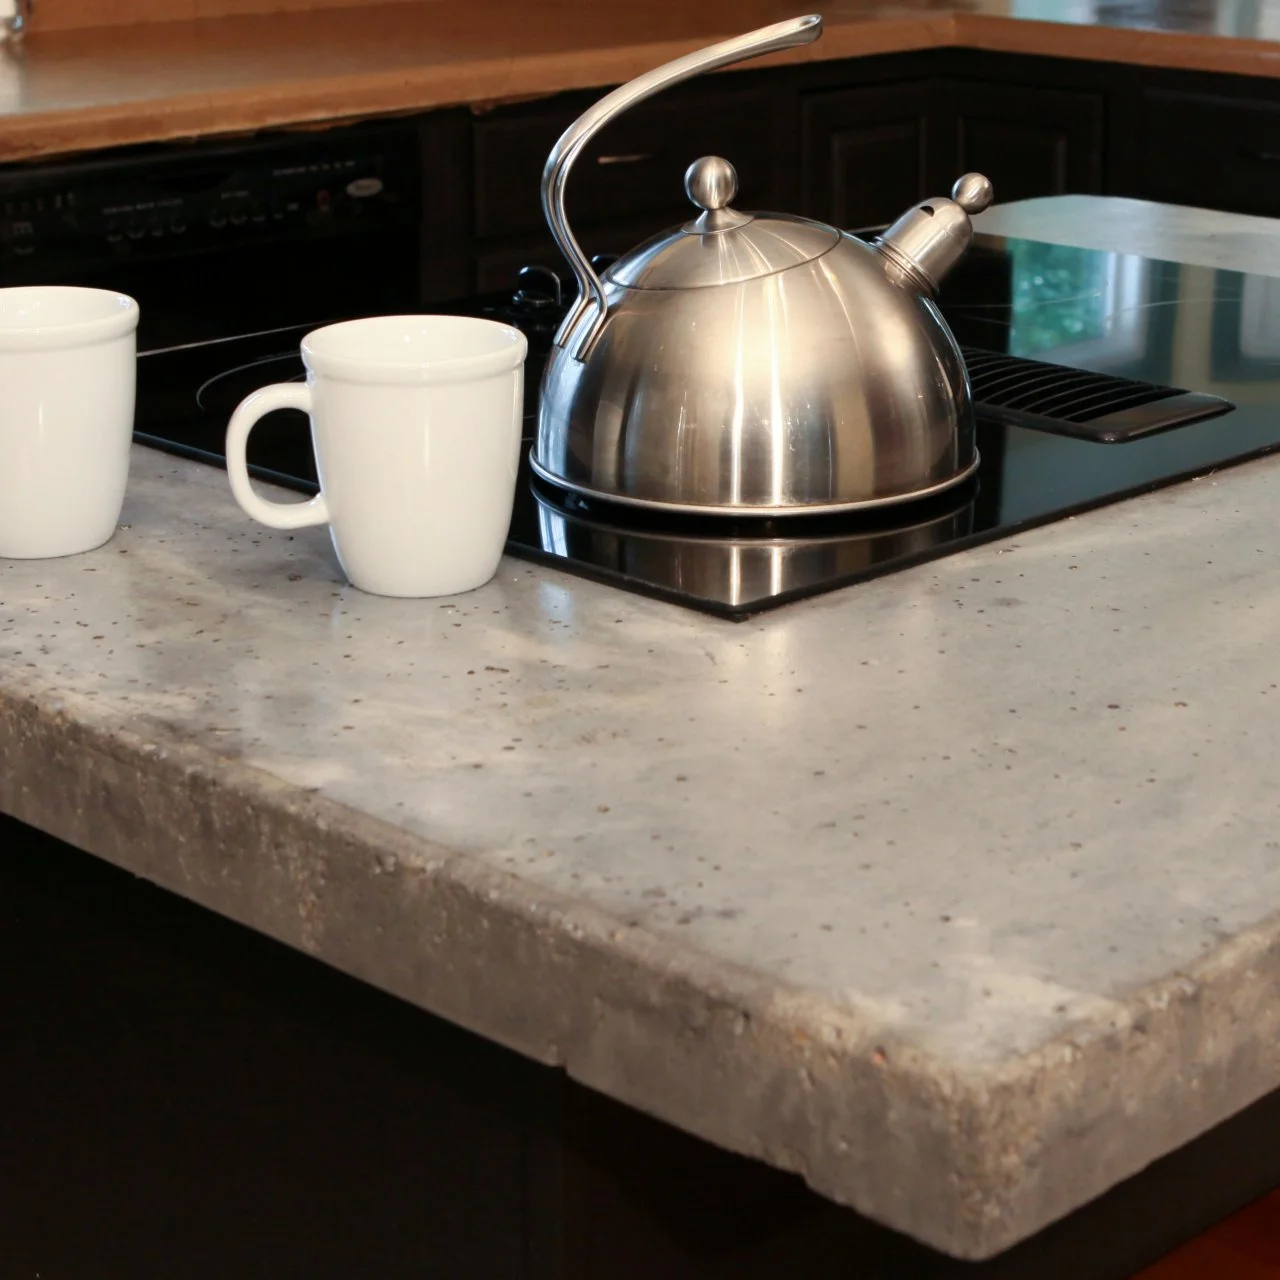
Image Source: diy.sndimg.com
Deciphering the Appeal of Concrete Countertops
Concrete countertops have gained immense popularity for their unique blend of industrial chic and modern elegance. They offer unparalleled durability and can be customized to fit any kitchen style. Beyond their striking appearance, concrete offers versatility in color, shape, and finish. You can achieve everything from a smooth, polished look to a more textured, rustic feel. Plus, when done yourself, the concrete countertop cost can be significantly lower than professionally installed options.
Why Choose Concrete?
- Durability: Properly made and sealed concrete is incredibly strong and resistant to heat and scratches.
- Customization: Colorants, aggregates, and finishes allow for endless design possibilities.
- Cost-Effective: DIY installation can save considerable money.
- Unique Aesthetic: Each concrete countertop has its own character.
- Heat Resistance: Great for placing hot pans directly on the surface.
Planning Your Concrete Countertop Project
Before you grab your tools, careful planning is essential. This phase is crucial for a successful outcome and avoiding costly mistakes.
Measuring and Template Creation
Accurate measurements are paramount. Measure your existing countertops or the base cabinets where the new concrete slab kitchen will sit.
- Measure twice, cut once: Double-check all dimensions.
- Consider overhangs: Decide on the desired overhang for your countertops and any breakfast bar extensions.
- Account for sink and faucet cutouts: Precisely mark the locations and dimensions for these.
- Create templates: Use cardboard or thin plywood to create templates of your countertop shapes. This is especially helpful for complex layouts or angled corners. Transferring these templates to your actual concrete forms ensures a perfect fit.
Design Considerations
Think about the overall look and feel you want for your kitchen.
- Edge Profiles: Will you have a simple square edge, a rounded bullnose, or a more decorative profile?
- Thickness: Standard countertop thickness is typically 1.5 to 2 inches. Thicker slabs have a more substantial look but are heavier.
- Color: Concrete can be colored using integral pigments or stains. Consider how the color will complement your cabinets and other kitchen elements.
- Inclusions: Do you want to embed decorative items like glass, metal, or stones into the concrete?
- Finish: Will it be polished, honed, or have a troweled texture?
Material Selection
Choosing the right concrete countertop mix is vital. You can buy pre-mixed specialized concrete countertop mixes or create your own blend.
Pre-Mixed Countertop Mixes
These mixes are formulated for strength, workability, and durability, often containing admixtures that improve performance and reduce shrinkage. They are a good option for beginners as they simplify the process.
DIY Concrete Mix
For experienced DIYers, a custom mix can offer more control and potentially lower costs. A typical DIY mix might include:
- Portland Cement: The binder that holds everything together.
- Aggregate: Sand and sometimes small gravel for strength and texture.
- Water: Activates the cement.
- Admixtures: Such as acrylic fortifiers, plasticizers, and water reducers to improve workability, strength, and reduce cracking.
Important Note: Standard concrete mixes are not ideal for countertops. They lack the necessary strength, density, and additives to prevent cracking and staining. Always use a mix specifically designed or suitable for countertops.
Building Your Concrete Countertop Molds
The mold is where your countertop takes shape. Precision in mold building ensures a well-formed final product.
Materials for Molds
- Melamine Board: This is the most popular choice due to its smooth, non-porous surface that prevents the concrete from sticking and provides a clean edge.
- Silicone Caulk: Used to seal the joints of the mold and create rounded edges or coves.
- Screws: To assemble the melamine pieces.
- Mold Release Agent: Essential for preventing the concrete from sticking to the mold.
Constructing the Mold
Your mold will essentially be a reversed replica of your desired countertop.
Step-by-Step Mold Assembly
- Cut Melamine: Cut melamine boards to the exact dimensions of your countertop, accounting for any overhangs and edge profiles. Remember that the inside dimensions of the mold will be the final dimensions of your countertop.
- Assemble the Base: Create a sturdy base for your mold. This can be done by screwing melamine pieces together to form a shallow box with no top.
- Attach Side Walls: Screw the side walls of the mold to the base. Ensure they are perfectly square and flush with the edges of the base.
- Create Edge Profiles: If you want a rounded edge, attach wooden strips (often quarter-round molding) to the inside of the mold walls where the desired edge profile will be.
- Seal the Joints: Use 100% silicone caulk to seal all interior seams of the mold. This prevents concrete from leaking out and creates smooth, rounded edges where the caulk is applied. Smooth the caulk with a wet finger or a caulk tool for a clean finish.
- Install Reinforcement (Optional but Recommended): For added strength, especially for larger slabs, consider embedding a steel mesh or fiberglass reinforcing fibers within the concrete.
- Prepare for Sink/Faucet Cutouts: If you are casting the countertop with a sink cutout, create a “plug” of the exact dimensions and shape of the cutout from melamine or dense foam. Attach this plug to the inside of the mold at the correct location and orientation. Seal the edges of the plug meticulously with caulk.
Tip: The mold should be built upside down from how the countertop will appear. This is because you’ll be pouring concrete into the mold and the bottom of the mold will become the top surface of your countertop.
The Pouring Process: Bringing Your Countertop to Life
This is the most exciting part! Pouring the concrete requires a methodical approach to ensure a strong, beautiful result.
Preparing for the Pour
- Cleanliness: Ensure your mold is clean and free of dust and debris.
- Mold Release: Apply a generous coat of mold release agent to all interior surfaces of the mold. This is critical for easy de-molding.
- Reinforcement Placement: If using wire mesh, position it within the mold, ensuring it’s suspended in the middle of the concrete thickness, not resting on the bottom.
Mixing the Concrete
Follow the manufacturer’s instructions for pre-mixed countertop concrete, or your own carefully calculated recipe for a custom mix.
- Proportioning: Measure ingredients accurately.
- Water Ratio: Use the correct amount of water. Too much water weakens the concrete; too little makes it difficult to work with.
- Mixing Equipment: Use a heavy-duty mixer (like a paddle mixer for a drill or a dedicated concrete mixer) for larger batches. For smaller projects, a sturdy mixing tub and a strong mixing tool will suffice.
- Consistency: Aim for a smooth, peanut-butter-like consistency.
Pouring the Concrete
- Fill the Mold: Carefully pour or trowel the concrete into the mold, working from one end to the other.
- Vibration: Vibrate the mold to release trapped air bubbles. You can do this by tapping the sides of the mold with a rubber mallet or using a concrete vibrator. Air bubbles can create voids and weaken the countertop.
- Leveling: Use a screed board or a trowel to level the surface of the concrete.
- Smooth the Surface: For the finished top surface (which is currently the bottom of the mold), use a trowel to achieve a smooth finish.
Curing the Concrete
Curing is a vital process that allows the concrete to gain strength and durability.
- Initial Set: Allow the concrete to set for at least 24-48 hours in the mold. Keep it moist during this period, especially in dry climates, by covering it with plastic sheeting.
- Demolding: Once the concrete has gained sufficient initial strength (typically 24-48 hours), carefully remove the mold sides.
- Continued Curing: Keep the countertop moist for at least 7-14 days. This can be done by covering it with wet burlap or plastic sheeting. Proper curing is crucial for achieving maximum strength.
Finishing Your Concrete Countertops
The finishing touches are what transform raw concrete into a beautiful, functional countertop.
Grinding and Polishing
This is where you reveal the true beauty of the concrete and achieve your desired polished concrete surfaces.
- Grinding: Use a wet polisher with diamond pads, starting with a coarse grit (e.g., 50-100 grit) to remove imperfections and begin smoothing the surface. Work in overlapping passes, ensuring even coverage. Keep the surface wet to control dust and cool the pads.
- Polishing: Gradually move to finer grits (e.g., 200, 400, 800, 1500, 3000 grit). Each successive grit will create a smoother and more polished finish.
- Edge Polishing: Don’t forget to polish the edges of the countertop for a clean, finished look.
Sealing Concrete Counters
Sealing is paramount to protect your concrete kitchen island or countertops from stains, acids, and moisture.
- Choosing a Sealer: There are two main types of sealers:
- Penetrating Sealers: These soak into the concrete and protect it from within. They offer excellent stain resistance but may not provide a glossy finish.
- Topical Sealers/Coatings: These form a protective layer on the surface. They can provide a glossy, satin, or matte finish and are often easier to apply. Many concrete countertop professionals prefer a high-quality topical sealer for the best protection and aesthetic.
- Application: Apply the sealer according to the manufacturer’s instructions. This typically involves applying thin, even coats and allowing each coat to dry before applying the next. Multiple thin coats are usually better than one thick coat.
- Maintenance: Reapply sealer as needed, typically every 1-3 years, depending on the sealer type and usage.
Concrete Countertop Installation
Once your countertops are fully cured and sealed, it’s time for concrete countertop installation.
Preparing the Base Cabinets
- Leveling: Ensure your base cabinets are perfectly level and sturdy.
- Support: For heavy concrete countertops, especially if they are cast in place, ensure adequate support is provided by the cabinets. For pre-cast slabs, you might need to reinforce cabinets or use additional bracing.
Handling and Placement
Concrete countertops are heavy. You’ll likely need assistance for lifting and placing them.
- Team Lift: Always use at least two people, or more for larger slabs.
- Protection: Use furniture sliders or plywood to protect your floors and the countertops during transport and placement.
- Placement: Carefully lower the countertop into place, aligning it with your cabinets.
Securing the Countertop
- Adhesive: Use a high-quality silicone adhesive or construction adhesive to secure the countertop to the cabinets. Apply beads of adhesive to the top edges of the cabinets.
- Weighting: Once in place, you might need to weight down the countertop in specific areas to ensure good adhesion while the adhesive cures.
Frequently Asked Questions (FAQs)
Q1: How long does it take to make concrete countertops?
A: The entire process, from building the mold to final curing and sealing, can take anywhere from 1 to 4 weeks. The actual pouring and finishing take a few days, but the curing process is the longest part.
Q2: Are concrete countertops porous?
A: Unsealed concrete is porous. However, with proper sealing using high-quality sealers, concrete countertops can be made virtually non-porous and highly resistant to staining.
Q3: Can I put hot pans directly on concrete countertops?
A: While concrete is heat-resistant, it’s still advisable to use trivets or hot pads to protect the sealer and prevent potential thermal shock, especially with rapid temperature changes.
Q4: How do I clean concrete countertops?
A: Clean with mild soap and water. Avoid abrasive cleaners or harsh chemicals, which can damage the sealer.
Q5: What is the average concrete countertop cost for a DIY project?
A: The concrete countertop cost for a DIY project can range from $10 to $30 per square foot, depending on the materials chosen (pre-mix vs. DIY mix, type of sealer, decorative elements) and tools you already own. This is significantly less than professional installations which can range from $75 to $150+ per square foot.
Q6: Will my concrete countertops crack?
A: While concrete can crack, proper mix design, reinforcement (like mesh), and careful curing significantly reduce the risk. Cracking is more common in thinner pours or with improper curing. Minor hairline cracks can sometimes be filled and are often seen as part of the natural character of concrete.
Q7: Can I install a sink into my concrete countertop?
A: Yes, you can install under-mount, drop-in, or farm-style sinks. When casting, you’ll create a cutout for the sink. If casting in place, this is done during the pour. For pre-cast slabs, the cutout is typically made after the slab has cured, using specialized tools like concrete routers or angle grinders with diamond blades.
Conclusion
Creating your own concrete countertops is a challenging yet incredibly rewarding DIY endeavor. By meticulously following these steps, from careful planning and precise mold building to thoughtful pouring and finishing, you can achieve beautiful, durable, and unique polished concrete surfaces that will elevate your kitchen. Remember that patience and attention to detail are your greatest allies in this project, leading to a stunning concrete slab kitchen you’ll be proud of for years to come. Enjoy your new, custom-made concrete kitchen countertops!