
Can you paint kitchen cabinets without sanding? Yes, you absolutely can! This guide will show you how to achieve a beautiful, durable finish on your kitchen cabinets without the tiresome step of sanding. We’ll cover everything from choosing the right paint to applying it for a professional look.
Painting kitchen cabinets is a fantastic way to update your kitchen’s look without a complete remodel. It’s a cost-effective and satisfying DIY project. Many people dread the sanding part, which is often seen as messy, time-consuming, and dusty. Fortunately, modern paints and techniques allow for excellent cabinet painting without sanding. This means you can skip a major hurdle and get to the enjoyable part of transforming your cabinets faster. Whether you have wood, laminate, or even older painted cabinets, this method is accessible for most DIYers. We’ll delve into prep-free cabinet painting options and explain why they work.
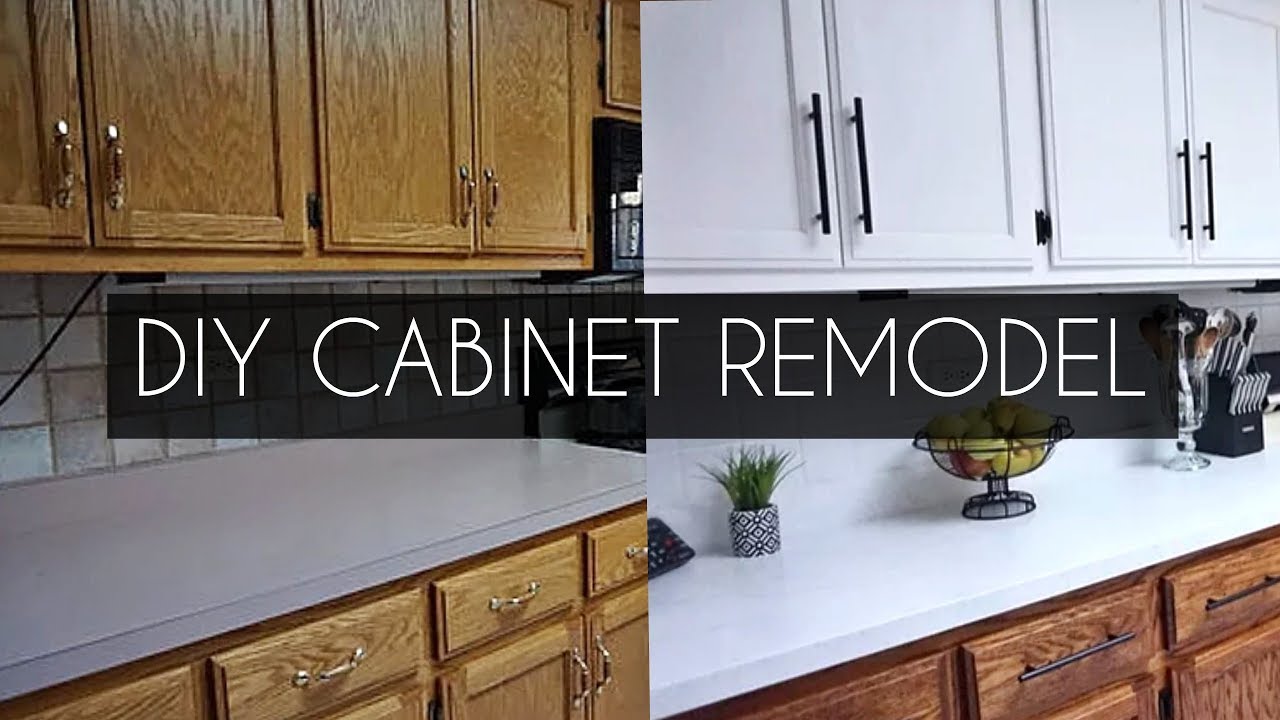
Image Source: i.ytimg.com
Why Skip the Sanding?
Sanding is traditionally recommended for cabinet painting to create a “tooth” for the new paint to adhere to. However, with the advancements in paint technology, particularly with the development of high-adhesion primers and paints, this step can often be bypassed. Skipping sanding offers several advantages:
- Time Savings: Sanding can easily take several hours, if not days, depending on the size of your kitchen. Eliminating this step significantly speeds up the project.
- Less Mess: Sanding creates a lot of dust. Not sanding means a cleaner workspace and less cleanup afterwards.
- Easier for Beginners: Sanding requires some technique to avoid damaging the cabinet surfaces. Skipping it makes DIY cabinet painting more approachable for novice painters.
- Preserves Original Finish: For cabinets in good condition, not sanding helps preserve the original wood grain or factory finish.
Choosing the Right Paint: Your Secret Weapon for No-Sand Painting
The key to successful cabinet refinishing no sanding lies in selecting the correct paint. Not all paints are created equal, and some are specifically formulated for superior adhesion to slick surfaces like laminate or glossy finishes, making sanding unnecessary.
Top Paint Choices for No-Sand Cabinet Painting:
- Bonding Primers + Latex/Acrylic Paint: Many high-quality no-sand cabinet paint options rely on a powerful bonding primer. These primers are designed to stick to almost any surface, including glossy finishes and laminate. Once the primer is applied and cured, you can use a good quality latex or acrylic enamel paint for a durable topcoat.
- Chalk Paint: Chalk paint cabinets no sanding is a popular choice due to its matte finish and excellent adhesion. Chalk paint typically adheres well to most surfaces with minimal prep. You’ll still need to clean the cabinets thoroughly and then apply a topcoat of furniture wax or a polycrylic sealant for durability.
- Mineral Paint: Similar to chalk paint, mineral paint offers great adhesion without sanding. It often has a more velvety finish and is very durable. A sealant is usually recommended.
- Milk Paint (with a bonding agent): Traditionally, milk paint cabinets no sanding required a bonding agent. However, many modern formulations are self-adhering. If using a traditional milk paint, you’ll need a bonding primer or additive to ensure it sticks to slick surfaces. Like chalk paint, it’s often sealed with wax or a poly finish.
- All-in-One Cabinet Paints: Several brands now offer paints specifically marketed for cabinets that claim to be “no-sand” or “prep-free.” These often combine a primer and paint in one, offering excellent adhesion and durability. These are fantastic for prep-free cabinet painting.
Special Considerations for Different Cabinet Materials:
- Laminate Cabinets: Painting laminate can be tricky because it’s a non-porous surface. This is where the right primer is crucial. Look for primers specifically designed for laminate, vinyl, or melamine. Laminate cabinet paint no sanding solutions typically involve these specialized primers.
- Wood Cabinets (Finished/Varnished): If your wood cabinets have a glossy varnish or polyurethane, you’ll need a primer that can grip this smooth surface.
- Previously Painted Cabinets: If the existing paint is in good condition (no peeling or chipping), you can often paint over it without sanding, provided you use a good bonding primer.
The Step-by-Step Guide to Painting Kitchen Cabinets Without Sanding
This guide focuses on using a high-quality bonding primer and latex/acrylic enamel paint, a widely successful method for cabinet painting without sanding.
Step 1: Thorough Cleaning – The Most Crucial Step
Since you’re skipping sanding, the cleaning process needs to be exceptionally thorough. Any grease, grime, or residue left on the cabinets will prevent the primer and paint from adhering properly, leading to peeling or a poor finish. This is the most critical step for prep-free cabinet painting.
Materials Needed:
- Degreaser (e.g., TSP substitute, Krud Kutter, Simple Green)
- Clean cloths or sponges
- Bucket of warm water
- Gloves
- Safety glasses
Process:
- Remove Doors and Drawers: Take all cabinet doors and drawer fronts off their hinges. Remove hardware (knobs, pulls).
- Degrease Surfaces: Mix your degreaser with warm water according to the product instructions. Using a clean cloth or sponge, thoroughly wash every surface of the cabinets and doors, paying close attention to areas around the stove and sink where grease buildup is common. Work in sections.
- Rinse Thoroughly: Rinse all surfaces with a clean cloth dampened with plain water. It’s essential to remove all traces of the degreaser.
- Dry Completely: Use clean, dry cloths to dry all surfaces. Allow them to air dry for at least a few hours, or overnight, to ensure no moisture remains.
Step 2: Applying a High-Adhesion Bonding Primer
A quality bonding primer is your secret weapon for no-sand cabinet paint success. It creates a strong base for the topcoat.
Materials Needed:
- High-adhesion bonding primer (e.g., Kilz Adhesion, Zinsser B-I-N, Sherwin-Williams Pro-Classic Bonding Primer)
- High-quality synthetic bristle paintbrush (for cutting in edges)
- Foam or micro-fiber roller (for flat surfaces)
- Paint tray
- Drop cloths
Process:
- Protect Your Workspace: Lay down drop cloths to protect your floors and countertops.
- Stir Primer: Stir the primer thoroughly. Do not shake.
- Apply First Coat:
- Edges and Details: Use your paintbrush to apply a thin, even coat of primer to all the edges, corners, and details of the cabinet doors and frames.
- Flat Surfaces: Use the foam or microfiber roller for the larger, flat areas of the doors and drawer fronts. Aim for smooth, even strokes.
- Cabinet Frames: Apply primer to the cabinet frames (the boxes attached to the walls) using a brush for corners and a smaller roller for the larger surfaces.
- Avoid Over-Application: Apply the primer in thin coats. Thick coats can lead to drips and an uneven finish, and may not adhere as well.
- Allow to Dry: Let the primer dry completely according to the manufacturer’s instructions. This is crucial for proper adhesion. Drying times can vary, but typically range from 2 to 4 hours.
- Apply Second Coat (Optional but Recommended): For the most durable finish, especially on tricky surfaces like laminate, a second coat of primer is highly recommended. Apply it in the same manner as the first coat and allow it to dry completely.
Step 3: Painting the Topcoat
Once the primer is dry and cured (check the primer can for specific cure times, which are longer than drying times), you’re ready for the topcoat.
Materials Needed:
- High-quality cabinet enamel paint (latex or acrylic) in your desired color and finish (satin or semi-gloss are popular for kitchens)
- High-quality synthetic bristle paintbrush
- Foam or micro-fiber roller
- Paint tray
- Painter’s tape (if needed to protect adjacent surfaces)
Process:
- Stir Paint: Stir the paint thoroughly.
- Apply First Coat:
- Cutting in: Use your paintbrush to paint the edges and detailed areas of the cabinet doors and frames.
- Rolling: Use the foam or microfiber roller for the flat surfaces. Apply thin, even coats. Avoid overloading the roller.
- Cabinet Frames: Paint the cabinet frames with a brush and roller.
- Avoid Drips and Brush Marks: Work methodically to ensure a smooth, even finish. For rolling, start at the top and work your way down.
- Allow to Dry: Let the first coat dry completely according to the paint manufacturer’s instructions. This is typically 2-4 hours for latex-based paints.
- Lightly Sand (Optional, if needed for smoothness): While the goal is no sanding, if you notice any minor imperfections like a few dust nibs, you can very lightly scuff sand with a fine-grit sanding sponge (220 grit or higher) after the paint is fully dry. Wipe away dust with a tack cloth. This is not the same as traditional sanding and is only for minor touch-ups.
- Apply Second Coat: Apply a second coat of paint, following the same process as the first. Two thin coats are far better than one thick one for durability and a smooth finish.
- Apply Third Coat (Optional): For maximum durability and coverage, a third coat might be beneficial, especially for high-traffic areas or if you’re going from a dark to a very light color.
- Allow to Cure: This is critical. Paint needs time to “cure” to reach its maximum hardness and durability. This can take anywhere from 7 to 30 days depending on the paint. During the curing period, be gentle with the cabinets. Avoid banging them or cleaning them with harsh chemicals.
Step 4: Reassembly and Final Touches
Once the paint has had sufficient time to cure (at least a few days, but longer is better), you can reassemble your kitchen.
- Reattach Hardware: Screw the knobs and pulls back onto the doors and drawers.
- Rehang Doors and Drawers: Carefully rehang the cabinet doors and reinsert the drawers onto their runners.
- Clean Up: Remove drop cloths and painter’s tape. Clean your brushes and rollers immediately after use.
Alternative No-Sand Paint Methods
While the primer and enamel approach is highly effective, here are other popular methods for cabinet painting without sanding:
Chalk Paint Cabinets No Sanding
Chalk paint is known for its matte finish and excellent adhesion to a variety of surfaces, often requiring minimal prep.
Process:
- Clean: Thoroughly clean cabinets as described in Step 1.
- Paint: Apply 2-3 thin coats of chalk paint, allowing each coat to dry.
- Seal: Once dry, apply 1-2 coats of furniture wax or a water-based polycrylic sealant for protection. This is essential as chalk paint alone is not very durable.
Pros: Beautiful matte finish, easy to distress if desired.
Cons: Requires a topcoat for durability, can be less resistant to scuffs and water damage than enamel.
Milk Paint Cabinets No Sanding
Modern milk paints are often self-adhering. For traditional milk paint, a bonding agent is necessary.
Process:
- Clean: Thoroughly clean cabinets.
- Prime (if using traditional milk paint): Apply a bonding primer.
- Paint: Apply 2-3 thin coats of milk paint.
- Seal: Once dry, seal with wax or a polycrylic.
Pros: Rich, historic look, can chip beautifully for a vintage effect.
Cons: Requires a topcoat for durability, can be less predictable than other paints.
Spray Paint Cabinets No Sanding
Using spray paint can offer a very smooth, factory-like finish and is a great shortcut for spray paint cabinets no sanding.
Materials Needed:
- Spray primer (e.g., Rust-Oleum Painter’s Touch 2X Spray Primer)
- Spray paint designed for cabinets or furniture (e.g., Rust-Oleum Cabinet Transformations, Krylon Cabinet Paint)
- Spray paint can handle (optional, for better control)
- Drop cloths
- Painter’s tape
Process:
- Clean: Thoroughly clean cabinets.
- Prime: Apply 1-2 thin, even coats of spray primer. Allow to dry completely.
- Paint: Apply 2-3 thin, even coats of spray paint. Hold the can about 10-12 inches away from the surface. Use long, sweeping motions. Overlap each stroke slightly.
- Allow to Dry and Cure: Allow ample drying and curing time.
Pros: Can achieve a very smooth, professional finish. Faster application for some.
Cons: Requires good ventilation, can be difficult to control overspray, potential for runs if not applied thinly. It’s also harder to go back and fix mistakes with spray paint.
Important Considerations for Longevity
Even without sanding, proper technique and patience are key.
- Curing Time: This cannot be stressed enough. Allow the paint to fully cure before putting heavy use on the cabinets.
- Thin Coats: Multiple thin coats are always superior to one or two thick coats for adhesion and a smooth finish.
- Ventilation: Ensure good ventilation, especially when using primers and paints indoors.
- Practice: If you’re nervous, practice on a scrap piece of wood or an old cabinet door before tackling your main kitchen cabinets.
Table: Comparing No-Sand Paint Methods
| Feature | Bonding Primer + Latex/Acrylic | Chalk Paint | Milk Paint | Spray Paint |
|---|---|---|---|---|
| Adhesion | Excellent (with primer) | Very Good | Good (with primer) | Good (with primer) |
| Finish | Smooth, durable | Matte, velvety | Matte, can be distressed | Smooth, factory-like |
| Durability | Excellent | Good (with sealant) | Good (with sealant) | Good |
| Prep | Minimal (cleaning) | Minimal (cleaning) | Minimal (cleaning) | Minimal (cleaning) |
| Ease of Use | Moderate | Easy | Moderate | Moderate |
| Cost | Moderate | Moderate | Moderate to High | Moderate |
| Best For | Most cabinet types, high traffic | Creating a vintage look | Unique finishes | Smooth, even finish |
Frequently Asked Questions (FAQ)
Q1: What kind of paint is best for painting kitchen cabinets without sanding?
The best paints for cabinet painting without sanding are those designed for high adhesion. This often includes specialized bonding primers followed by high-quality latex or acrylic enamel paints. Chalk paints and mineral paints are also excellent options because they naturally adhere well to most surfaces with just cleaning.
Q2: Can I really skip sanding entirely?
Yes, with the right products and thorough cleaning, you can skip sanding. The key is using a high-adhesion bonding primer or a paint formulation specifically designed for prep-free cabinet painting. Skipping sanding is a major cabinet painting shortcut that can save you significant time and effort.
Q3: What if my cabinets are laminate or melamine?
Laminate and melamine cabinets are non-porous, making them challenging for paint adhesion. For laminate cabinet paint no sanding, you must use a primer specifically formulated for these slick surfaces. Many bonding primers work well, but it’s best to check product specifications. Applying thin coats of primer and paint is crucial for laminate.
Q4: How long does it take to paint kitchen cabinets without sanding?
The time can vary based on the size of your kitchen, the number of cabinet doors and drawers, and your working pace. However, skipping sanding can cut down the project time considerably. Expect to spend at least a weekend or two for thorough cleaning, priming, painting, and drying/curing.
Q5: What are the best brands for no-sand cabinet paint?
Many brands offer products suitable for cabinet painting without sanding. Look for primers like Kilz Adhesion, Zinsser B-I-N, or specialized cabinet primers. For topcoats, high-quality interior latex or acrylic enamels in satin or semi-gloss finishes are excellent. Brands like Benjamin Moore (Advance), Sherwin-Williams (ProClassic), Behr (Cabinet & Trim Enamel), and specialized chalk or mineral paint brands (like Annie Sloan or Fusion Mineral Paint) are often recommended. For spray paint cabinets no sanding, brands like Rust-Oleum and Krylon offer dedicated cabinet spray paints.
Q6: How do I prevent peeling when painting cabinets without sanding?
The most effective ways to prevent peeling are:
* Meticulous Cleaning: Remove all grease, oil, and dirt.
* Using a High-Adhesion Primer: This is non-negotiable for no-sand cabinet paint success.
* Applying Thin Coats: Avoid thick, gloppy applications.
* Allowing Proper Drying and Curing: Rushing this process is a common mistake. Let each coat dry fully and the final coat cure for the recommended time (often up to 30 days).
By following these steps, you can achieve a beautiful and durable painted finish on your kitchen cabinets without the arduous task of sanding. Enjoy your refreshed kitchen!