
Can you remove grease from kitchen cupboards using natural methods? Yes, you absolutely can! Many effective natural cleaners can tackle greasy kitchen cupboards without harsh chemicals.
Kitchens are the heart of the home, a place where delicious meals are prepared and memories are made. But with all that cooking comes a persistent foe: grease. Over time, cooking grease, oil splatter, and general kitchen grime can build up on your kitchen cupboards, leaving them dull, sticky, and unappealing. This buildup isn’t just an aesthetic issue; it can actually attract more dirt and grime, making your kitchen harder to keep clean. Fret not, for tackling this common kitchen woe is easier than you think, especially when you opt for natural and readily available solutions. This guide will walk you through how to remove grease from kitchen cupboards easily and naturally, breathing new life into your kitchen. We’ll cover everything from simple everyday cleaning to tackling those stubborn grease kitchen cupboards that seem impossible to budge.
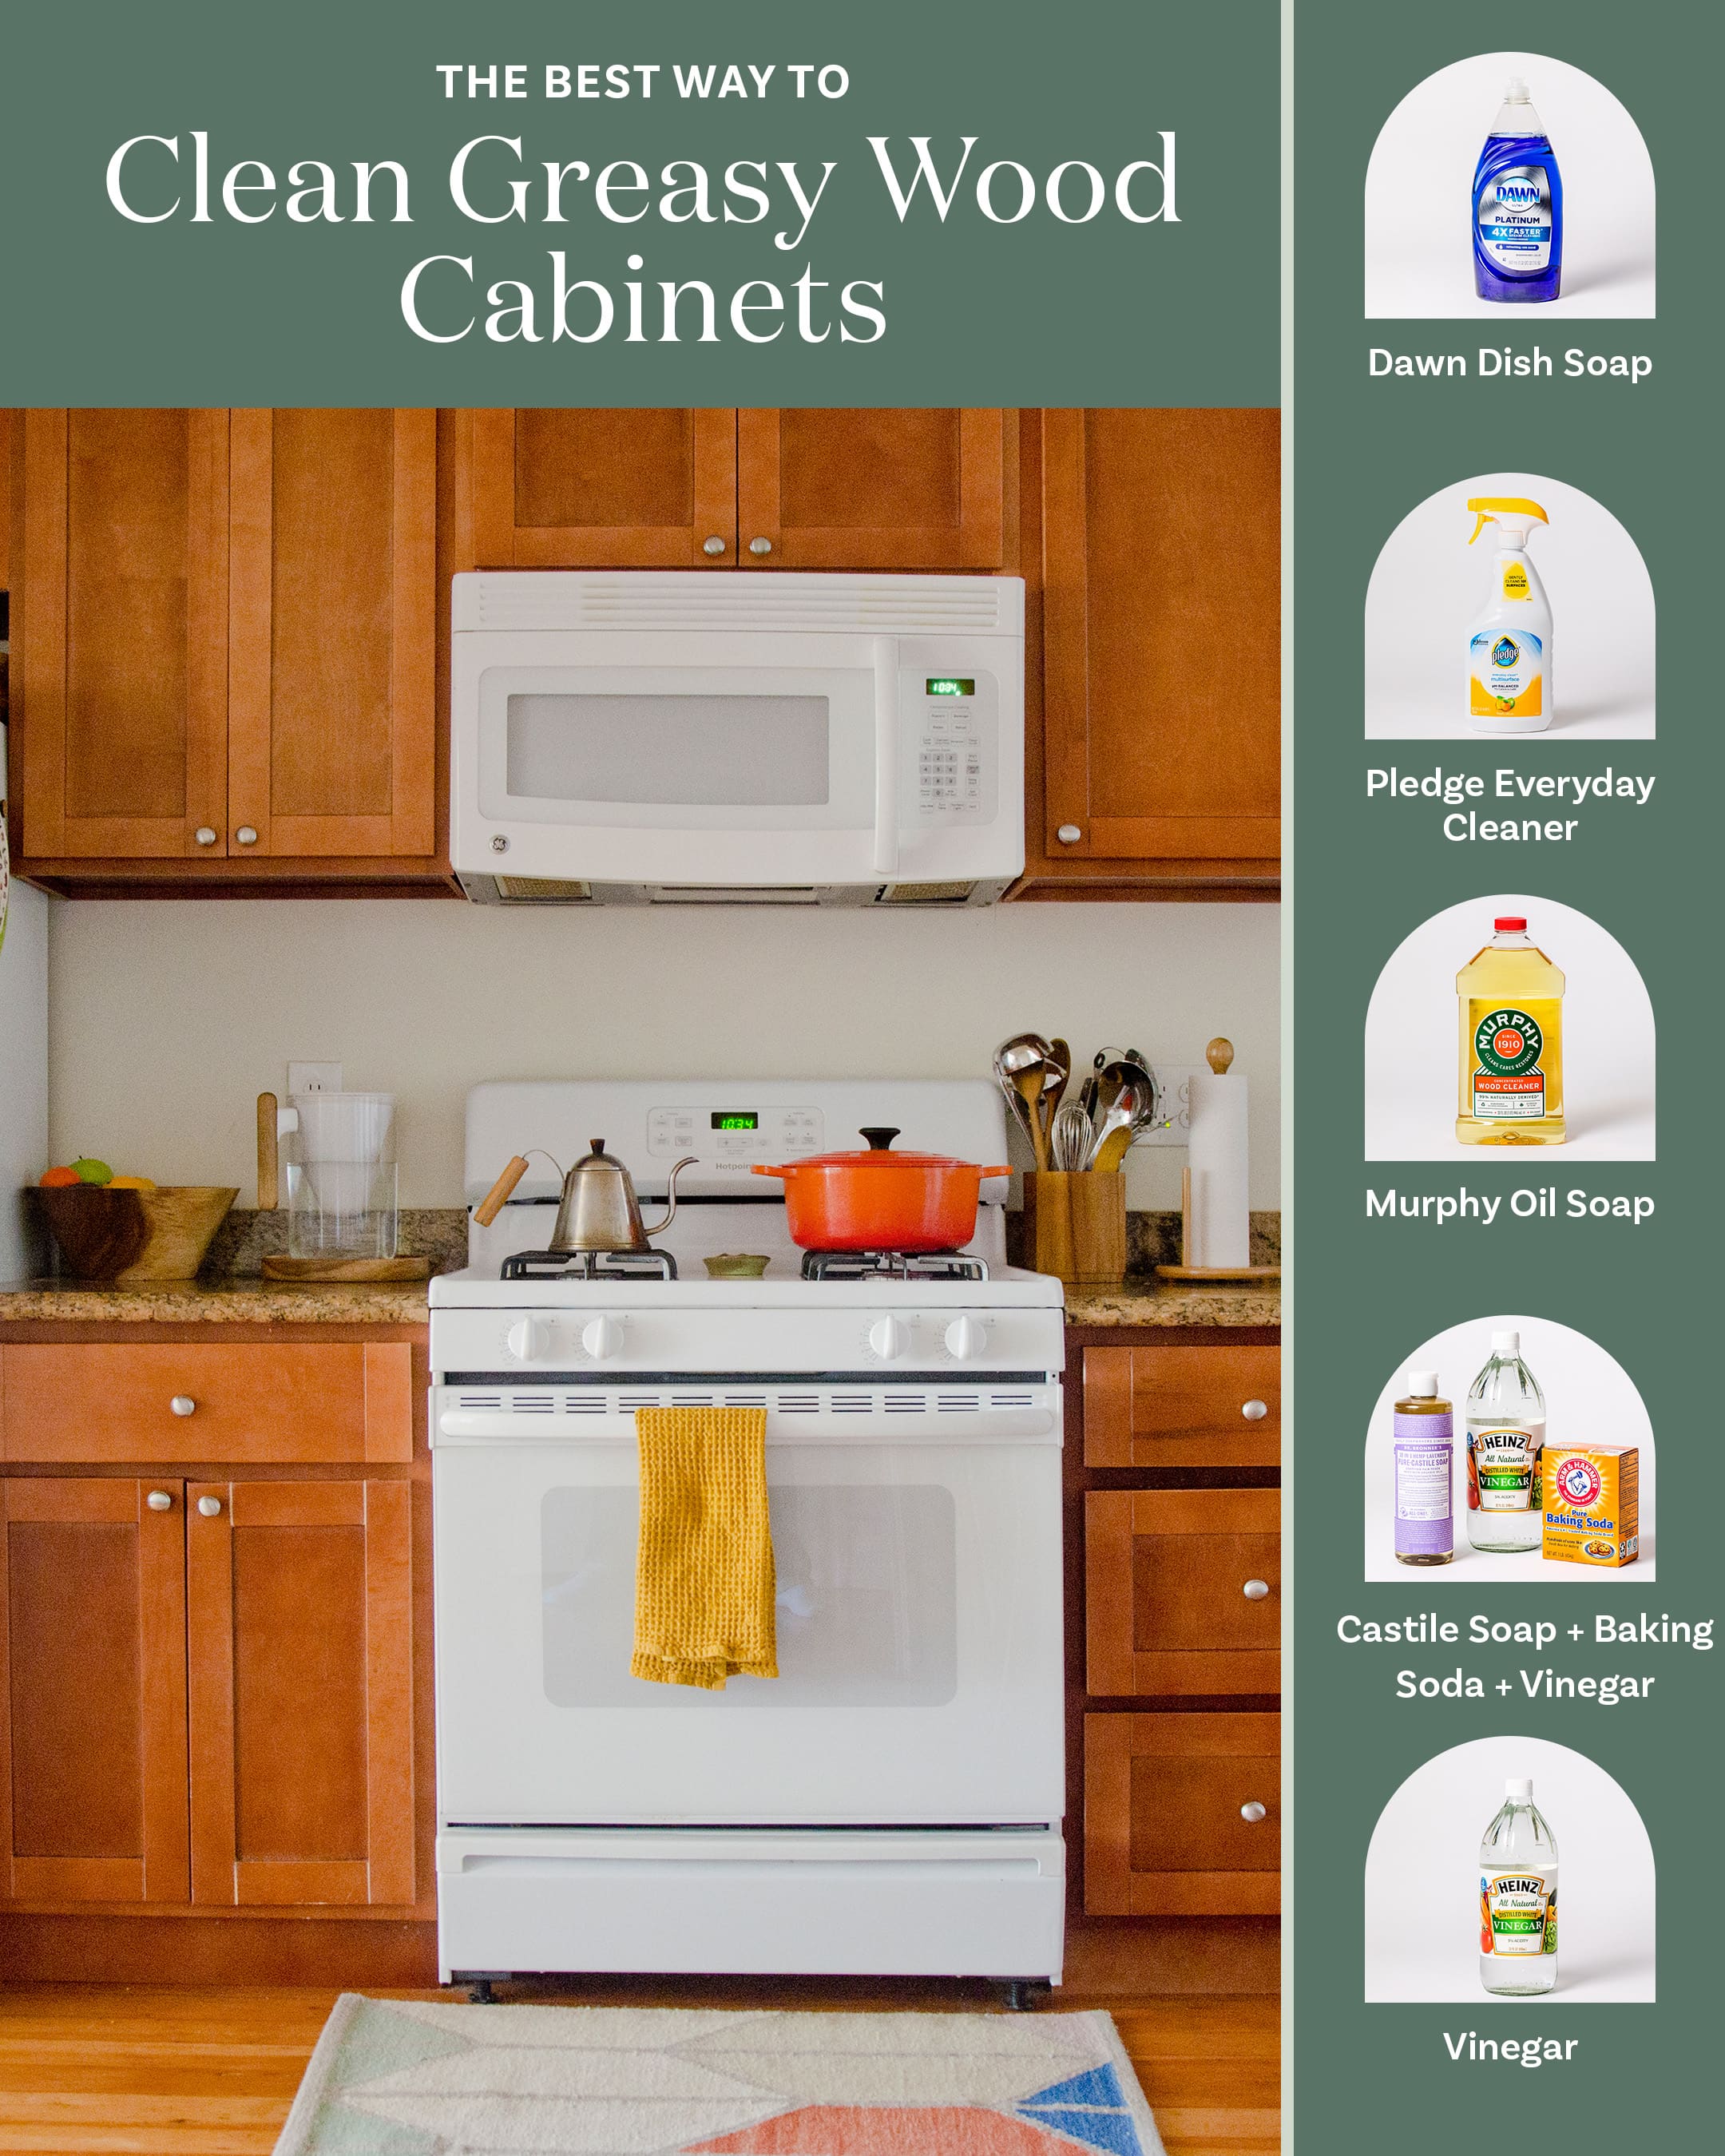
Image Source: cdn.apartmenttherapy.info
Why Natural Cleaning for Your Kitchen Cabinets?
Before we dive into the “how,” let’s explore the “why” behind choosing natural cleaning methods for your kitchen cabinets. Many commercial cleaning products, while effective, contain harsh chemicals that can be detrimental to your health and the environment. These chemicals can include ammonia, bleach, and various synthetic fragrances, which can irritate your respiratory system, cause skin reactions, and contribute to indoor air pollution. For families with children or pets, minimizing exposure to these substances is a significant concern.
Furthermore, natural cleaners are often budget-friendly. Ingredients like vinegar, baking soda, and dish soap are staples in most households and cost a fraction of specialized cabinet cleaners. They are also biodegradable, meaning they break down naturally without harming the environment. This approach to cleaning is not just about a sparkling kitchen; it’s about creating a healthier living space for you and your loved ones. Let’s explore some of the best ways to degrease kitchen cabinets using these gentle yet powerful natural ingredients.
Benefits of Natural Grease Removal:
- Healthier Home Environment: Reduces exposure to harsh chemicals.
- Eco-Friendly: Biodegradable ingredients are better for the planet.
- Cost-Effective: Uses common household items.
- Gentle on Surfaces: Less likely to damage cabinet finishes.
- Readily Available: Ingredients are easy to find.
Comprehending Grease Buildup on Kitchen Cabinets
Grease buildup on kitchen cupboards is a common issue. It happens when cooking vapors, which contain microscopic oil particles, rise and settle on surfaces. Over time, these particles combine with dust and other airborne particles, creating a sticky film. This film becomes a magnet for more dirt, leading to a noticeable layer of grime. The type of cooking you do (frying, sautéing) and how frequently you cook significantly impacts the rate of grease accumulation.
Sources of Grease Buildup:
- Cooking Splatter: Direct oil and food particles from pans.
- Cooking Vapors: Tiny oil droplets released into the air during cooking.
- Hand Contact: Touching cabinets with greasy hands.
- Environmental Factors: Dust and other airborne particles sticking to existing grease.
Tackling Stubborn Grease Kitchen Cupboards with Natural Solutions
When it comes to cleaning kitchen cabinet doors, especially those with stubborn grease kitchen cupboards, a little knowledge goes a long way. You don’t need a cupboard full of specialized cleaners. Simple, natural ingredients can be incredibly effective at cutting through grease and restoring the shine to your cabinets.
The Power of Vinegar: A Natural Grease Remover Cabinet Superstar
White vinegar is a champion when it comes to cutting through grease. Its acidity helps to break down oily residues, making them easier to wipe away.
How to Use Vinegar for Cleaning:
- Dilute the Vinegar: Mix equal parts white vinegar and warm water in a spray bottle.
- Spray and Let Sit: Lightly spray the greasy areas of your cupboards. For tougher spots, let the solution sit for a minute or two to allow the vinegar to work its magic.
- Wipe Clean: Use a soft, damp cloth or sponge to wipe away the grease. Rinse your cloth frequently.
- Dry and Buff: Dry the cupboards with a clean, dry cloth to prevent water spots and buff for shine.
Caution: While vinegar is generally safe for most sealed cabinet finishes, it’s always a good idea to test it on an inconspicuous area first, especially for antique or delicate wood finishes. Avoid using vinegar on unsealed or waxed surfaces.
Baking Soda: The Gentle Abrasive for Kitchen Cabinet Cleaning Hacks
Baking soda is a mild abrasive and a natural deodorizer, making it an excellent partner in the fight against kitchen grime. It can help lift away sticky residues without scratching most surfaces.
How to Use Baking Soda:
- Create a Paste: Mix baking soda with a small amount of water to form a paste. The consistency should be like toothpaste.
- Apply the Paste: Gently apply the paste to the greasy areas.
- Gently Scrub: Using a soft cloth or sponge, gently scrub the area in a circular motion.
- Wipe Away: Wipe away the paste with a damp cloth, ensuring all residue is removed.
- Dry Thoroughly: Dry the cabinet surface with a clean cloth.
This method is particularly effective for removing buildup on cabinet hardware as well.
Dish Soap: Your Go-To for Degrease Kitchen Cabinets
Mild dish soap is specifically designed to cut through grease and oil. It’s a safe and effective option for most kitchen cabinet types.
How to Use Dish Soap:
- Dilute: Add a few drops of mild dish soap to a bowl of warm water.
- Suds Up: Create suds by swirling the water with your cloth or sponge.
- Clean Gently: Wipe down the cabinets, focusing on the greasy areas. You don’t need to saturate the cabinets.
- Rinse Well: Use a separate damp cloth to wipe away any soap residue. This is important to prevent a dull film from forming.
- Dry and Polish: Dry with a soft cloth.
This is often considered the best cleaner for greasy cabinets due to its targeted action against oil.
Lemon Juice: The Citrus Solution for Shine
Lemon juice, like vinegar, is acidic and can help break down grease. It also leaves a fresh, pleasant scent.
How to Use Lemon Juice:
- Apply Directly or Dilute: You can squeeze fresh lemon juice directly onto a cloth, or mix it with a little water for a milder solution.
- Wipe and Scrub: Wipe down the greasy areas. For tougher spots, let it sit for a minute.
- Rinse: Wipe with a clean, damp cloth to remove residue.
- Dry: Dry thoroughly with a soft cloth.
Note: Lemon juice can be a mild bleaching agent, so use it cautiously on dark wood finishes and always test in an inconspicuous spot.
DIY Cabinet Degreaser: Crafting Your Own Cleaning Powerhouses
Creating your own cleaning solutions is not only economical but also gives you control over the ingredients. Here are a few DIY cabinet degreaser recipes to help you remove oil buildup kitchen cabinets with ease.
Recipe 1: Vinegar and Water Power
This is the classic and often most effective DIY degreaser.
Ingredients:
- 1 cup white vinegar
- 1 cup warm water
- Optional: 5-10 drops of essential oil (like lemon or tea tree for added cleaning power and scent)
Instructions:
- Combine vinegar and water in a spray bottle.
- Add essential oils if desired.
- Shake well before each use.
- Spray onto cabinets, let sit briefly, and wipe clean with a soft cloth.
Recipe 2: Baking Soda Paste Power
For those really tough, sticky spots.
Ingredients:
- 1/2 cup baking soda
- 2-3 tablespoons water (or mild dish soap for extra degreasing power)
Instructions:
- In a small bowl, mix baking soda with water (or dish soap) until a thick paste forms.
- Apply the paste directly to the greasy areas.
- Let it sit for 5-10 minutes.
- Gently scrub with a damp cloth or non-abrasive sponge.
- Wipe clean with a damp cloth and dry.
Recipe 3: Dish Soap and Water Solution
Simple, effective, and readily available.
Ingredients:
- 1 quart warm water
- 1-2 tablespoons mild dish soap
Instructions:
- Combine ingredients in a spray bottle or bowl.
- Dampen a soft cloth with the solution.
- Wipe down cabinets.
- Rinse the cloth frequently and wipe again to remove soap residue.
- Dry thoroughly.
Effective Techniques for Cleaning Kitchen Cabinet Doors
Beyond the cleaning solutions, the technique you use matters. Here’s how to approach cleaning kitchen cabinet doors for the best results, whether you have painted, stained, laminate, or wood cabinets.
General Cleaning Process:
- Empty Cabinets (Optional but Recommended): For a thorough clean, it’s best to empty at least a few cabinets at a time. This prevents cleaning solutions from dripping onto your stored items.
- Dust First: Always start by dusting the cabinet surfaces with a dry microfiber cloth. This removes loose dirt and dust so you’re not just smearing it around with the cleaning solution.
- Choose Your Cleaner: Select the appropriate natural cleaner for the type of grease and your cabinet material.
- Apply Cleaner to Cloth, Not Surface: For most cabinets, especially wood or painted surfaces, it’s better to dampen your cleaning cloth with the solution rather than spraying directly onto the cabinet. This prevents excess moisture from seeping into seams or damaging the finish. For very heavily greased areas, a light spray might be necessary, but avoid over-saturation.
- Wipe in Sections: Work in small sections, wiping the cabinet doors and drawers.
- Rinse Cloth Regularly: As you wipe, your cloth will pick up grease and dirt. Rinse it frequently in clean water or use multiple clean cloths to avoid spreading the grime.
- Rinse Surface (If Needed): If you used a soapy solution, follow up by wiping with a clean cloth dampened with plain water to remove any residue.
- Dry Immediately: Crucially, dry the cabinets immediately with a clean, dry microfiber cloth. This prevents water spots and streaks, and for wood cabinets, it prevents moisture damage.
- Don’t Forget the Details: Wipe down hardware (handles and knobs) with a suitable cleaner and dry them to prevent tarnishing.
Specific Cabinet Material Considerations:
- Wood Cabinets (Finished/Sealed): Vinegar, diluted dish soap, and baking soda paste are generally safe. Always dry thoroughly. Avoid abrasive scrubbers. For very old or delicate wood, a wood-specific cleaner or polish might be better after degreasing.
- Painted Cabinets: Mild dish soap and water are usually the safest bet. Baking soda paste can be used gently. Test vinegar in an inconspicuous area, as it can sometimes dull certain paint finishes. Avoid harsh scrubbing.
- Laminate/Melamine Cabinets: These are generally durable and can handle most natural cleaners. Mild dish soap and water or a diluted vinegar solution work well. Ensure no excess water gets into seams.
- Stainless Steel Appliances (Often integrated with cabinets): Use a dedicated stainless steel cleaner or a solution of vinegar and water, wiping with the grain of the stainless steel. Buff dry with a microfiber cloth.
Kitchen Cupboard Restoration: Beyond Just Cleaning
Once you’ve successfully removed the grease, you might notice that your cabinets look a little dull or that minor scratches are more apparent. Kitchen cupboard restoration can involve a few extra steps to bring back their original luster.
Bringing Back the Shine:
- Wood Polish: For natural wood cabinets, a good quality furniture polish or a DIY wood polish (like olive oil mixed with lemon juice) can restore shine and protect the wood after cleaning. Apply sparingly with a soft cloth and buff.
- Cabinet Waxes: For painted or stained cabinets that have lost their sheen, a cabinet wax can provide a protective layer and a beautiful subtle shine.
- Touch-Up Paint: If you have minor chips or scratches on painted cabinets, touch-up paint can work wonders. Clean the area thoroughly before applying.
- Hardware Upgrade: Sometimes, replacing outdated or tarnished hardware can dramatically refresh the look of your entire kitchen.
Cleaning Kitchen Cabinet Handles and Knobs
Don’t forget the parts of your cabinets that you touch the most! Handles and knobs often accumulate the most grease and grime.
Natural Ways to Clean Hardware:
- Metal (Brass, Chrome, Nickel):
- Vinegar and Water: A diluted vinegar solution is usually effective.
- Baking Soda Paste: For tougher grime, a baking soda paste can be used gently.
- For Tarnished Brass/Copper: Lemon juice and salt can help polish it. Apply the paste, let it sit briefly, then gently scrub and rinse.
- Important: Always dry metal hardware thoroughly to prevent water spots and corrosion.
- Wood/Painted: Use the same gentle cleaning methods as the cabinet doors themselves.
FAQs about Cleaning Greasy Kitchen Cupboards
Q1: What is the best natural cleaner for greasy kitchen cabinets?
A: For most general grease removal, a solution of equal parts white vinegar and warm water is highly effective. Mild dish soap diluted in warm water is also an excellent choice. For tougher, sticky spots, a baking soda paste is a great option.
Q2: Can I use vinegar on all types of kitchen cabinets?
A: Vinegar is safe for most sealed wood, laminate, and painted cabinets. However, it’s always best to test it on an inconspicuous area first, as its acidity can potentially dull or damage certain finishes, especially on unsealed wood or delicate antique finishes.
Q3: How often should I clean my kitchen cabinets?
A: For best results, a light wipe-down weekly with a dry cloth is recommended to prevent significant buildup. A more thorough degreasing clean can be done monthly or as needed, depending on your cooking habits.
Q4: My cabinets have a sticky film. How do I remove it?
A: A sticky film is usually a sign of accumulated grease. Try the diluted vinegar solution or mild dish soap method. For very stubborn sticky residue, a baking soda paste applied gently can help lift it. Ensure you rinse and dry thoroughly afterward.
Q5: Can I use abrasive cleaners on my kitchen cabinets?
A: It is generally not recommended to use abrasive cleaners or scrubbers (like steel wool or abrasive sponges) on kitchen cabinets, as they can scratch and damage the finish, leading to a dull appearance and potential water damage over time. Stick to soft cloths, microfiber, and non-abrasive sponges.
Q6: How do I prevent grease buildup on my kitchen cabinets?
A: Prevention is key!
* Wipe down cabinets regularly, especially around the stove area, with a dry or slightly damp cloth.
* Use your range hood’s fan whenever you cook to vent grease and steam away from your cabinets.
* Clean up spills and splatters immediately.
* Consider installing cabinet liners or protective film in high-traffic areas if buildup is a constant battle.
Final Thoughts on Natural Cabinet Cleaning
Keeping your kitchen cupboards sparkling doesn’t require a arsenal of harsh chemicals. By leveraging the power of natural ingredients like vinegar, baking soda, and dish soap, you can effectively degrease kitchen cabinets, remove oil buildup, and maintain the beauty of your kitchen. Remember to always test your chosen cleaner in an inconspicuous spot, work gently, and dry thoroughly to achieve the best results and ensure the longevity of your cabinet finishes. Enjoy a cleaner, healthier kitchen, naturally!