
Can I replace a kitchen sink faucet myself? Yes, you absolutely can replace a kitchen sink faucet yourself with basic tools and a little patience. This guide will walk you through the entire process, from shutting off the water to enjoying your brand-new tap.
Replacing an old, leaky, or outdated kitchen sink faucet might seem daunting, but it’s a very manageable DIY project. You don’t need to be a master plumber to tackle this. With the right tools and a clear step-by-step approach, you can achieve a professional-looking result and save money on labor costs. This comprehensive guide covers everything you need to know about kitchen sink faucet installation, from the initial preparation to the final tightening of connections.
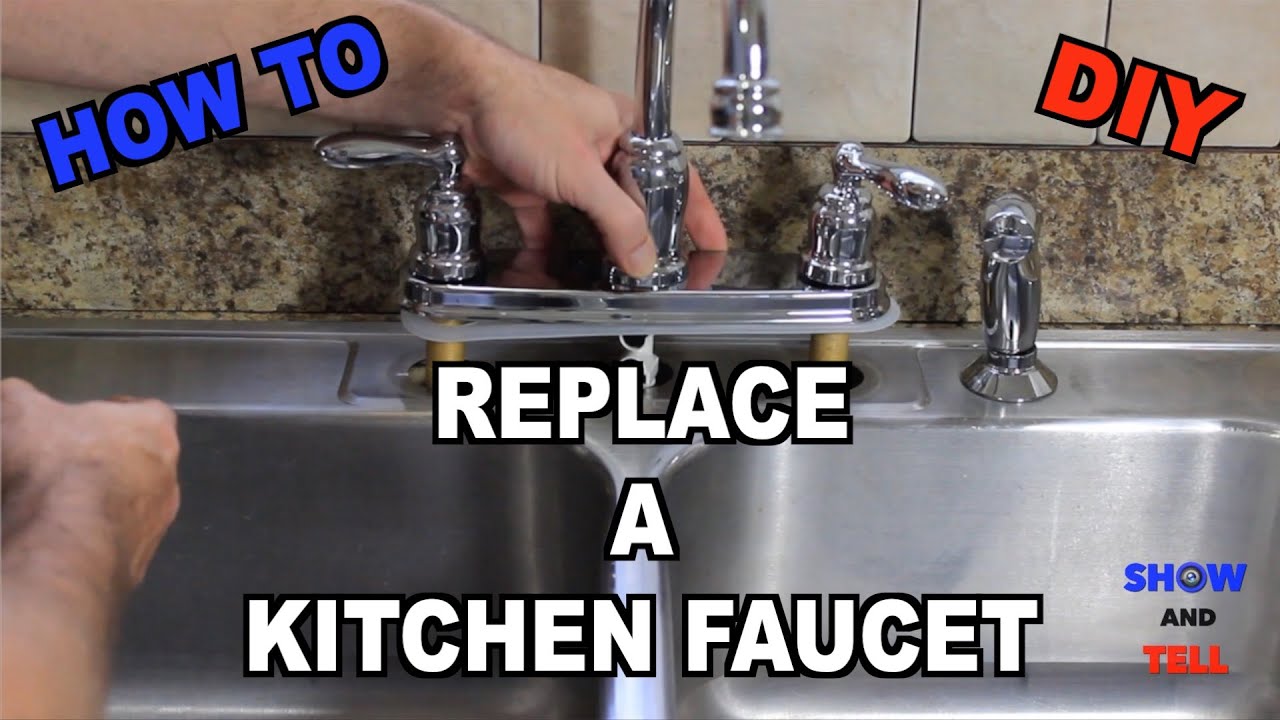
Image Source: i.ytimg.com
Preparing for Your Kitchen Sink Faucet Replacement
Before you dive in, gathering your supplies and preparing your workspace is key. A little planning goes a long way in making the DIY faucet replacement smoother.
Essential Tools and Materials
Having the right tools on hand will make the job much easier. Here’s a list of what you’ll likely need:
- New Kitchen Faucet: Ensure it’s compatible with your sink’s hole configuration (e.g., single-hole, 3-hole, 4-hole).
- Adjustable Wrench: Essential for loosening and tightening nuts.
- Basin Wrench: This specialized tool is designed to reach nuts in tight spaces, usually found under sink plumbing.
- Pipe Wrench: May be needed for stubborn connections, though an adjustable wrench is often sufficient.
- Pliers: Various types, like slip-joint pliers, can be helpful.
- Screwdrivers: Both Phillips and flathead might be required.
- Bucket or Towels: To catch any residual water when disconnecting lines.
- Safety Glasses: Protect your eyes from debris or dripping water.
- Gloves: For a better grip and to keep your hands clean.
- Flashlight or Headlamp: To illuminate the cramped space under the sink.
- Thread Seal Tape (Teflon Tape): Used to create a watertight seal on threaded pipe connections.
- Plumber’s Putty or Silicone Caulk: To seal the base of the new faucet to the sink.
- Rag or Sponge: For cleaning up water and debris.
- Penetrating Oil (like WD-40): Can help loosen corroded nuts.
Checking Your New Faucet
Unbox your new faucet and inspect all the sink faucet parts. Make sure nothing is damaged and that all the necessary components (mounting hardware, hoses, gaskets) are included. It’s a good idea to compare the parts to the installation manual.
Planning the Replacement
- Sink Hole Configuration: Verify how many holes your sink has and the spacing between them. Your new faucet must match this configuration. If it doesn’t, you might need a new sink or an adapter plate.
- Faucet Type: Consider the style and functionality you want. Deck-mounted faucets are the most common for kitchen sinks.
- Water Shut-off: Locate the hot and cold water shut-off valves beneath the sink. These are usually small oval or round handles attached to the pipes coming out of the wall.
Step-by-Step: How to Remove Old Kitchen Faucet
Removing the old faucet is often the most challenging part of the DIY faucet replacement process. Patience is key here, especially if the old fittings are corroded.
1. Shut Off the Water Supply
This is the most crucial first step.
* Turn the handles of the existing faucet to the “off” position.
* Locate the hot and cold water shut-off valves under the sink.
* Turn the handles clockwise until they are completely closed. If you don’t have shut-off valves under the sink, you’ll need to turn off the main water supply to your house.
2. Relieve Water Pressure
- Open the old faucet handles to drain any remaining water in the lines. Let it run until no more water comes out.
- Place a bucket or towels under the water supply lines to catch any drips.
3. Disconnect the Water Supply Lines
This involves disconnecting the flexible hoses that run from the shut-off valves to the faucet.
- Using an adjustable wrench, carefully loosen the nuts connecting the supply lines to the faucet shanks. You might need another wrench to hold the valve steady to prevent it from turning.
- Have your bucket ready, as a small amount of water will likely drip out.
- Once disconnected, tuck the hoses away or cap them temporarily if you plan to reuse the shut-off valves for your new faucet.
4. Disconnect the Sprayer Hose (If Applicable)
If your old faucet has a side sprayer, you’ll need to disconnect its hose as well. This is usually a small metal or plastic nut that connects the hose to the faucet body.
5. Detach the Faucet from the Sink
This is where the faucet wrench usage becomes critical. The faucet is typically secured from beneath the sink with large nuts or mounting brackets.
- Get into a comfortable position, or have a helper hold the flashlight, to clearly see the underside of the sink.
- Locate the mounting nuts or screws that hold the faucet in place. These can be plastic or metal.
- Use your adjustable wrench or, more likely, your basin wrench to loosen and remove these nuts. The basin wrench is designed for this awkward angle.
- If the nuts are corroded, a spray of penetrating oil might help loosen them. Let it sit for a few minutes before trying again.
- Once the nuts are off, the old faucet should lift straight out from the top of the sink.
6. Clean the Sink Surface
- After removing the old faucet, you’ll likely find a buildup of grime, old putty, or sealant around the mounting holes.
- Use a putty knife or a plastic scraper to gently remove this residue.
- Wipe the area clean with a damp cloth or sponge. This ensures a good seal for your new faucet.
Step-by-Step: How to Install a New Kitchen Faucet
Now for the exciting part – installing your new kitchen faucet! This process generally mirrors the removal but in reverse.
1. Prepare the New Faucet
- Read the manufacturer’s instructions thoroughly. While most installations are similar, specific models might have unique steps.
- Most new faucets come with integrated hoses. If not, attach the new supply lines to the faucet shanks, hand-tightening them first, then using a wrench for a quarter-turn snug. Be careful not to overtighten.
- Apply plumber’s putty or silicone caulk around the base of the faucet (or the gasket provided) where it will meet the sink. This creates a watertight seal and prevents water from seeping under the faucet.
2. Position the New Faucet
- Carefully lower the new faucet into the holes in your sink from the top.
- Ensure the faucet is properly aligned. For single-handle faucets, make sure it’s centered. For multi-handle faucets, align the spout and handles correctly.
- If your faucet came with a deck plate, ensure it’s positioned correctly over the mounting holes.
3. Secure the Faucet from Underneath
This is the reverse of removing the old one.
- From under the sink, slide any provided washers or mounting brackets onto the faucet shanks.
- Thread on the mounting nuts. Hand-tighten them first to hold the faucet in place.
- Check the faucet’s alignment from the top again.
- Use your basin wrench or adjustable wrench to tighten the mounting nuts securely. Tighten them gradually and evenly. Avoid overtightening, which can crack the sink or damage the faucet.
4. Connect the Water Supply Lines
This is a critical step in the kitchen sink faucet installation.
- Connect the hot water supply line (usually marked red) to the hot water shut-off valve and the hot water inlet on the faucet.
- Connect the cold water supply line (usually marked blue) to the cold water shut-off valve and the cold water inlet on the faucet.
- Ensure the rubber gaskets are in place inside the faucet connectors.
- Hand-tighten the connections first. Then, use your adjustable wrench to tighten them an additional quarter to half turn. Do not overtighten, as this can damage the fittings or the hoses.
- Water supply line connection requires a firm but not excessive tightness to prevent leaks.
5. Connect the Sprayer Hose (If Applicable)
- If your new faucet has a sprayer, connect its hose to the designated port on the faucet body, following the manufacturer’s instructions. Ensure it clicks or tightens securely.
6. Test for Leaks
This is where you confirm your kitchen plumbing repair is successful.
- Slowly turn on the hot and cold water shut-off valves under the sink.
- Check all the connections you made (supply lines to valves and faucet) for any drips or leaks.
- If you see any leaks, gently tighten the problematic connection a little more.
- Turn on the new faucet. Let both hot and cold water run for a minute or two.
- While the water is running, re-check all connections for leaks, especially at the points where the supply lines connect to the faucet and the valves.
- Check under the sink again after a few minutes to ensure no water has accumulated.
7. Final Touches
- Wipe away any excess plumber’s putty or caulk from around the base of the faucet.
- Clean up your workspace, disposing of the old faucet and any packaging.
Troubleshooting Common Issues and Faucet Repair Tips
Even with careful installation, you might encounter minor issues. Here are some common problems and faucet repair tips:
Leaky Connections
- Cause: Loose fittings or damaged seals/washers.
- Solution: Ensure all nuts are snug. If a connection still leaks, shut off the water, disconnect the line, and check the rubber washer or O-ring. Replace it if it looks damaged or deformed. Reapply thread seal tape to threaded pipe connections before reassembling.
Low Water Pressure
- Cause: Clogged aerator, kinks in supply lines, or partially closed shut-off valves.
- Solution:
- Aerator: Unscrew the aerator from the tip of the spout. Rinse it thoroughly and screw it back on.
- Supply Lines: Ensure there are no kinks in the flexible supply hoses.
- Shut-off Valves: Double-check that the shut-off valves are fully open.
Leaking from Faucet Base
- Cause: Insufficient or degraded plumber’s putty/caulk, or a loose mounting nut.
- Solution: Tighten the mounting nuts slightly. If the leak persists, you may need to remove the faucet, clean the old putty/caulk, reapply fresh plumber’s putty or silicone, and re-secure the faucet.
Sprayer Not Working Properly
- Cause: Clogged sprayer head, kinked hose, or a problem with the diverter valve.
- Solution: Unscrew the sprayer head and clean any debris. Check the sprayer hose for kinks. If the issue persists, the diverter valve within the faucet might be faulty, which could require further disassembly or replacement of the faucet.
Understanding Your Sink Faucet Parts
Knowing the basic components of your faucet can help with installation and future faucet repair tips.
| Part Name | Description | Function |
|---|---|---|
| Faucet Body | The main structure of the faucet that houses the internal mechanisms and spout. | Directs water flow and houses the cartridge or valve. |
| Spout | The part of the faucet from which water emerges. | Delivers water into the sink. |
| Handles | Levers or knobs used to control water flow and temperature. | Open, close, and mix hot and cold water. |
| Cartridge/Valve | The internal mechanism that controls water flow and temperature. Modern faucets often use ceramic disc cartridges. Older faucets might use compression valves. | Regulates the volume and temperature of water. |
| Aerator | A small screen at the end of the spout that mixes air with water to reduce splashing and conserve water. | Provides a smooth, splash-free stream and reduces water usage. |
| Supply Lines | Flexible hoses that connect the faucet to the hot and cold water shut-off valves. | Carry water from the shut-off valves to the faucet. |
| Mounting Hardware | Nuts, washers, and brackets that secure the faucet to the sink or countertop. | Holds the faucet firmly in place. |
| Escutcheon/Deck Plate | A decorative plate that covers extra holes in the sink or countertop, often used when replacing a faucet with fewer handles than the original configuration. | Seals unused holes and provides a clean finish. |
| Sprayer Hose | A flexible hose connecting the faucet body to a side sprayer (if applicable). | Delivers water to the spray nozzle for rinsing dishes. |
Frequently Asked Questions (FAQ)
Q1: How long does it typically take to replace a kitchen sink faucet?
A1: For a first-time DIYer, expect it to take anywhere from 1 to 3 hours. Experienced individuals can often complete the job in under an hour. The most time-consuming part is usually removing a corroded old faucet.
Q2: What is the most difficult part of this job?
A2: The most challenging aspect is typically loosening and removing the old mounting nuts and connections, especially if they are old and corroded or located in a very tight space under the sink.
Q3: Do I need to turn off the main water supply for this job?
A3: Only if your sink doesn’t have individual shut-off valves located under the sink. Most modern kitchens do have these valves, which makes the process much simpler.
Q4: Can I reuse my old water supply lines?
A4: It’s generally recommended to replace old supply lines when installing a new faucet. Over time, they can degrade and become a source of leaks. New faucets often come with new lines, or you can purchase them separately.
Q5: What is the best sealant for under the faucet?
A5: Both plumber’s putty and silicone caulk work well. Plumber’s putty is traditional and remains pliable, making it easier to work with for initial adjustments. Silicone caulk offers a more robust and long-lasting waterproof seal. Follow the faucet manufacturer’s recommendation if one is provided.
Q6: My new faucet has a pull-down sprayer. Are there any special connections?
A6: Yes, pull-down sprayers have a hose that needs to be connected to the faucet body and a counterweight attached to ensure it retracts properly. The instructions for your specific faucet will detail this connection.
By following these steps, you can confidently replace your kitchen sink faucet and enjoy a refreshed and functional kitchen. Remember to work safely and take your time!