
Can I unclog my kitchen sink myself? Absolutely! Most kitchen sink clogs can be cleared with simple household items and a little elbow grease. Who can I call if I can’t fix it? If these methods don’t work, it’s time to call a professional plumber.
A clogged kitchen sink is a common household annoyance that can quickly disrupt your daily routine. Whether it’s lingering food debris, grease buildup, or a forgotten object that found its way down the drain, a blocked sink is frustrating. Fortunately, you don’t always need a plumber to tackle this problem. Many effective solutions are readily available and can be performed with common household items. This guide will walk you through several easy fixes to get your kitchen sink draining freely again, fast.
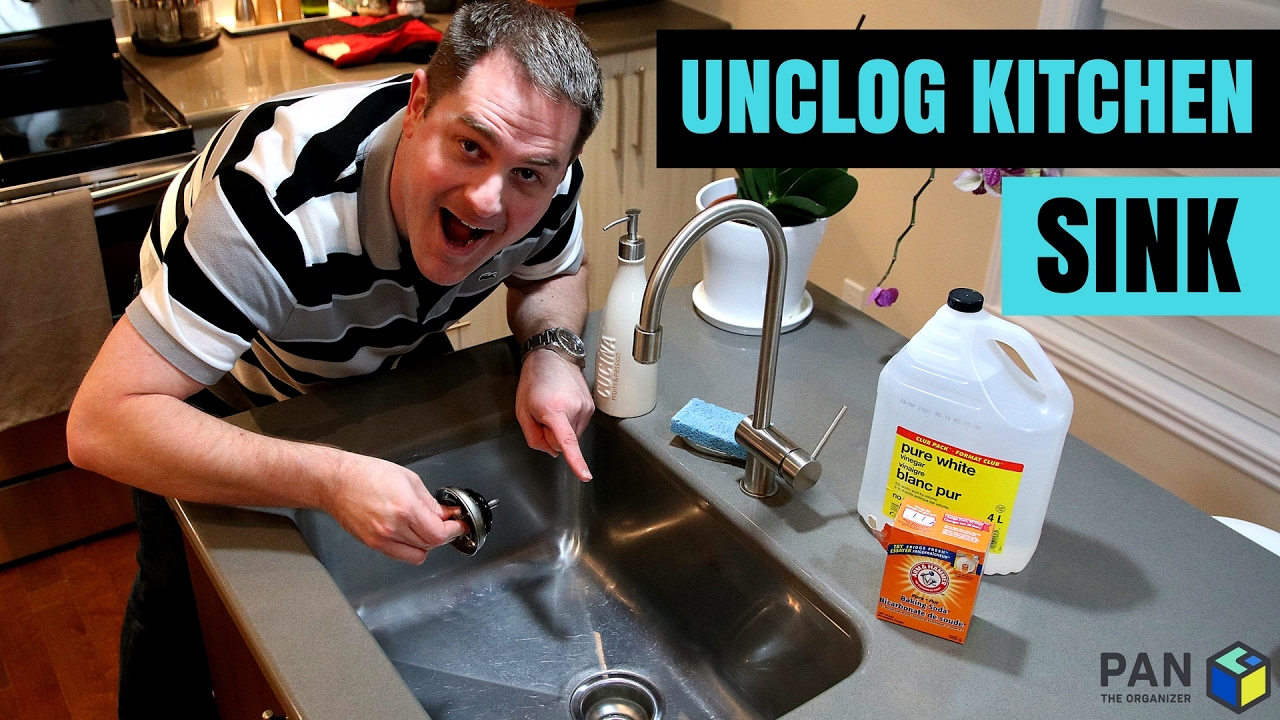
Image Source: i.ytimg.com
Why Do Kitchen Sinks Get Clogged?
Before we dive into the solutions, it’s helpful to understand what typically causes a kitchen sink drain to clog. The most common culprits include:
- Food Scraps: Small bits of food, especially starchy or fibrous ones like rice, pasta, potato peels, and coffee grounds, can accumulate and form a dense blockage.
- Grease and Fats: When hot grease, oil, or fat is poured down the sink, it cools and solidifies as it travels through the pipes, coating the interior and trapping other debris. This is a major contributor to clogged drain issues.
- Soap Scum: Over time, soap residue can build up on the inside of the pipes, creating a sticky surface that catches hair and other particles.
- Foreign Objects: Accidental drops of small items like bottle caps, twist ties, or jewelry can cause blockages.
- Hard Water Deposits: In areas with hard water, mineral deposits can build up in the pipes, narrowing the passageway and making clogs more likely.
Easy Fixes to Unclog Your Kitchen Sink
Here are several simple yet effective methods to clear a clogged drain. We’ll start with the least invasive and move to more involved techniques.
Method 1: The Hot Water Flush
This is the simplest and often most effective first step for grease-related clogs.
What you need:
- A kettle or pot to boil water
- Large mug or heat-resistant container
Steps:
- Boil Water: Fill a kettle or pot with water and bring it to a rolling boil.
- Remove Standing Water: If there’s standing water in your sink, try to scoop out as much as possible using a mug or cup. This allows the hot water to directly reach the clog.
- Pour Slowly: Carefully and slowly pour the boiling water directly down the kitchen sink drain. Pour in stages, waiting a few seconds between pours.
- Check Drainage: Wait a few minutes. If the water starts to drain, repeat the process. You might need to do this a few times for stubborn grease buildup.
Why it works: Hot water can melt and dissolve grease, fat, and soap scum, allowing it to flow down the pipes.
Caution: Avoid this method if you have PVC pipes that are very old or brittle, as extreme heat could potentially damage them. For standard metal or newer PVC pipes, it’s generally safe.
Method 2: Baking Soda and Vinegar Powerhouse
This classic combination creates a fizzing reaction that can help break down clogs.
What you need:
- 1 cup of baking soda
- 1 cup of white vinegar
- Hot water
- A sink stopper or rag
Steps:
- Remove Standing Water: As with the hot water flush, remove any standing water from the sink.
- Pour Baking Soda: Pour the cup of baking soda directly down the drain.
- Add Vinegar: Immediately follow with the cup of white vinegar. You’ll hear a fizzing sound as the two react.
- Cover the Drain: Quickly cover the drain with a sink stopper or a damp rag to direct the fizzing action downwards into the clog.
- Wait: Let the mixture sit for at least 15-30 minutes. For tougher clogs, you can leave it for an hour or even overnight.
- Flush with Hot Water: After the waiting period, remove the stopper/rag and flush the drain with plenty of hot (but not necessarily boiling) water.
Why it works: The chemical reaction between baking soda (a base) and vinegar (an acid) produces carbon dioxide gas, which creates pressure and agitation within the pipes. This can help dislodge minor blockages.
Method 3: The Plunger – Your Best Friend for a Clogged Drain
A good old-fashioned plunger is surprisingly effective for many sink clogs.
What you need:
- A cup-style plunger (specifically designed for sinks, not toilets)
- A rag or stopper to seal the other drain opening (if you have a double sink)
Steps:
- Create a Seal: Ensure there’s enough water in the sink to cover the rubber cup of the plunger. This creates a seal and allows for better suction.
- Seal the Other Drain: If you have a double sink, block the opening of the second sink with a wet rag or stopper. This is crucial to ensure the pressure is directed at the clog.
- Position the Plunger: Place the plunger cup firmly over the drain opening, ensuring a tight seal.
- Plunge Vigorously: Push and pull the plunger handle up and down rapidly for about 20-30 seconds. The upstroke is often more important as it creates suction.
- Check for Drainage: Remove the plunger. If the water drains, you’ve likely cleared the clog. If not, repeat the plunging process a few more times.
- Flush with Hot Water: Once water starts to drain, flush the drain with hot water to clear away any remaining debris.
Why it works: Plunging creates both pressure and suction. The pushing action forces air and water down the pipe, while the pulling action creates a vacuum that can dislodge the blockage.
Method 4: Employing a Drain Snake (Auger)
If the above methods don’t work, a drain snake is the next logical step for a stubborn clogged drain. This tool is designed to physically break up or retrieve blockages.
What you need:
- A drain snake (also called a plumbing auger)
- Gloves
- A bucket or old towels
Steps:
- Prepare the Area: Place a bucket or old towels under the sink P-trap if you plan to access the pipes directly, although most snakes can be fed directly down the drain.
- Insert the Snake: Feed the end of the drain snake cable into the drain opening.
- Feed and Turn: Push the snake into the pipe until you feel resistance – this is likely the clog. Once you hit the clog, lock the cable and start turning the handle clockwise. This helps the snake either break through the clog or grab onto it.
- Retrieve or Break: Continue turning and gently pushing. If you feel the clog breaking up, keep working. If you feel like you’ve hooked something, slowly pull the snake back out, rotating the handle as you go. Be prepared for debris to come with it.
- Repeat if Necessary: You may need to repeat this process several times.
- Flush with Hot Water: After clearing the clog, flush the drain with hot water to ensure all debris has been washed away.
Why it works: A drain snake is a mechanical tool that physically interacts with the clog, breaking it apart or snagging it for removal. This is often necessary for tougher blockages like hair or solid obstructions.
Method 5: Cleaning the P-Trap
The P-trap, the U-shaped pipe under your sink, is a common place for debris to accumulate.
What you need:
- Bucket
- Adjustable wrench or pipe wrench
- Gloves
- Old towels or newspaper
- Wire brush (optional)
Steps:
- Prepare for Mess: Place a bucket directly underneath the P-trap to catch any water and debris. Lay down old towels or newspaper around the area.
- Loosen the Slip Nuts: You’ll see two large nuts (slip nuts) holding the P-trap in place. Use an adjustable wrench to loosen these nuts. They usually unscrew counter-clockwise. You might be able to loosen them by hand if they aren’t too tight.
- Remove the P-Trap: Once the nuts are loose, carefully wiggle and remove the P-trap. Empty its contents into the bucket.
- Clean the P-Trap: Thoroughly clean the inside of the P-trap. You can use a brush to scrub away any buildup. Rinse it out under running water. Check the adjacent pipes for any visible obstructions as well.
- Reassemble: Carefully reattach the P-trap, ensuring the rubber gaskets are properly seated. Hand-tighten the slip nuts first, then use the wrench to give them a final snug turn. Don’t overtighten, as this can crack the plastic.
- Test for Leaks: Run water slowly at first, checking for any leaks around the slip nuts. If you see leaks, try tightening the nuts a bit more.
- Flush: Once you’re sure there are no leaks, run hot water down the sink to test the drainage.
Why it works: This method directly removes the obstruction if it’s located within the P-trap, which is a frequent bottleneck. This is a more involved fix, but very effective for persistent clogs.
Method 6: Dish Soap for Lubrication
Dish soap can act as a lubricant to help greasy clogs slide down the pipes.
What you need:
- Liquid dish soap
- Hot water
Steps:
- Pour Dish Soap: Squirt a generous amount of liquid dish soap (about 1/4 cup) down the drain.
- Follow with Hot Water: Immediately follow with a kettle of hot (not boiling) water.
- Wait: Let the mixture sit for about 30 minutes.
- Flush: Run hot tap water to see if the clog has cleared.
Why it works: Dish soap is designed to cut through grease. Combined with hot water, it can help break down fatty deposits that cause clogs.
What NOT to Do When Your Sink is Clogged
While it’s tempting to reach for a chemical drain cleaner immediately, there are several reasons why this should be a last resort, or avoided altogether.
- Harsh Chemical Drain Cleaners: These products can be highly corrosive. They can damage your pipes (especially older ones), harm your septic system or wastewater treatment, and pose a significant risk to your skin and eyes if splashed. They also don’t always work, leaving you with a sink full of caustic chemicals. If you must use one, follow the instructions precisely and ensure good ventilation.
- Mixing Chemicals: Never mix different drain cleaning chemicals or use them in conjunction with other cleaning agents like bleach. This can create dangerous fumes or explosive reactions.
- Ignoring the Problem: A recurring clog might indicate a larger issue with your plumbing system that needs professional attention.
Preventing Future Clogs
The best way to deal with a clogged sink is to prevent it from happening in the first place. Here are some preventative measures:
- Use a Sink Strainer: A simple mesh strainer can catch most food particles and debris before they enter the drain. Empty it regularly into the trash.
- Scrape Plates Thoroughly: Before rinsing dishes, scrape all food scraps into the trash or compost bin.
- Avoid Pouring Grease Down the Drain: Instead, let grease cool and solidify, then scrape it into the trash. You can also pour liquid grease into an old can or jar and dispose of it in the trash once solid.
- Run Hot Water After Use: After using the sink, especially after washing greasy dishes, run hot water for a minute to help flush out any residual buildup.
- Regular Baking Soda and Vinegar Flush: Performing the baking soda and vinegar treatment once a month can help keep your drains clear.
- Dispose of Coffee Grounds and Eggshells Properly: These items can create sludge and are best disposed of in the trash or compost.
- Be Mindful of What Goes Down: Avoid putting fibrous vegetables (like celery or onion skins), pasta, rice, or potato peels down the garbage disposal or drain without ample water.
When to Call a Professional Plumber
If you’ve tried multiple methods and your kitchen sink drain remains stubbornly clogged, or if you suspect a more serious issue, it’s time to contact a qualified plumber. Signs that you need professional help include:
- Multiple Fixtures are Clogged: If your sink, toilet, and shower are all backing up, it suggests a blockage further down the main sewer line.
- Persistent Slow Draining: Even after attempts to clear it, if the sink continues to drain slowly, there might be a deep-seated problem.
- Foul Odors: Persistent bad smells from the drain can indicate a serious buildup or a problem with the vent system.
- Water Backups: If water is backing up into your sink when you flush a toilet or run other fixtures.
- Lack of Confidence: If you’re not comfortable performing any of the sink repair steps, it’s always safer to let a professional handle it.
Troubleshooting Table
Here’s a quick reference to help you choose the right method:
| Symptom / Cause | Best Method(s) | Notes |
|---|---|---|
| Grease/Fat Buildup | Hot Water Flush, Dish Soap & Hot Water | Start with hot water; repeat if necessary. Dish soap helps cut through grease. |
| Minor Food Scraps (starchy) | Baking Soda & Vinegar, Plunger | The fizzing action can dislodge particles. Plunging can also work. |
| General Gunk/Scum Buildup | Baking Soda & Vinegar, Plunger, Drain Snake | A combination might be needed. |
| Hair Clog (less common in sinks) | Drain Snake, Plunger | Drain snake is most effective for hair. |
| Stubborn Clog, unsure of cause | Drain Snake, Cleaning the P-Trap | These methods tackle more solid obstructions. |
| Recurring Slow Draining | Professional Plumber | May indicate a deeper plumbing issue. |
| Complete Blockage | Drain Snake, Cleaning the P-Trap, Plunger | Try plunging first to dislodge, then the snake or P-trap cleaning if plunging fails. |
Frequently Asked Questions (FAQ)
Q1: How often should I use baking soda and vinegar to clean my drains?
A1: It’s a good practice to do this monthly as a preventative measure to keep your drains flowing smoothly and reduce the risk of clogs.
Q2: Can I use bleach to unclog my sink?
A2: While bleach can kill bacteria and help with odors, it’s not very effective at dissolving the grease and food particles that cause most clogs. It’s also very harsh and can damage pipes and the environment. It’s better to use the methods described above.
Q3: My garbage disposal isn’t working and the sink is backing up, what should I do?
A3: First, ensure the disposal is not jammed. Check for a reset button on the unit. If the sink is still backed up after addressing the disposal, you may have a clog in the pipe connecting the disposal to the drain line, and you’ll need to follow the methods outlined for a clogged drain.
Q4: What is a P-trap and why is it important for unclogging?
A4: The P-trap is the curved section of pipe under your sink. It holds a small amount of water to prevent sewer gases from entering your home. It’s also a common place for debris to get caught, so cleaning it can often resolve a clog.
Q5: Is it safe to pour boiling water down any sink?
A5: It’s generally safe for most modern sinks and plumbing. However, if you have very old or potentially brittle PVC pipes, or if you’re unsure, using very hot tap water instead of boiling water is a safer alternative.
By following these steps, you can effectively tackle most common kitchen sink clogs and keep your plumbing in good working order. Remember, prevention is key, so incorporating regular maintenance can save you a lot of hassle in the long run!